Content blocks are used to add various types of content to your webpages including text, images, videos, and even your social media links. This article will go over how to edit different types of content blocks. To find out how to add, move, or delete content blocks, check out this article.
Add Heading or Paragraph Text Content to Website
When you add a content block that includes text (e.g., Title, Heading, or Paragraph blocks) you’ll have a text tool bar that is displayed at the top of the page.
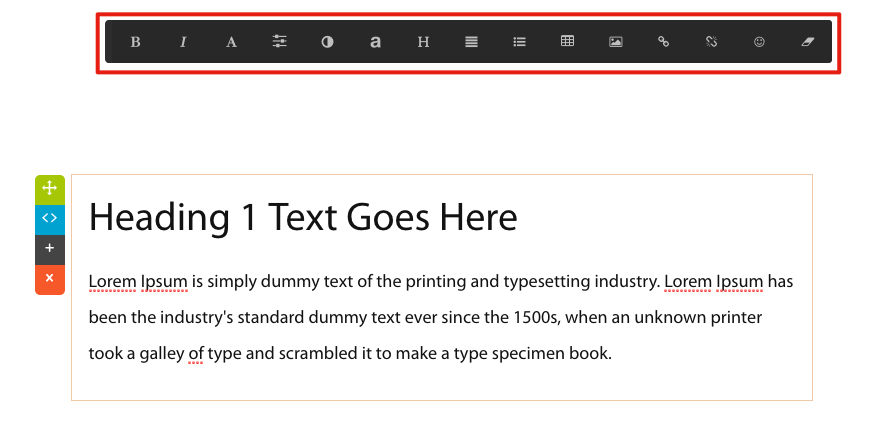
Let’s take a look at the text editing options available, starting from the left:
Formatting
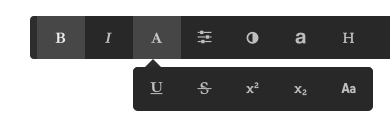
The first three icons are related to text formatting. You can Bold (B) and Italicize (I). You can Underline, Strikethrough, Superscript, Subscript, and set to all Uppercase (found under the A).
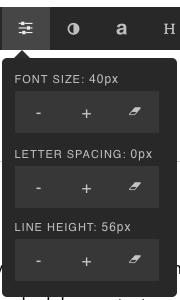
Size and Spacing
The next icon has your options for adjusting the size and spacing of your text. You can use the + and – to increase or decrease size. The eraser icon will reset it back to the default option.
Color
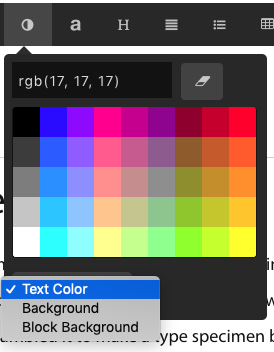
The next icon allows you to select the colors of your text, text background, and block background. You can either manually enter the RGB values or select one of the preset swatches.
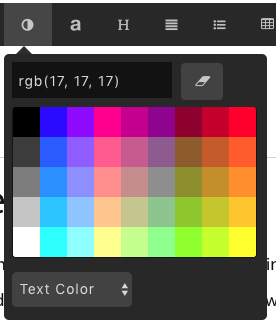
You will use the dropdown to select whether you’re setting the color for your text, the background (i.e., text highlight), or the block background (i.e., the whole text box).
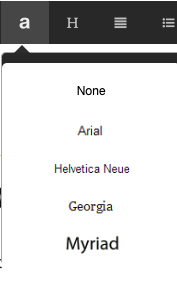
Font
The a icon allows you to select a font. If you have already set your default fonts in the Site Settings screen you will probably not need to use this option.
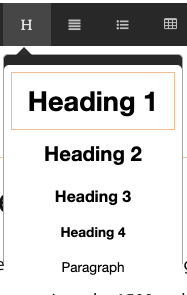
Paragraph Styles
The H icon is used to select a paragraph style. This option is most helpful to use if you have set up your default style options from Site Settings.
Alignment
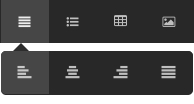
The next icon controls the text alignment (i.e., left, centered, right, or full).
Lists and Indents
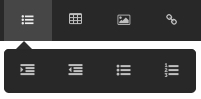
The next icon allows you to add a list (i.e., bulleted or numbered) and also control indents.
Tables
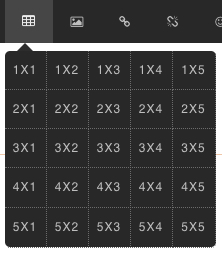
The grid icon allows you to create a table. You will select the dimensions to add it into the block.
Images
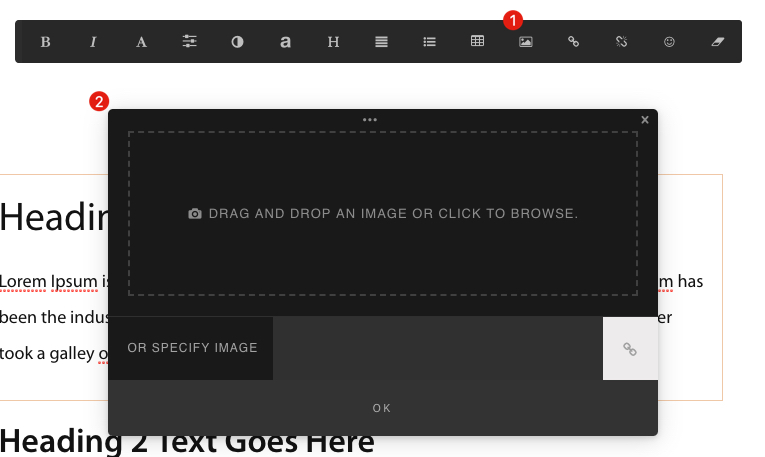
You can use the next icon to add an image into the block. When you click on this icon a window will pop up to select the image you want to insert. You can either drag and drop the image file into that window or use the chain link icon to select a previously uploaded file.
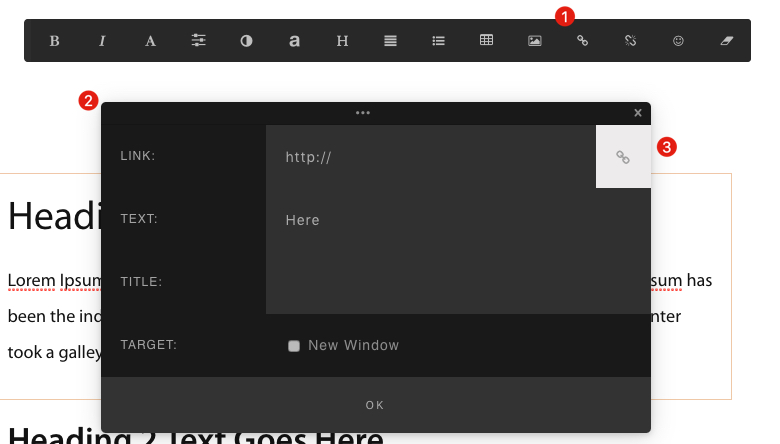
Add and Remove a Link
The next two icons are used to add or remove a hyperlink to text. The connected chain link icon is for adding a link and the broken chain link icon is to remove one. When you click the add link option (1) a window will pop up for you to set up the link (2). You can either enter a URL in the LINK line (i.e., to direct to another webpage) or use the white chain link icon (3) to link to a document.
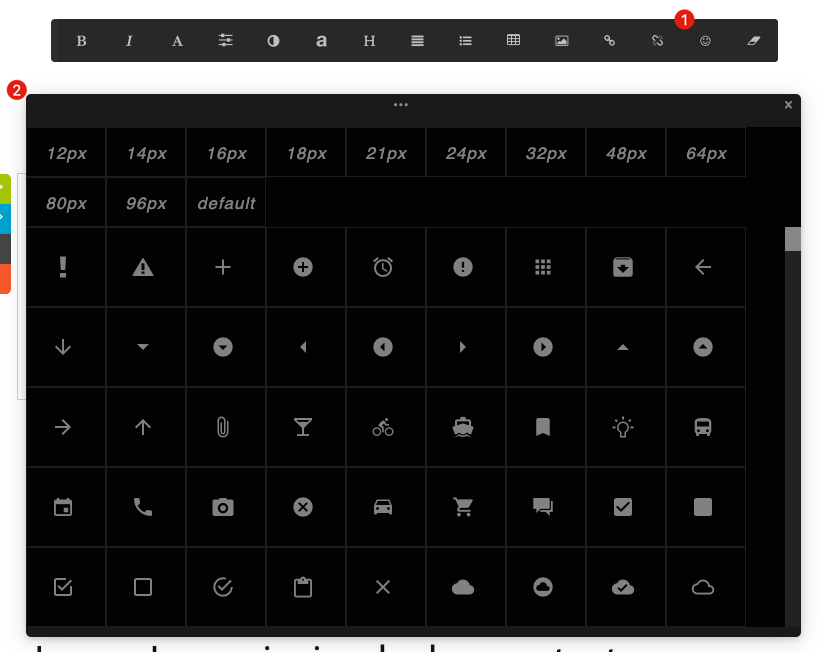
Insert Icons
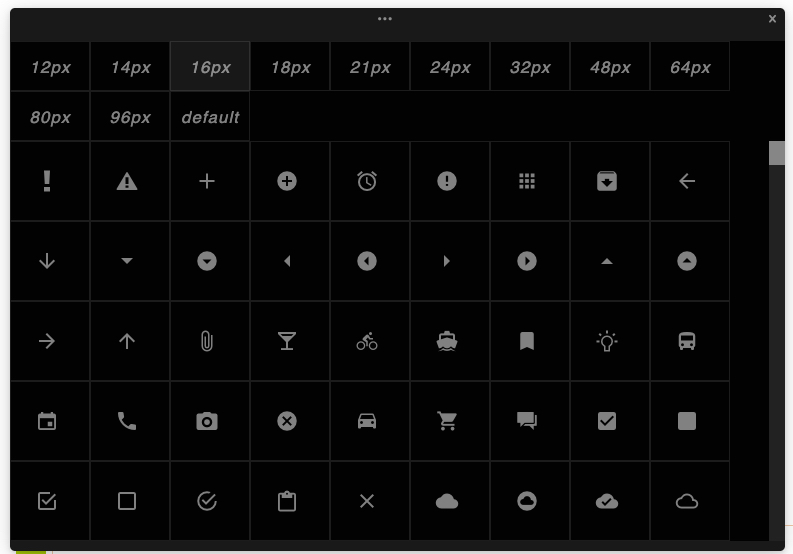
The smiley face icon allows you to insert icons/symbols. Clicking on the icon will bring up available icons that can be inserted into the content block (2). You can use the numbers listed at the top of the window to select the size of the icon.
Clear Formatting
The final icon in the list is the eraser, which is used to remove any formatting applied to the selected text. This will revert the highlighted text back to the default options.

Add Image Content to Website
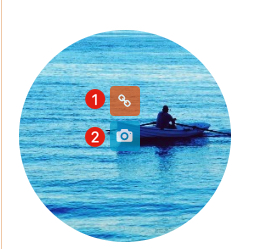
When you add a content block that includes an image, you’ll notice two options available when you hover over the image. You’ll see a chain link icon (1), which will allow you to view and manage the image settings and dimensions, and the camera icon (2), which is used to upload the image.
When you click on the chain link icon, a window will pop up with image settings. The SOURCE (1) will list the image you have selected. You can click the white chain link icon on this line to replace the image file. You can use the LINK (2) allows you to make the image a clickable link. You can either enter a URL or use the white chain link icon to link to a document. If you would like to have the link open in a new window you’ll want to make sure to mark that option (3).
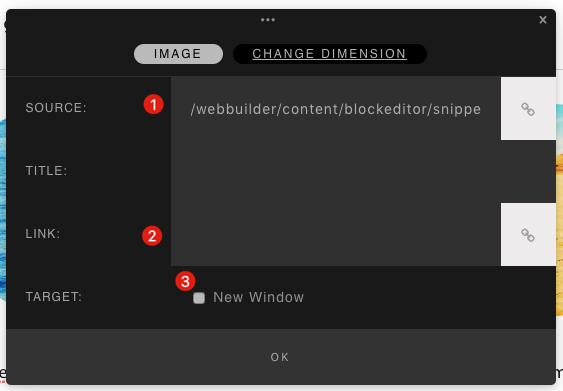
In that same window you can toggle over to Change Dimension to adjust the shape and size of the image. The first drop down (4) will determine the size. The second drop down (5) allows you to choose between a circle or square shape.
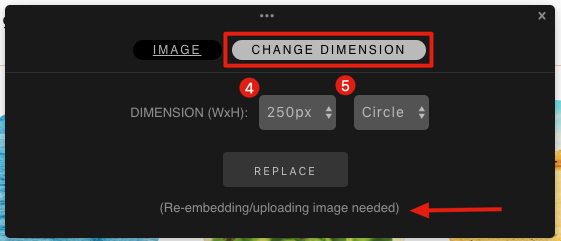
Note: You will want to adjust the dimensions of the image before uploading your photo. Otherwise you will need to re-upload the image after making adjustments to the image dimensions.
When you click on the camera icon, you’ll be prompted to select the file you want to add from your computer.
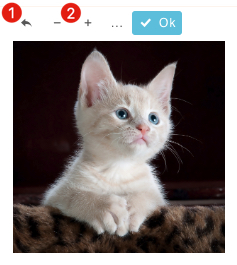
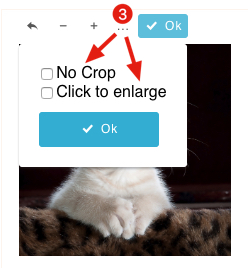
Once you select the image you’ll have a few options available. The return arrow (1) will cancel the upload and return to the previous image. The – and + (2) allow you to zoom in or out on the image. Clicking the ellipsis (3) will give you some additional options. No Crop indicates the the image should notbe cropped to fit within the selected shape/dimensions. Click to Enlarge makes the image clickable to view it larger. You’ll want to click OK to save the changes.
Add Video Content to Website
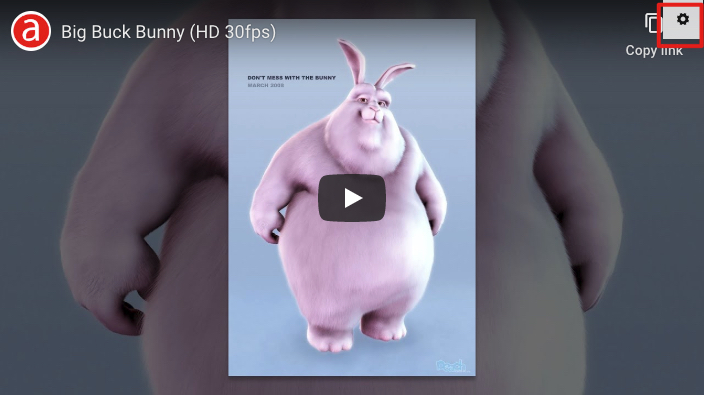
You can embed a video from a video storing site (e.g., YouTube, Vimeo, etc.) onto your page with one of the video content blocks. Once you add the block to your page, you can click on it to see the setting (gear icon) button on the top right of the content block.
This will bring up a window where you can enter the link to your video.
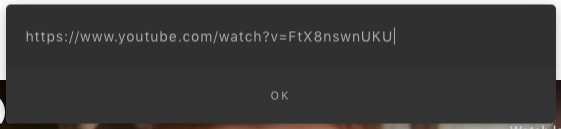
Once you click OK the video preview should update to display the video you have selected.
Add Social Media and Contact Content
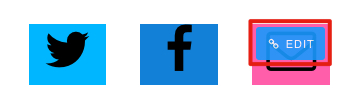
You can add links to your social media and email with one of the Social or Contact Info content blocks. Once you’ve added the content block you’d like, you can hover over the icon to view the Edit button. You can click on this to edit/set up the link.
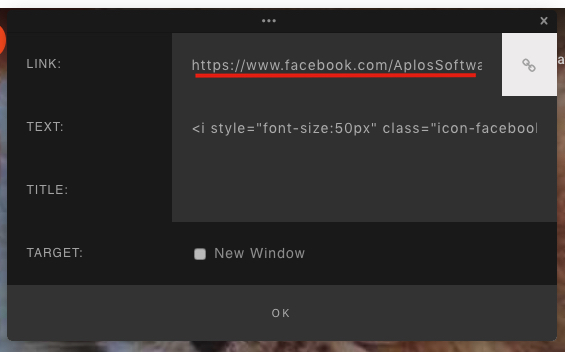
For Facebook, Twitter, YouTube, or any other social media site, you’ll want to update the LINK with your organization’s specific page URL.
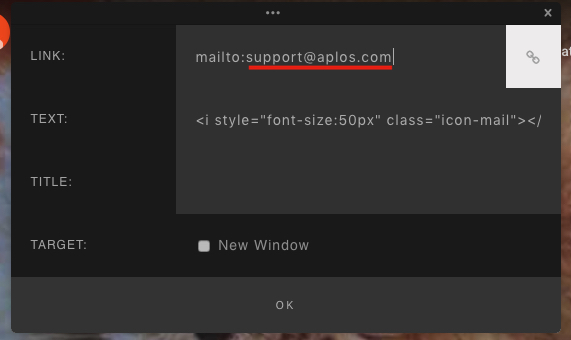
For the email option you will leave the “mailto:” preface and just enter the contact email address.
If you wish to change the icon used for any of the items, you will click on the icon itself, which will bring up the window with the available icons.
Add a Map to Website
You can also add a map, which comes from Google Maps, to your website. There is a Map category of content blocks and some of the Contact Info block also include maps. Once you have added the block you will click on it to view the setting (gear icon) button.
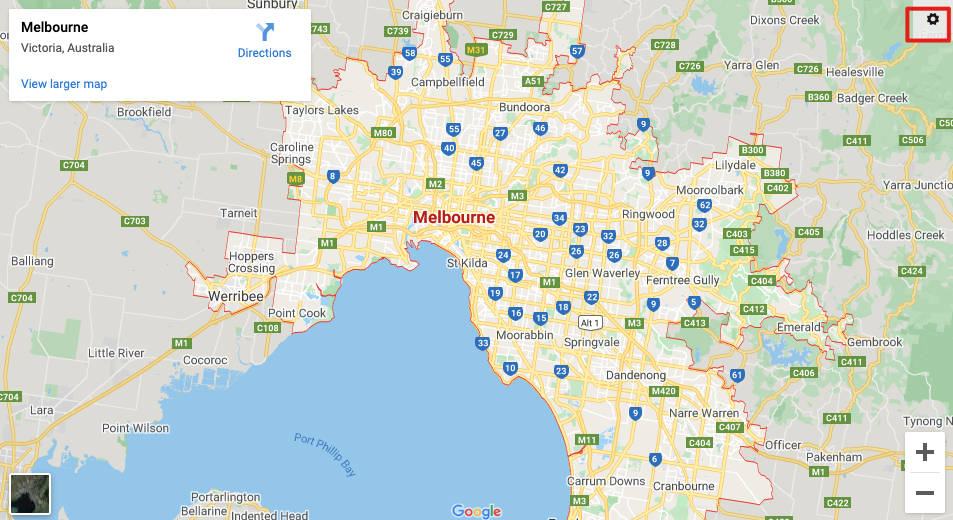
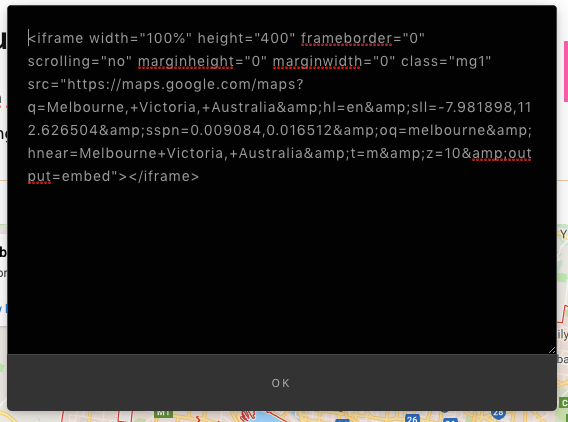
When you click on the button a window will pop up with the embed code of the example map.
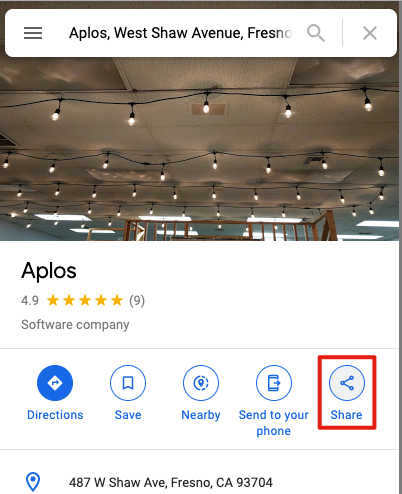
To get the correct information to paste into this window you will need to go to Google Maps and search for the address you want to display. Once you have found the address, you will want to click the Share option listed.
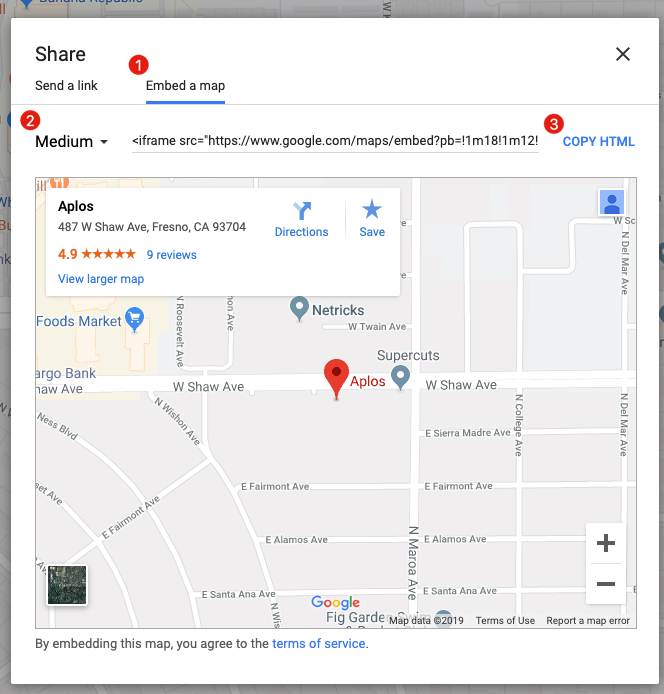
This will bring up a Share window. You will want to toggle to Embed a Map (1). You can then select the size from the dropdown on the left (2). Finally you will copy the HTML code (3). This is what you will paste into the window in your website builder.
Once you paste the code into the window you will click OK, which will then update the map.