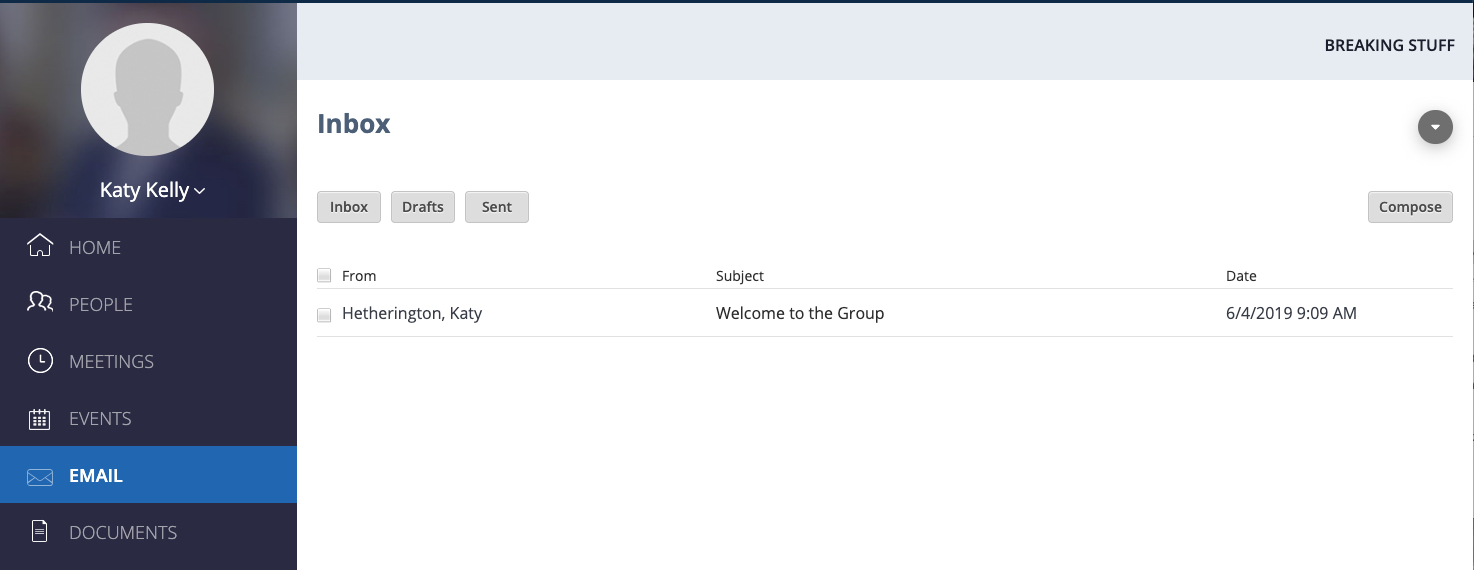
Sending emails within Aplos Groups & Teams is really simple. The layout is extremely easy to work with. You can view messages from your ‘Inbox’, ‘Drafts’ and ‘Sent’ items conveniently without having to open several folders.

This guide will take you to the Email feature of Groups & Teams where you will learn how to manage your emails and create distribution lists.
To check your messages, you would simply need to click the Inbox button. It is also the default screen you’ll see when you click the Email menu. If you want to read your Sent or Draft messages, just click the corresponding button. You will immediately see the sender, the subject, and the date and time the email was sent/created.
If you want to send an email, please click the Compose button. A new page will appear.

Fill out all the necessary information.
- You can send emails to ‘ALL MEMBERS’, a particular member, committees, and distribution lists. Fill in the ‘Recipients’ field with that information. You can exclude certain members if you want. You can also send emails to guests.
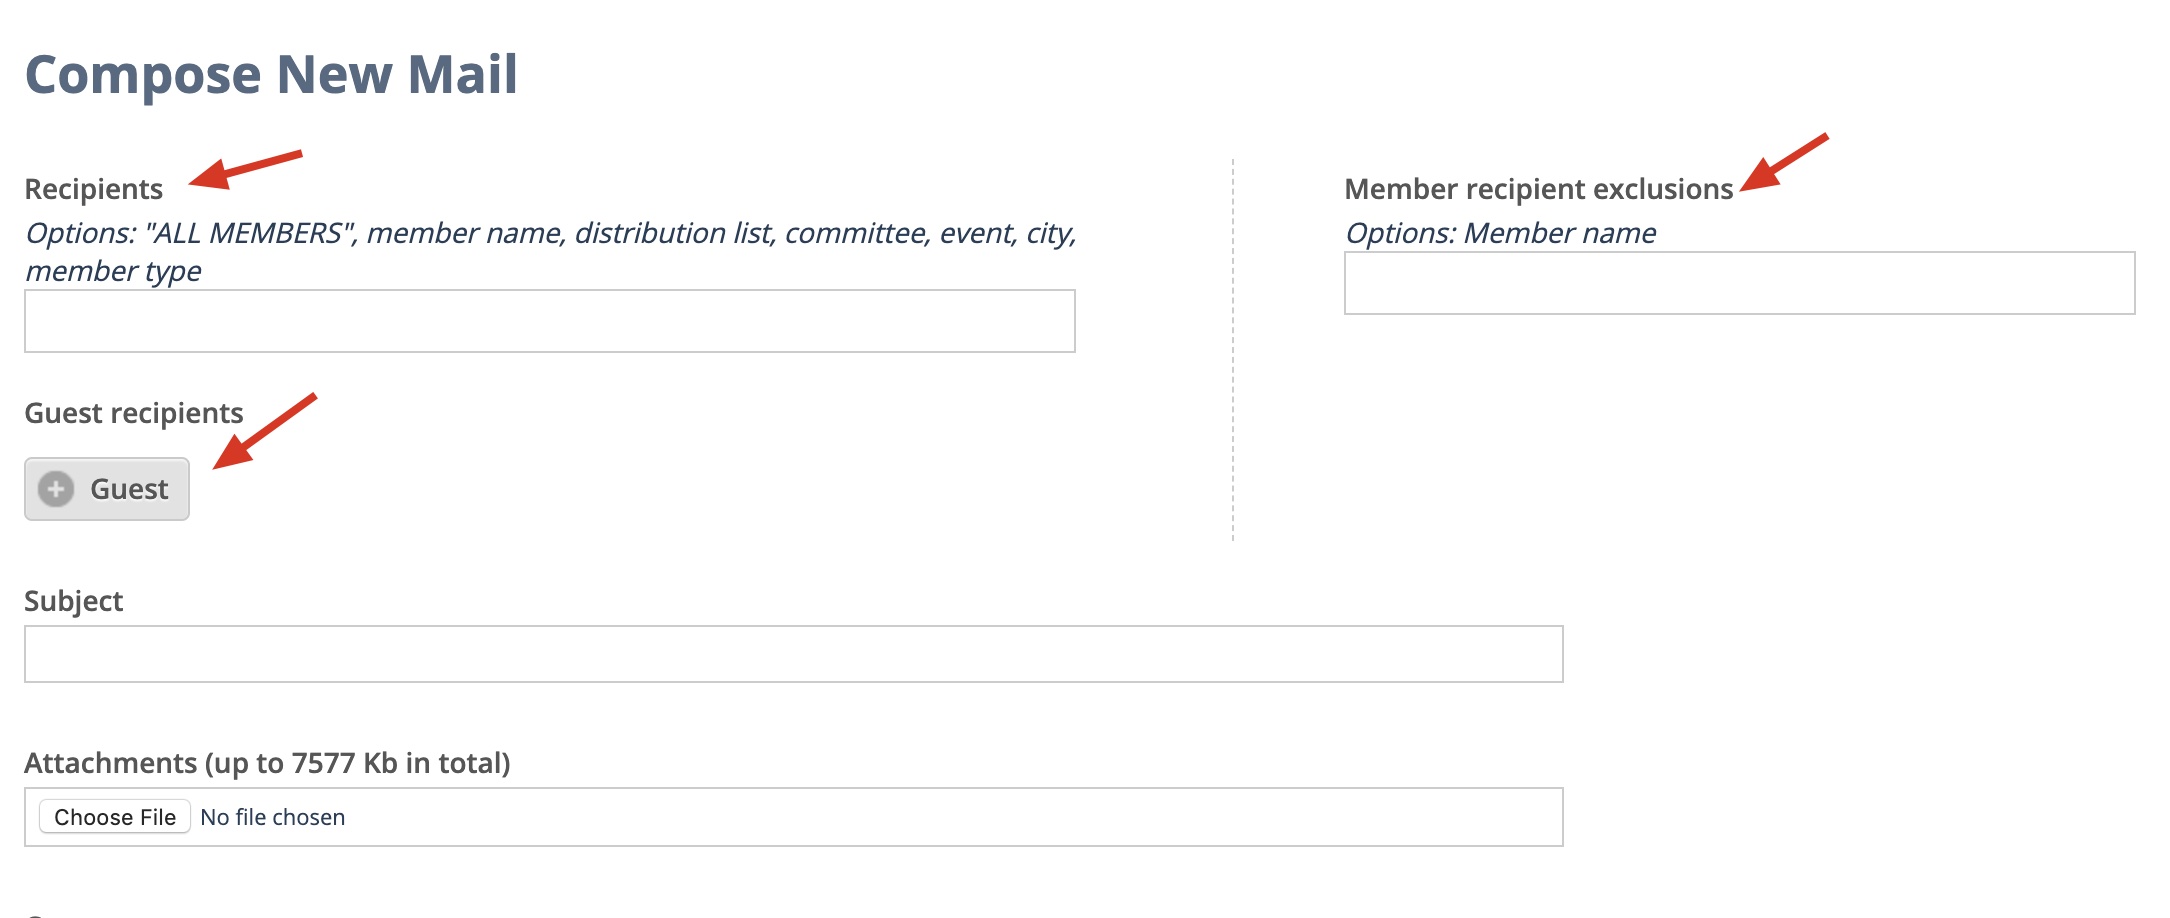
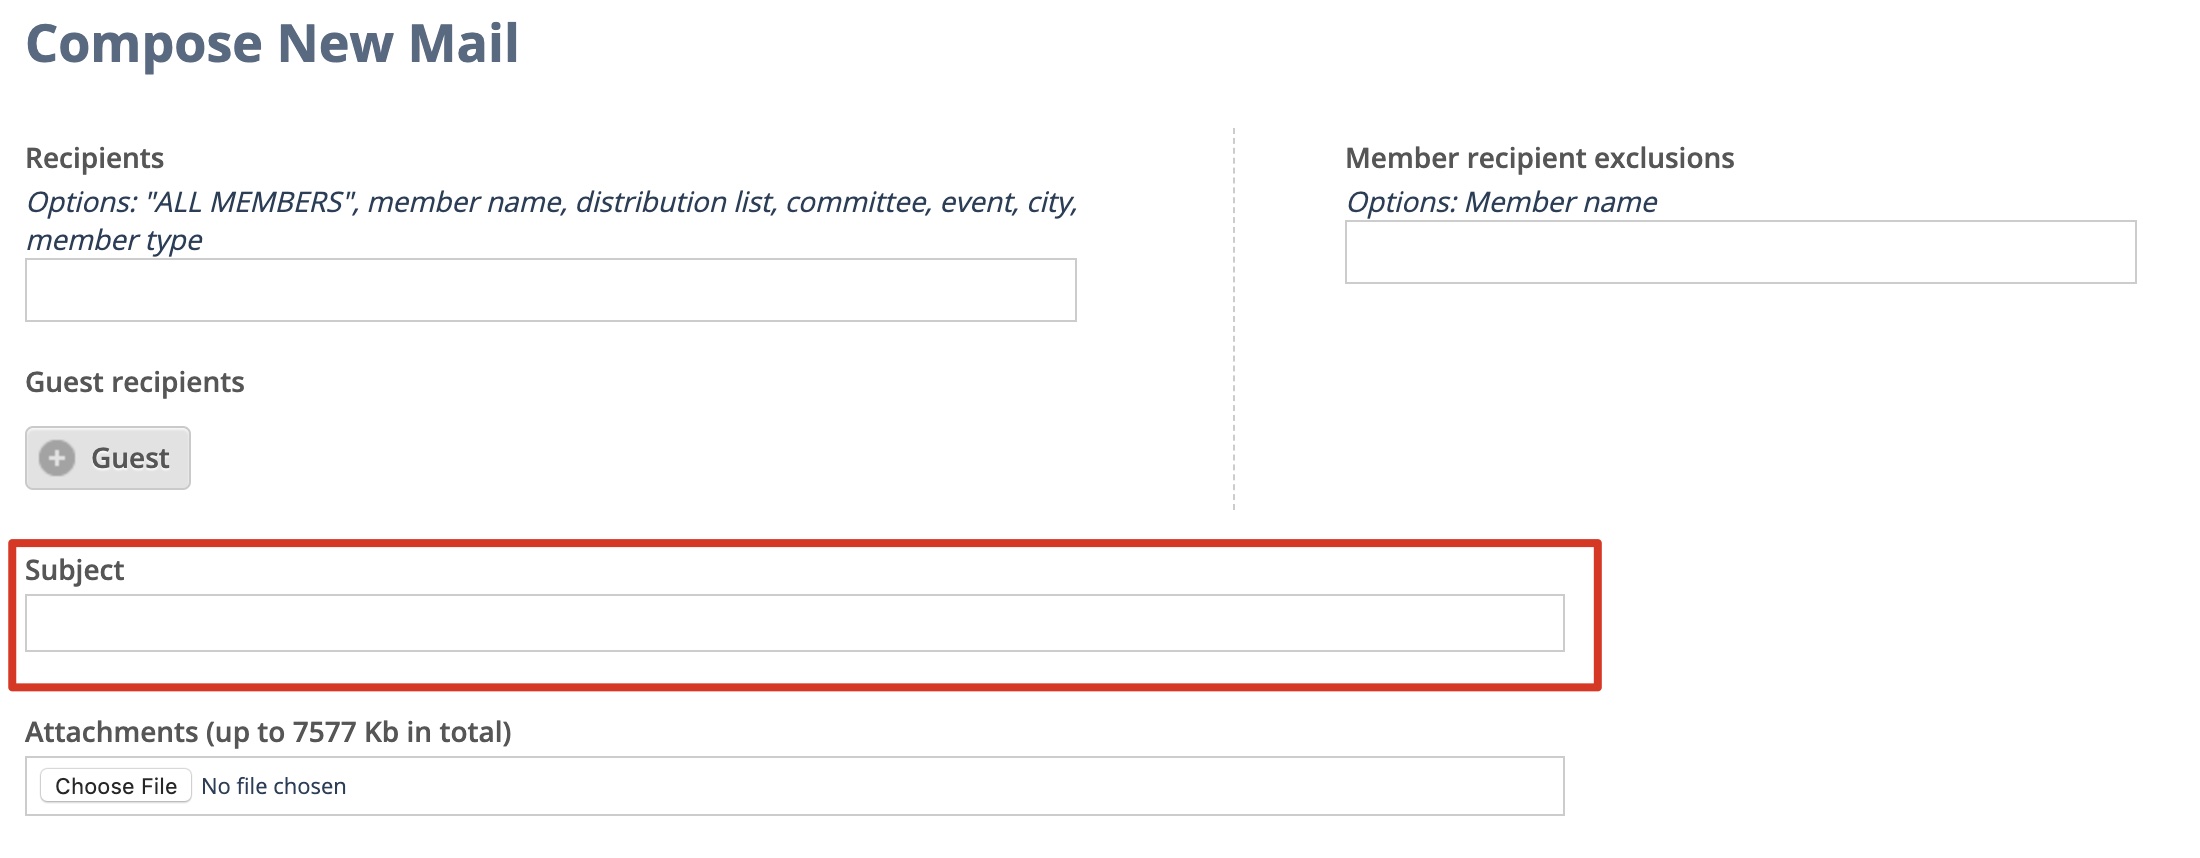
2. Enter the subject of the email.
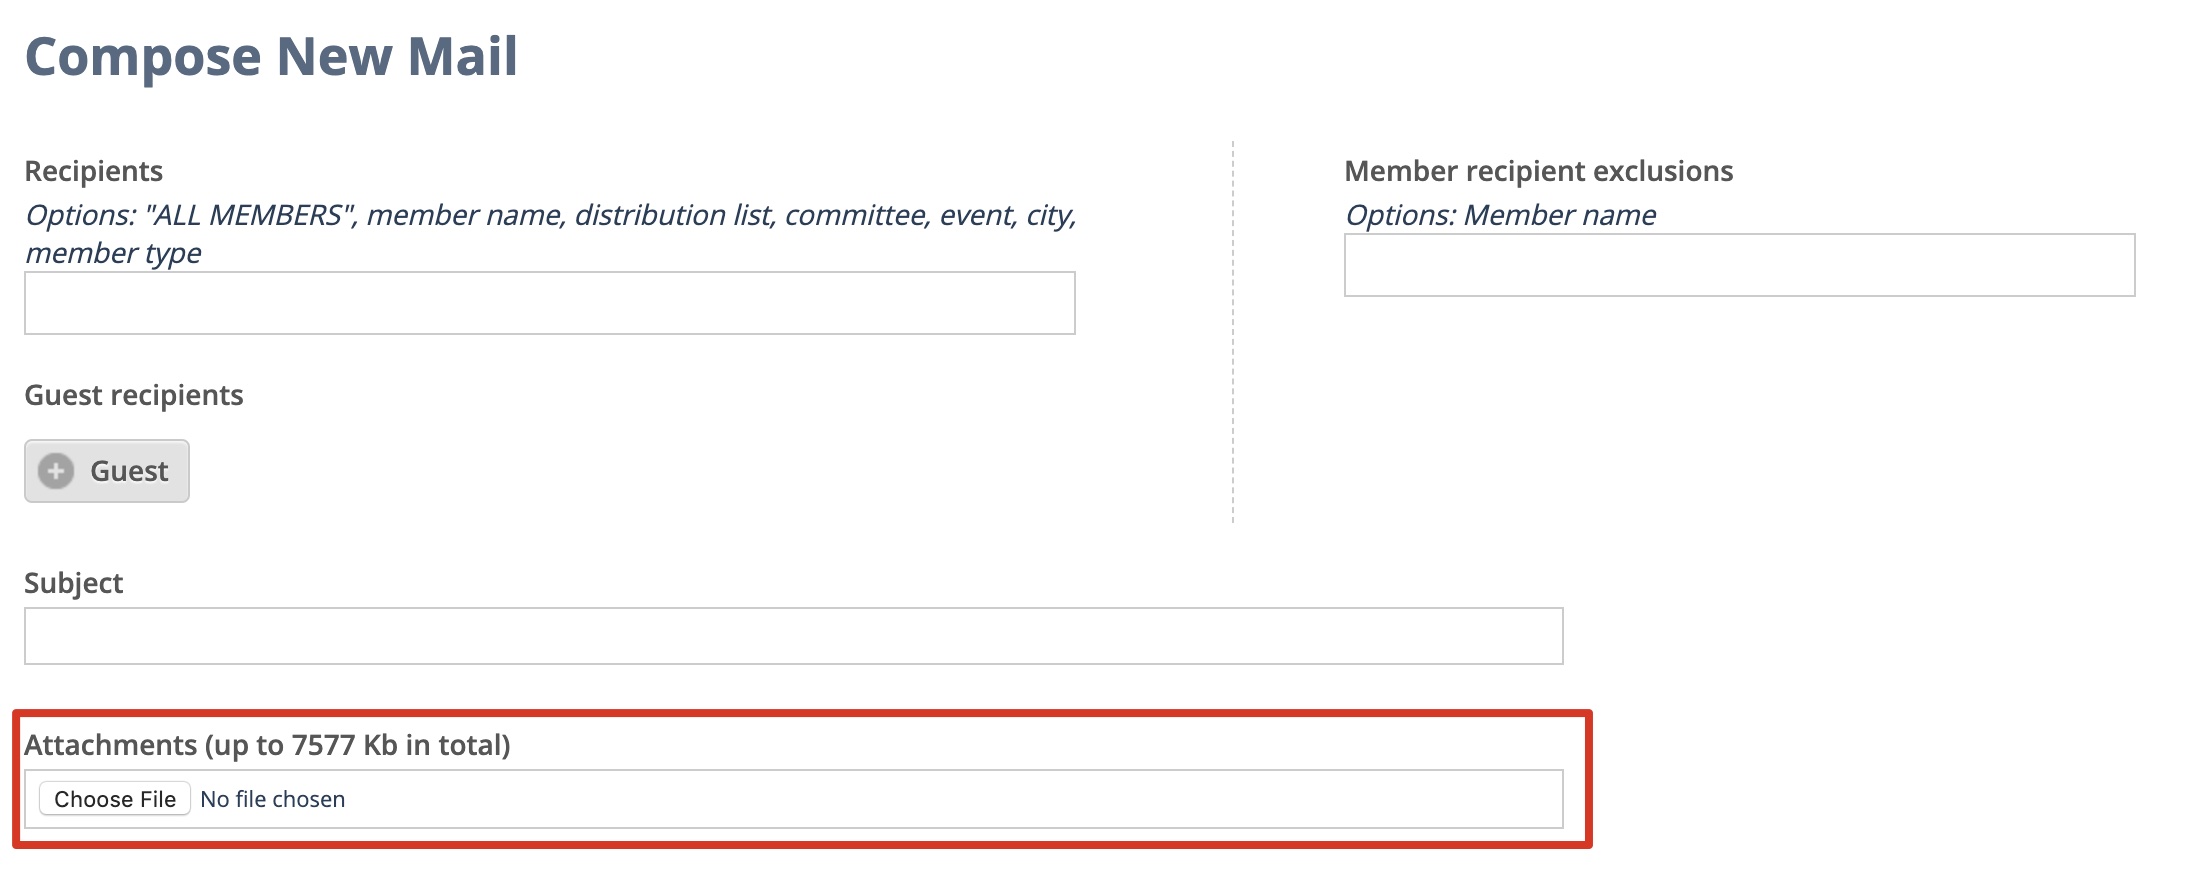
3. Add attachments, if needed.
4. Enter the email content.
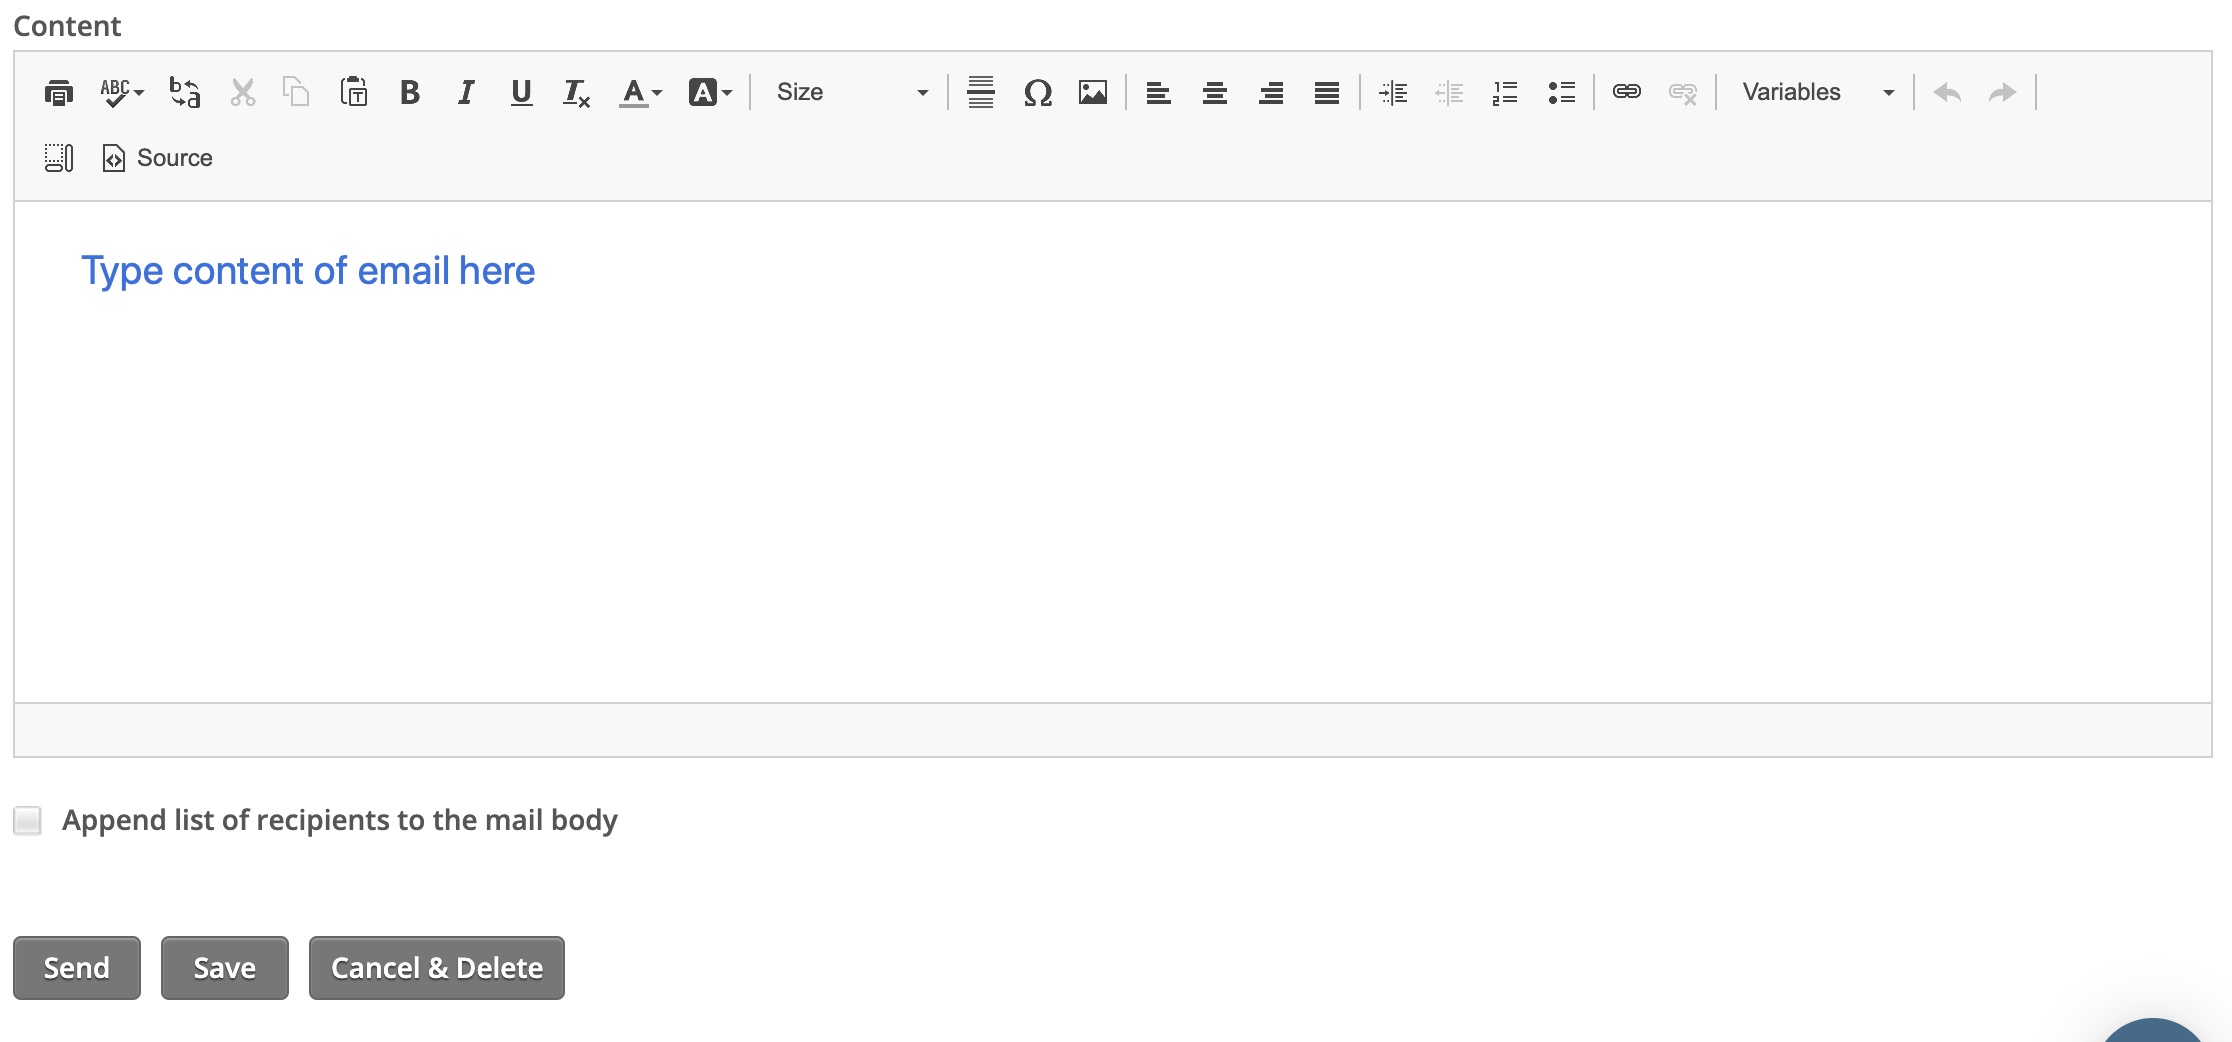
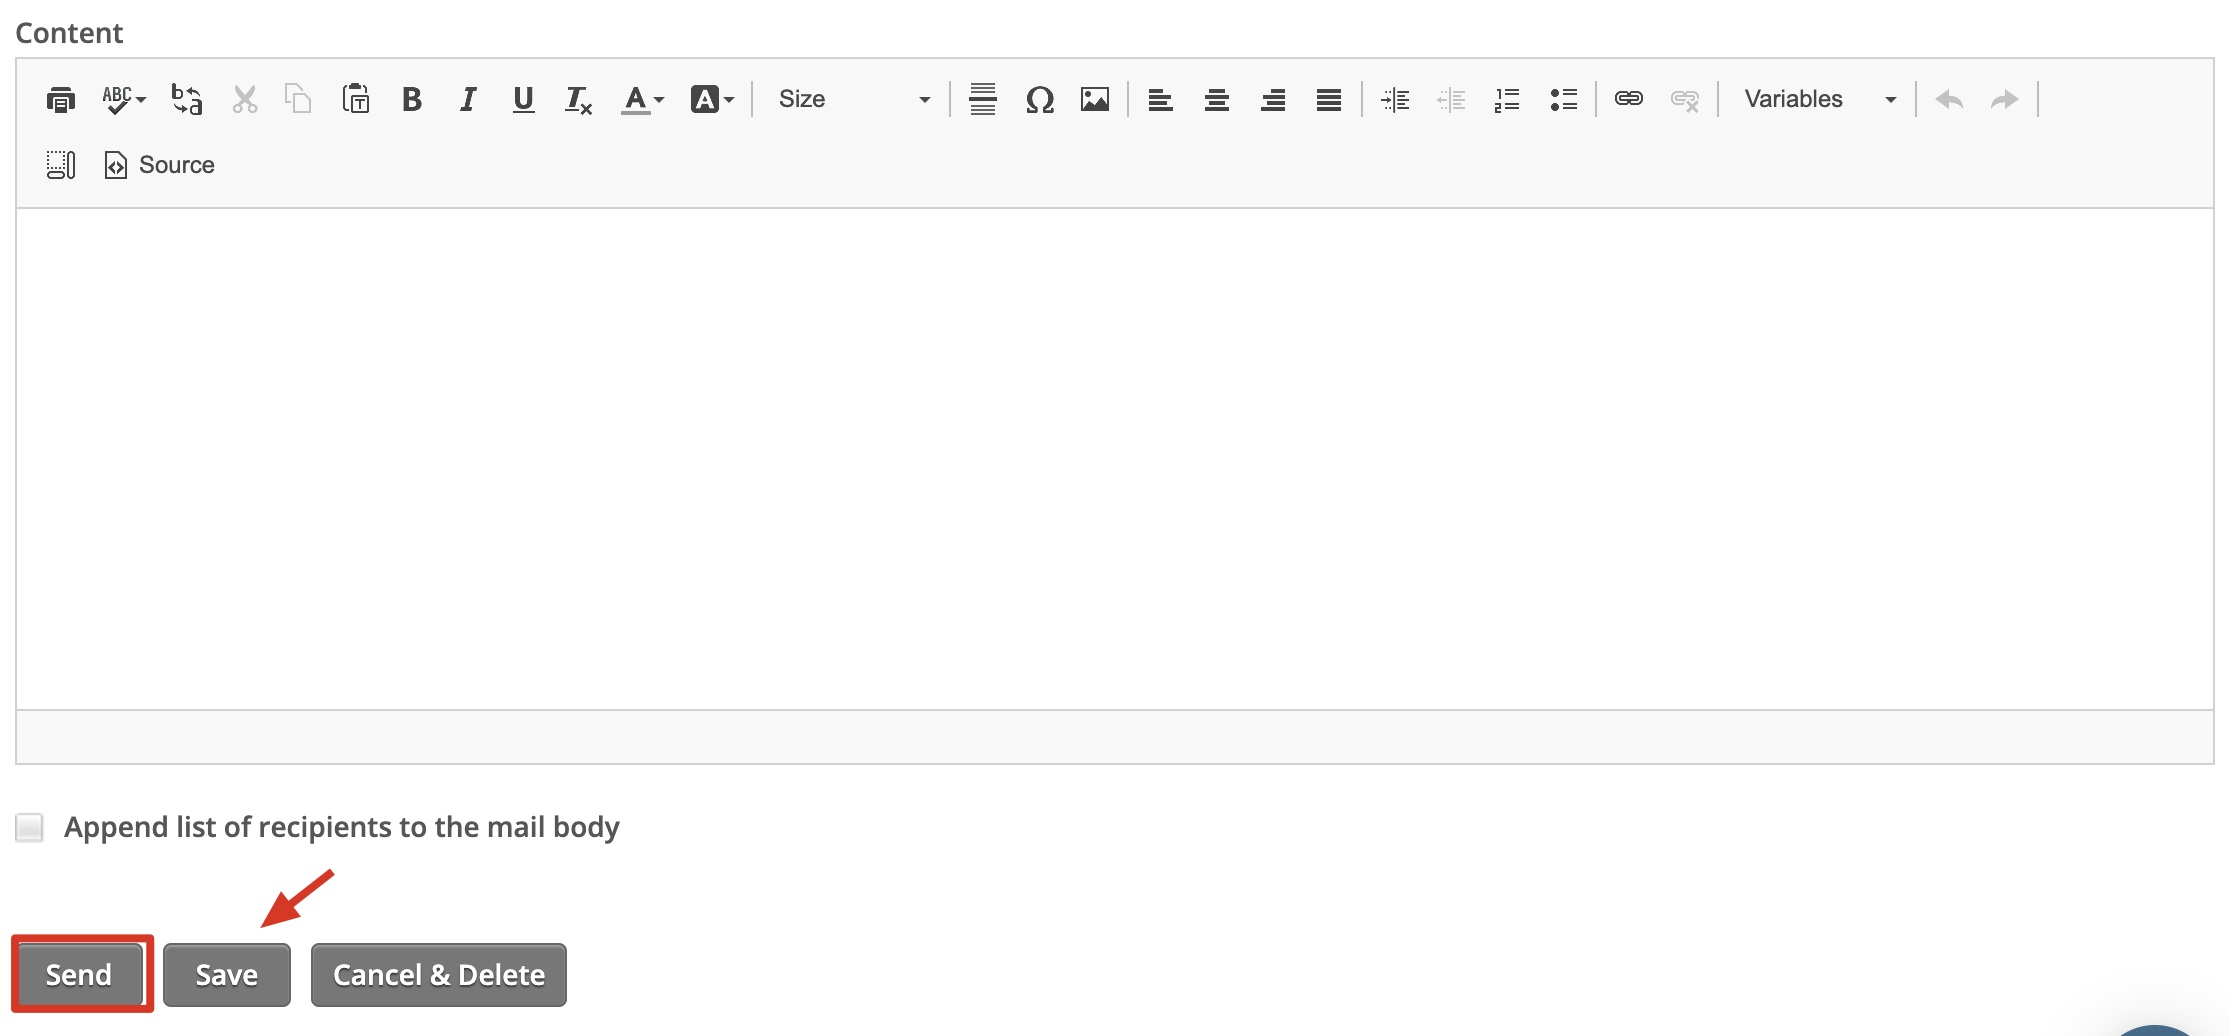
5. You also have the option to append the list of recipients to the mail body.

6. After creating your email, you can send it immediately or save and send it later.
In the ‘Email’ area you can also find Notifications.
After clicking the red Notifications button, you have the option to select a notification type from the dropdown menu. Choosing a template will auto-populate the subject and content box. You can edit it according to your preferences.
Note: After selecting a notification type, there is a short description explaining its use. The notifications are used for automatic informing of your club members.
When you want to send an email to multiple recipients, you can create a distribution list.
After clicking the Distribution Lists from the dropdown menu, a new page will appear showing your distribution lists. You can view the members and non-members from a particular list by clicking the magnifying glass icon. You can edit or delete a distribution list anytime by clicking the corresponding icon.
If you want to create a new list, click the Create List button. A new page will appear.
- Enter the name of your distribution list and a short description.
- Select members or committees to include to the list and click the Add button.
- You can also add non-members by entering their name and email address and clicking the Add button. Click the Create button to save your list.