Create Email Distribution List
Distribution lists allow you to quickly send emails and newsletters to groups of members and non-members. Through this function you have the option of sharing distribution lists with members or keeping them private.
- Click the Email icon on the navigation menu on the left.

2. Click the Action icon and select Distribution lists.
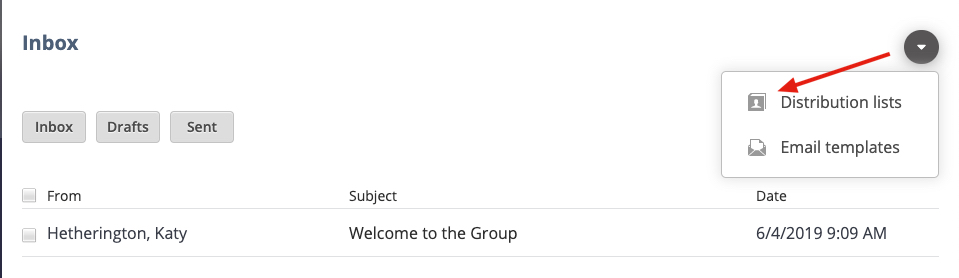
3. Click the Action icon and select Create List.

- Edit the Name field. Ensure that the list name will be easy for you to identify, especially if you choose to share the distribution list with others in your club.
- Edit the Description field.
- Edit individual members
In the Members area, start typing in the member’s name and then select it from the drop-down list.

4. To add a non-member to the distribution list, click +Non-Member to add individuals who are not members of your club. If you would like to remove a member from the distribution list, click the trash icon next to the non-members name in the Non-Member section.

5. Click Create to create your list.
Edit Email Distribution List
Distribution lists may need to be updated. Easily edit your distribution lists to ensure the appropriate members and non-members are receiving the information they need.
1. Click the Email icon on the navigation menu on the left.

2. Click the Action Button and select Distribution lists.

3. Locate the needed list. Click the pencil icon to edit the list.

1. Edit the Name field. Ensure that the list name will be easy for you to identify, especially if you choose to share the distribution list with others in your club.
2. Edit the Description field.
3. Edit individual members.
In the Members area, start typing in the member’s name and then select it from the drop-down list.

4. To add a non-member to the distribution list, click the +Non-Member button to add individuals who are not members of your club. If you would like to remove a member from the distribution list, click the trash icon next to the non-members name in the Non-Member section

5. To delete a member, locate him in the Members box and click the “X” icon.

6. Click the Save button to save your edited distribution list.
Note: Access the list by clicking the Email or Newsletter icon and then clicking the Distribution lists button.
Note: Access the list by clicking the Email or Newsletter icon and then clicking the Distribution lists button.
Delete Email Distribution List
Distribution lists may need to be deleted. Easily delete distribution lists as they are no longer needed. This will aid in keeping the lists current.
- Click the Email icon on the navigation menu on the left.

Click the red Administration icon and select Distribution lists.

3. Locate the needed list. Click the magnifying glass to view the list, the pencil icon to edit it and the trash icon to delete the list.

4. In the Delete Distribution List window, click Yes to delete.
