
Bill.com takes away the hassle of paying bills—all you have to do is take a screenshot of your bill, upload it, and the website will do the rest. They will either pay electronically through ACH or print out physical checks and mail them.
Step 1: Upload Your Bill
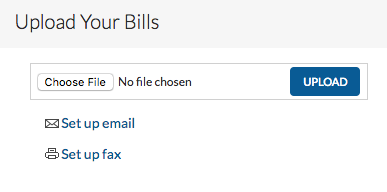
Start by taking a screenshot of your bill and uploading it into the account you created on Bill.com. An AP (Accounts Payable) clerk will then transfer the information on your bill onto a summary card, which you will be able to view.
Step 2: Upload Your Chart Of Accounts
Upload your Chart of Accounts from Aplos to Bill.com.

———
 After you record your bill and save it, the approver for your organization needs to approve it. Afterward, you can now pay the bill.
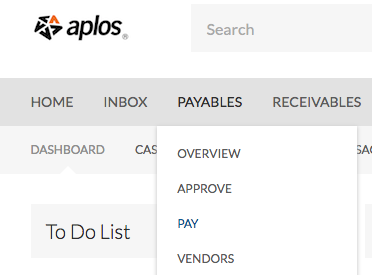
Step 3: Paying Your Bill
Go to the Payables tab and click on ‘Pay’.
This will bring you to your list of bills. At this point, you should have already uploaded your bill, and once your organization’s approver has approved payment, payment will be possible. Click on the checkmark box on the righthand side for any approved bills you would like to pay, then scroll to the bottom of the list where you can find a ‘Set Up Bill.com Payments’ button. This will set up your bank account with Bill.com.
Once you’ve confirmed for the website to pay, Bill.com will take it from there. You have the option to either have them print the check and print it out, or have them pay through ACH.
Note: With Bill.com, you will not need to utilize the Accounts Payable module in Aplos.
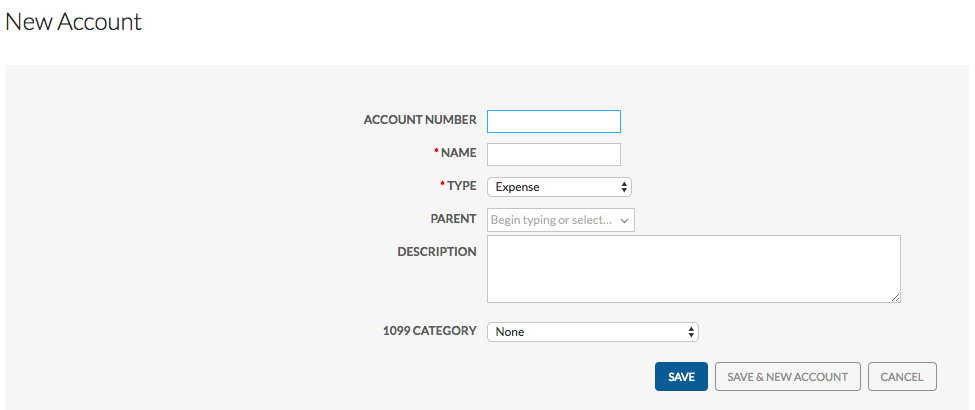
Step 4: Recording The Payment
After the bill is paid, go into Aplos and navigate to your ‘Account List’ tab in the ‘Accounting’ section. This is where you will add a new payable account for Bill.com. Scroll down to the Liability section, then click the + symbol in the Payables section. Create the Liability account where you will record your bills paid through Bill.com, and then record it.
Note: You will only need to do this the first time you pay a bill with Bill.com. Afterward, every bill afterward will be included in this new payable account.
Next, go to the Import/Export option in Settings on Bill.com.
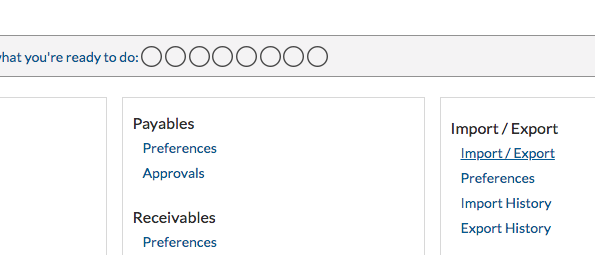
This will allow you to export the bills you have paid into a Microsoft Excel file. Export it and open the file.You will want to switch all the cash values to the opposite of what they are, and to do so, multiply each value by -1. Save the file. Now go to Aplos and navigate to the ‘Registers’ section, which can be found under Fund Accounting –> Transactions.
On this page, click on the ‘Import’ button on the top right corner. You can follow this guide to learn more about using the Manual Import tool to import your file of transactions into Aplos.