Locations in Aplos can be used in your Check-In, Event Registrations, and Groups & Teams.
Your locations can be viewed and managed from the Locations Management screen, which you’ll find in the action menu on the Check-In screen.

You can click on the green “+” in the upper right to create a new location.

You can then add the name and address for the location on the “Add location” screen.

Next, you’ll select the screen(s) in which this location will be available.

Finally, you’ll add the rooms of this location. These will be the rooms or areas within the location that will be available for use. To add a new room, click the “add new” link on the right.
You’ll then be able to add the room name and capacity. You can click “add new” to add additional rooms. When you’re done setting up all of the location’s details, you’ll click “save.”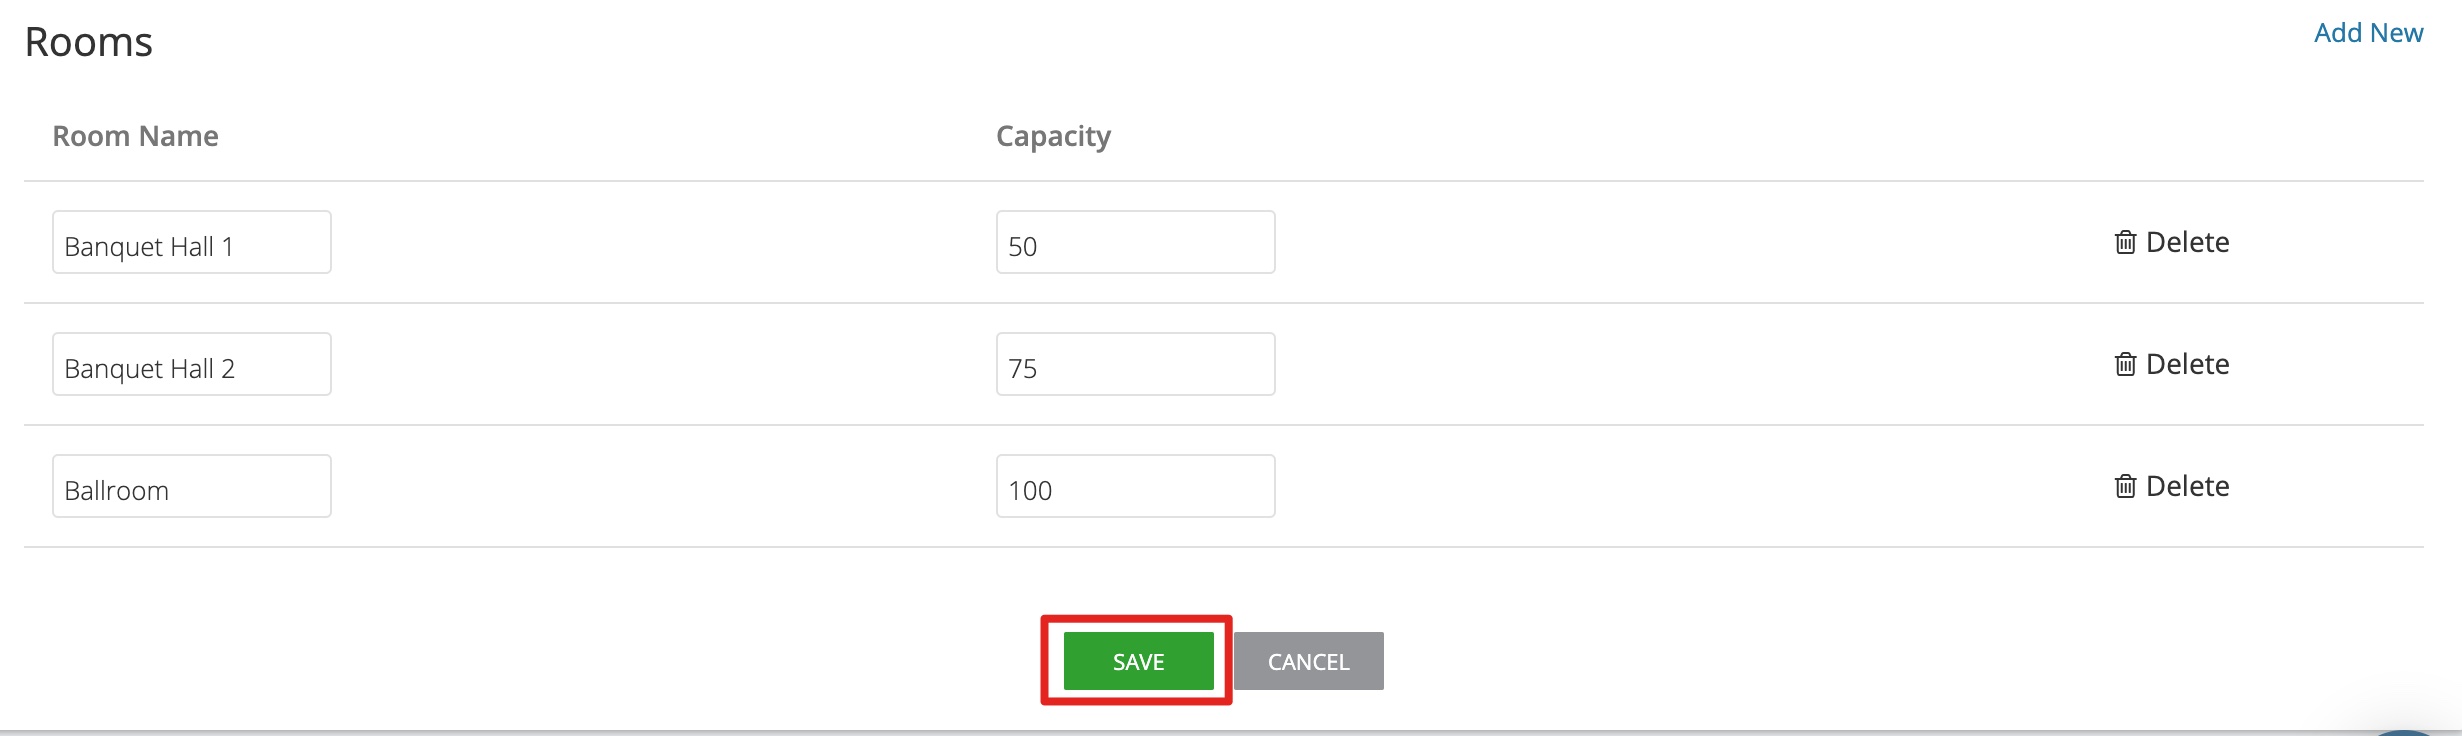
You’ll be taken back to the main Location Management page, where you should see the new room listed.
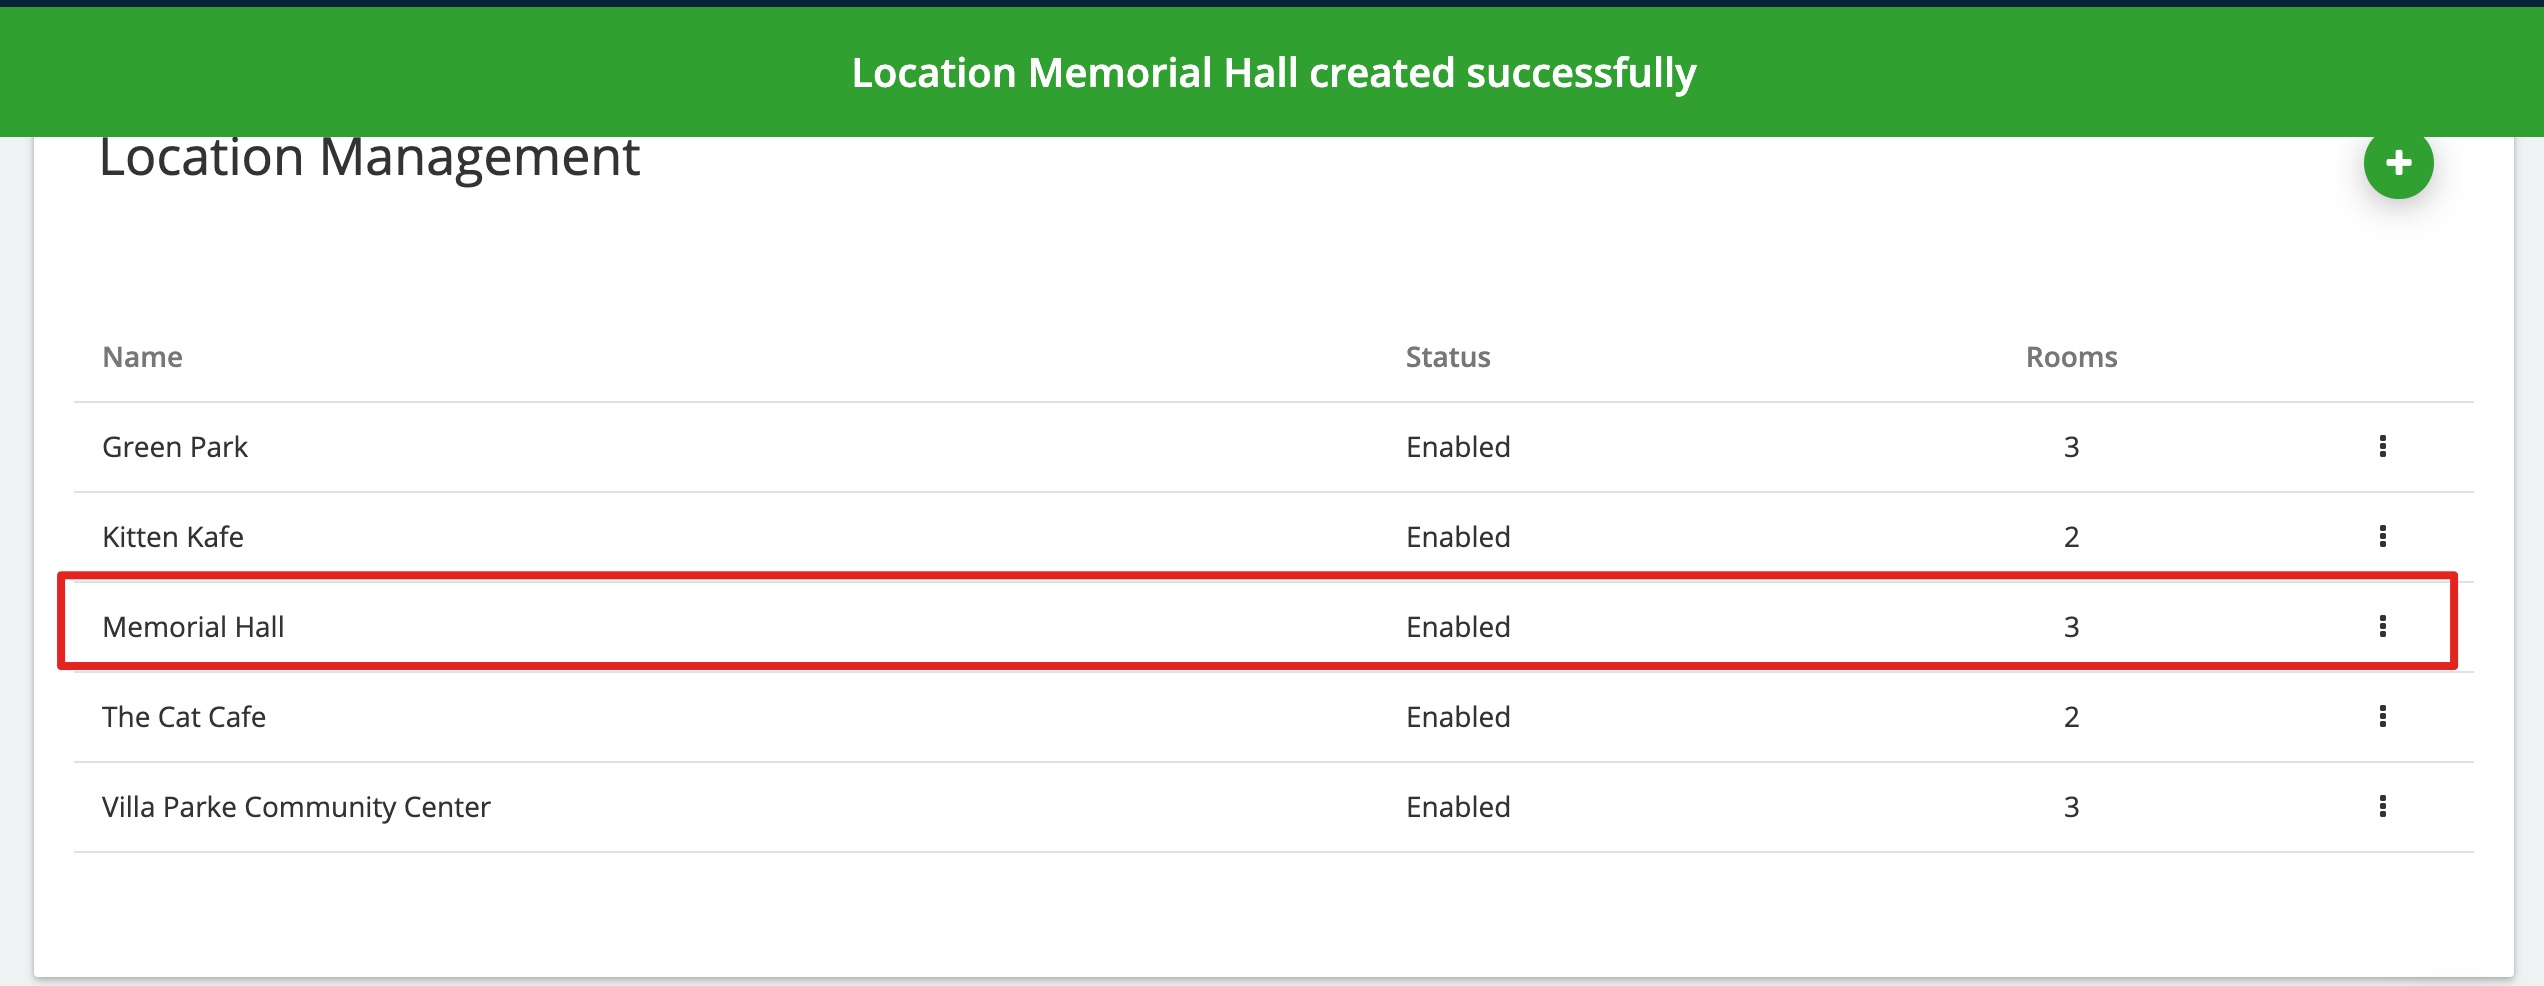
If you need to edit a room, you can click the ellipses on the right to be taken back to the location’s edit screen.

Check out the screencast below for a full walkthrough of creating a location.