With Email Campaigns in Aplos, you can communicate with your donors more often and more effectively. Whether it’s customizing the template for your online donation emails, setting a reminder to communicate with a donor, or sending an email campaign, Aplos makes it easy.
Individual Communication On The Feed
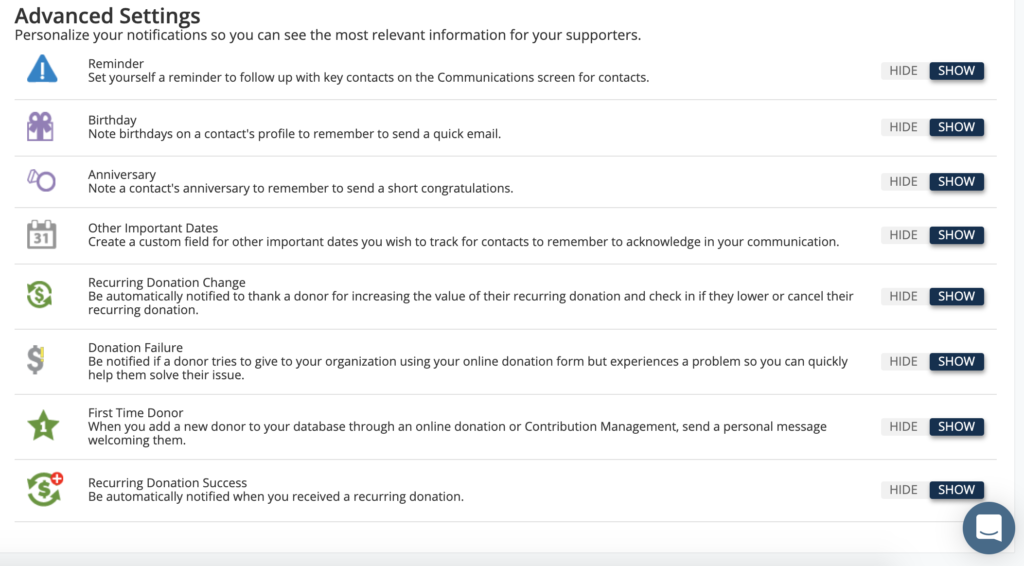
The Feed gives you a snapshot of who you need to communicate with, and it’s easy to send these communications right from this page. On The Feed, you will see activity for Reminders, Birthdays, Anniversaries, Recurring Donation Changes, Donation Failures, First Time Donors, and other important dates. You can edit what you see on The Feed from your settings.
Actions In The Feed
From each event, you will see response options, which include the ability to Dismiss, Postpone, Add a communication, Email a template, or Email a message.
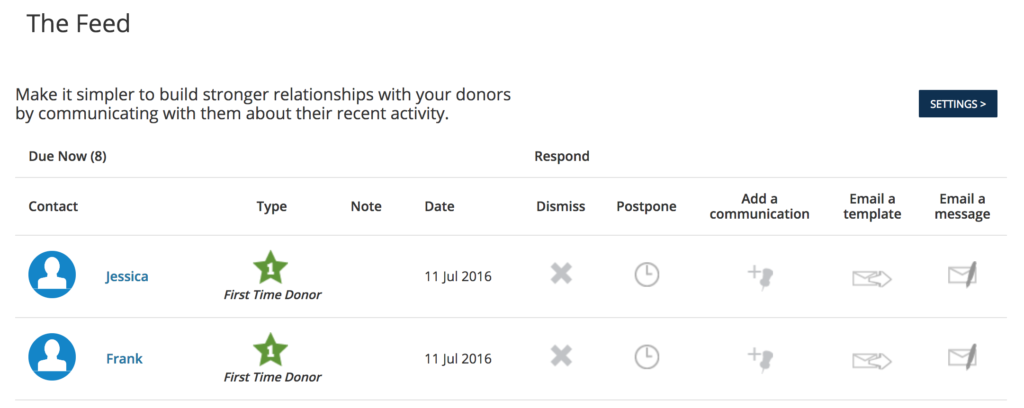
Dismiss: Dismissing the reminder will remove it from The Feed altogether and won’t trigger any follow-up actions.
Postpone: Postponing will allow you to change the reminder so you can take action at a later date.

Add a communication: This allows you to leave a communication note on the donor’s contact.

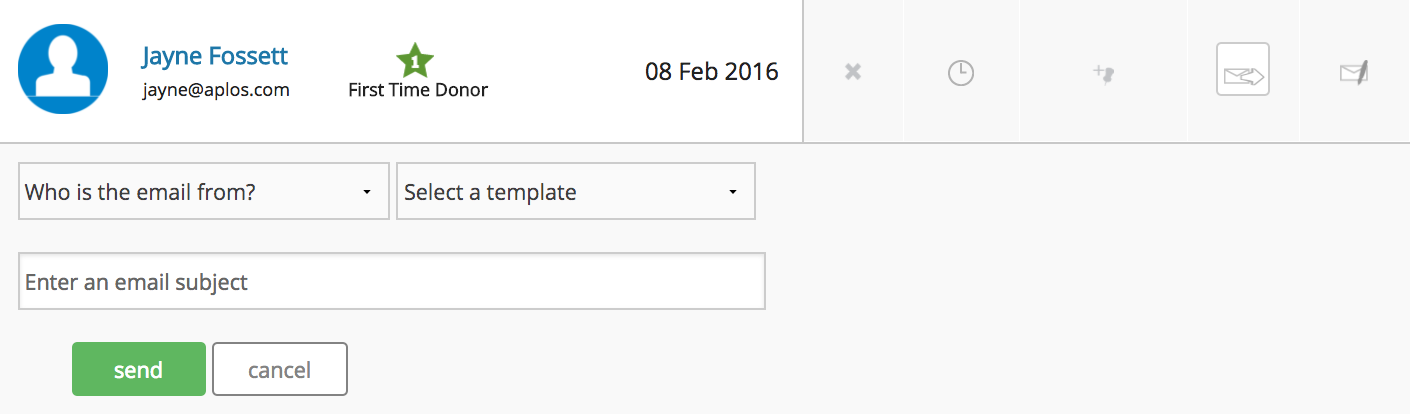
Email a template: This allows you to generate an email to the donor using a template you have already created.
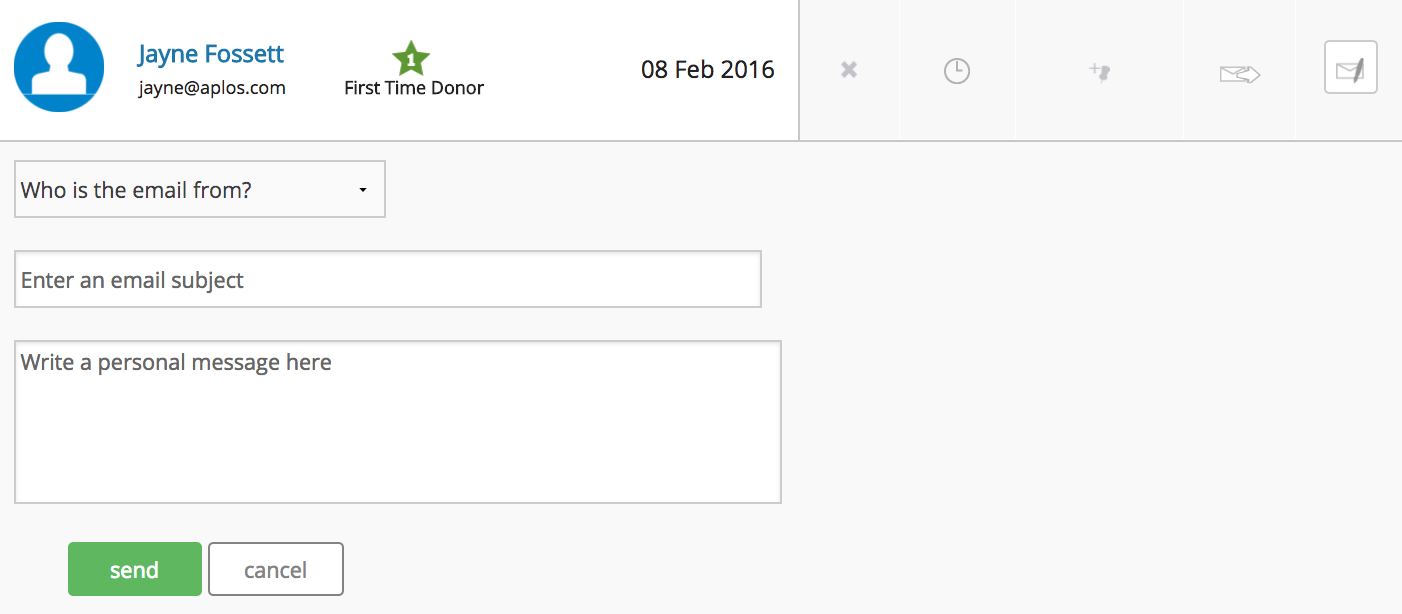
Email a message: This allows you to create and send a text-only email to the donor.
Creating Reminders
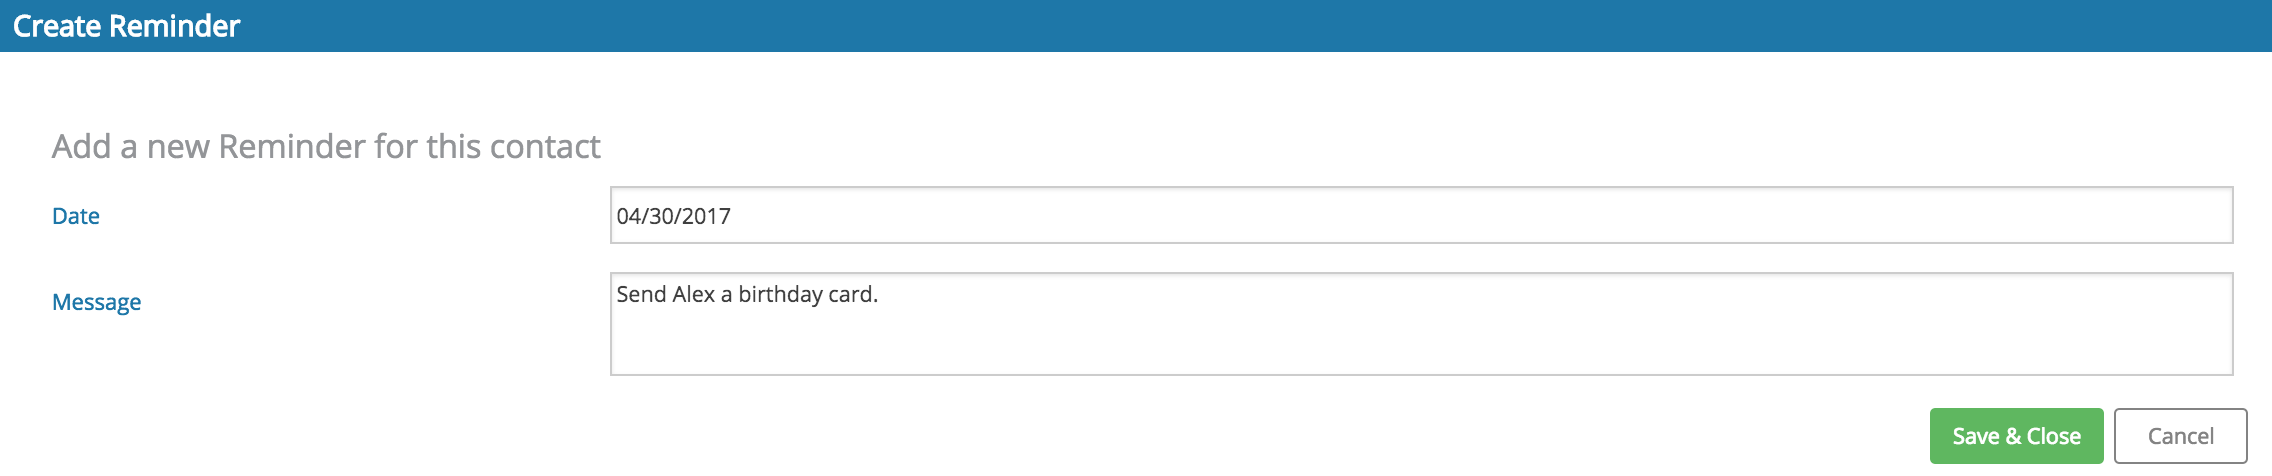
You can create a reminder that will trigger on The Feed from a donor’s contact. From their contact, you will click the Add button. This will give you the ability to enter a date for your reminder and the type of communication that needs to take place.
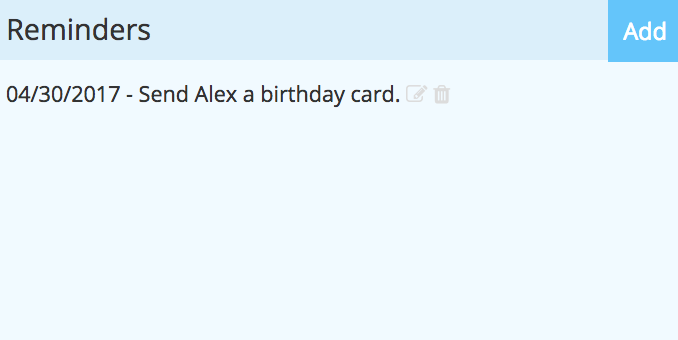
Once saved, you will see this display on the Reminders tile. You can edit or delete it by clicking the icons to the right of the reminder.
Going back to The Feed, you’ll see your reminder. Then you will be able to complete the appropriate response.

Creating A New Email Template
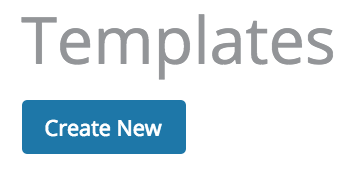
Here you will find a list of templates you can use to send emails to your donors. From the list of your templates, you can choose to create an email. Or you can create a new template by clicking the Create New button.
Choose your style by clicking the Select button on either the Fresh or Modern design. You will then walk through the template builder to enter details. First, add your template name. You can also add an optional description. The name and description is for your use only. Your donors will not see this when they receive the email.
Next, you can add components to your template. You can add a banner image, header text, main image, and text within the body of the template. Add, edit, or delete any of these options by hovering your mouse over the component.
You can also add a button to your template.
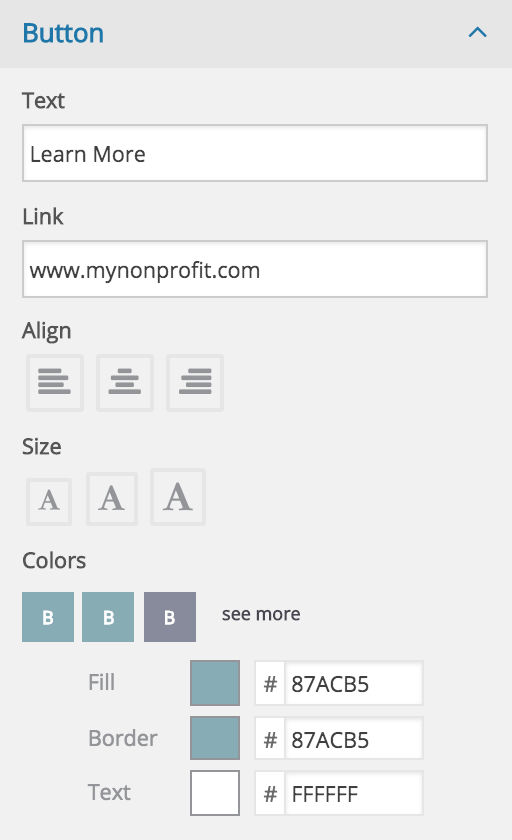
When adding a button, you can assign the button text. You will also need to enter the URL so the recipient will be taken to the appropriate page upon clicking the button. If the URL is not included, you will basically just have an image of a button, but it will not direct the recipient to a different page when they click it.
Feel free to add other fields to your template by clicking a new section layout.
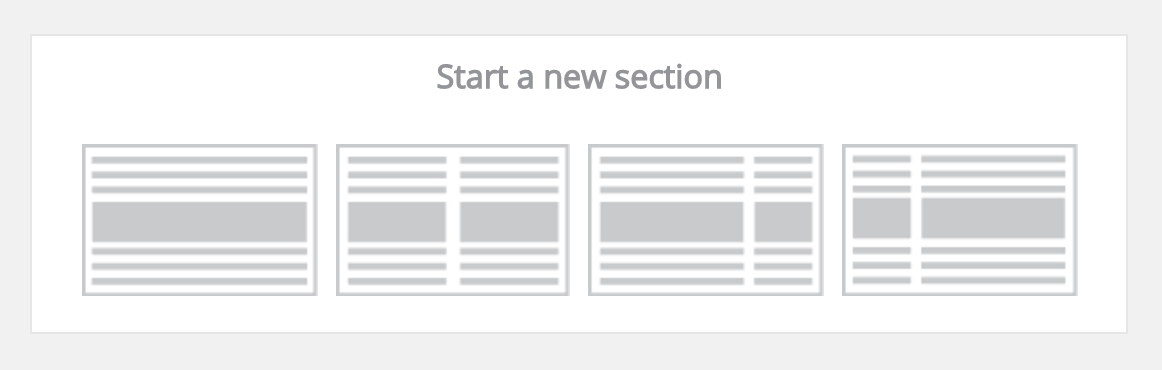
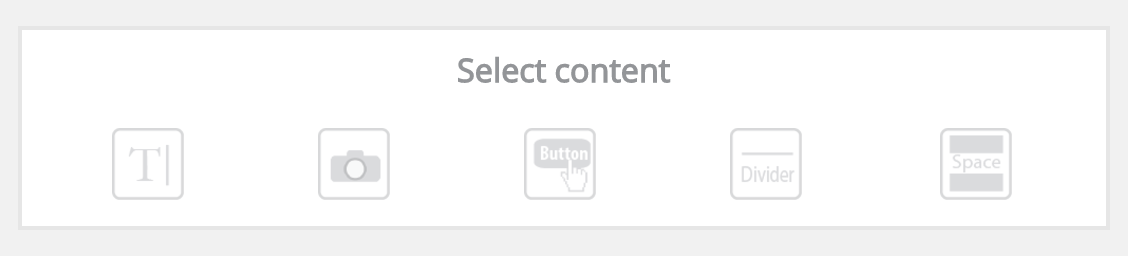
Clicking the plus (+) button within the section will give you the option to add text, images, buttons, dividers, or spacing between each individual section.
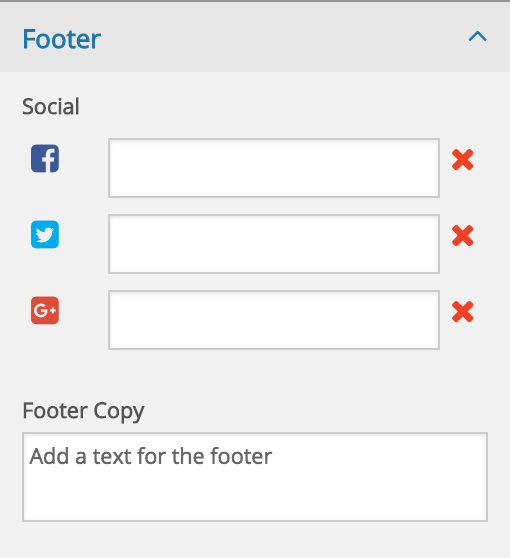
The footer of your template will automatically include your organization’s contact info. You can edit this in your Org Info if needed. You can also add links to your social media or add additional footer text.
Once you have everything dialed in, you can click “Save & Exit” or “Preview.”
Creating An Email Campaign
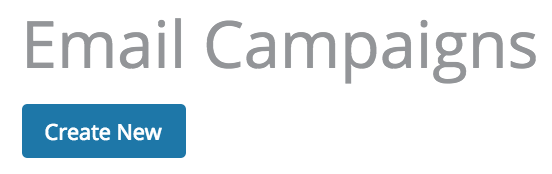
Create and send email campaigns to your donors directly from Aplos. From this page, you can create a new campaign, view drafts, and view previously sent campaigns.
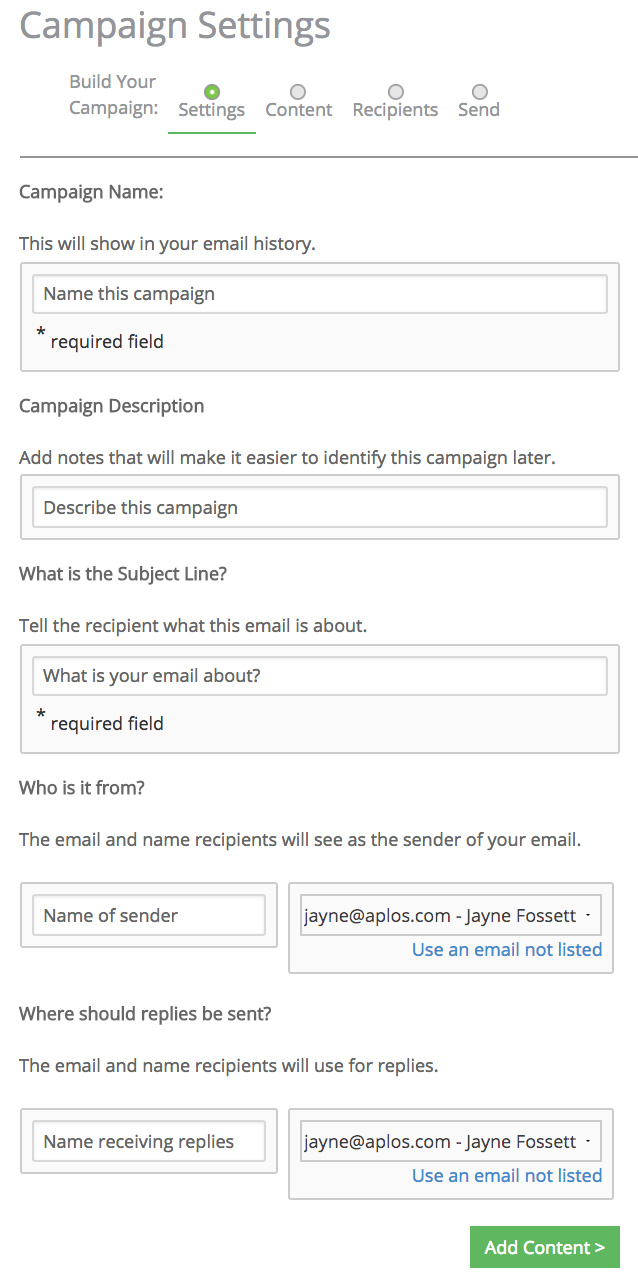
Email Campaign Settings
To create a new campaign, you will click the Create New button located at the top of the page. Your first step will be to complete the campaign settings. These are the details of the campaign, including the name, what it’s for, and who it’s going to.
Email Campaign Content
Next, you will add your content. You can either create a new design or use an existing template. If you decide to create a new design, follow the instructions above for creating a new template. Clicking on an existing template will open it so you can make any changes, if needed. If no changes are required, just click Save & Exit to move to the next step and add your recipients.
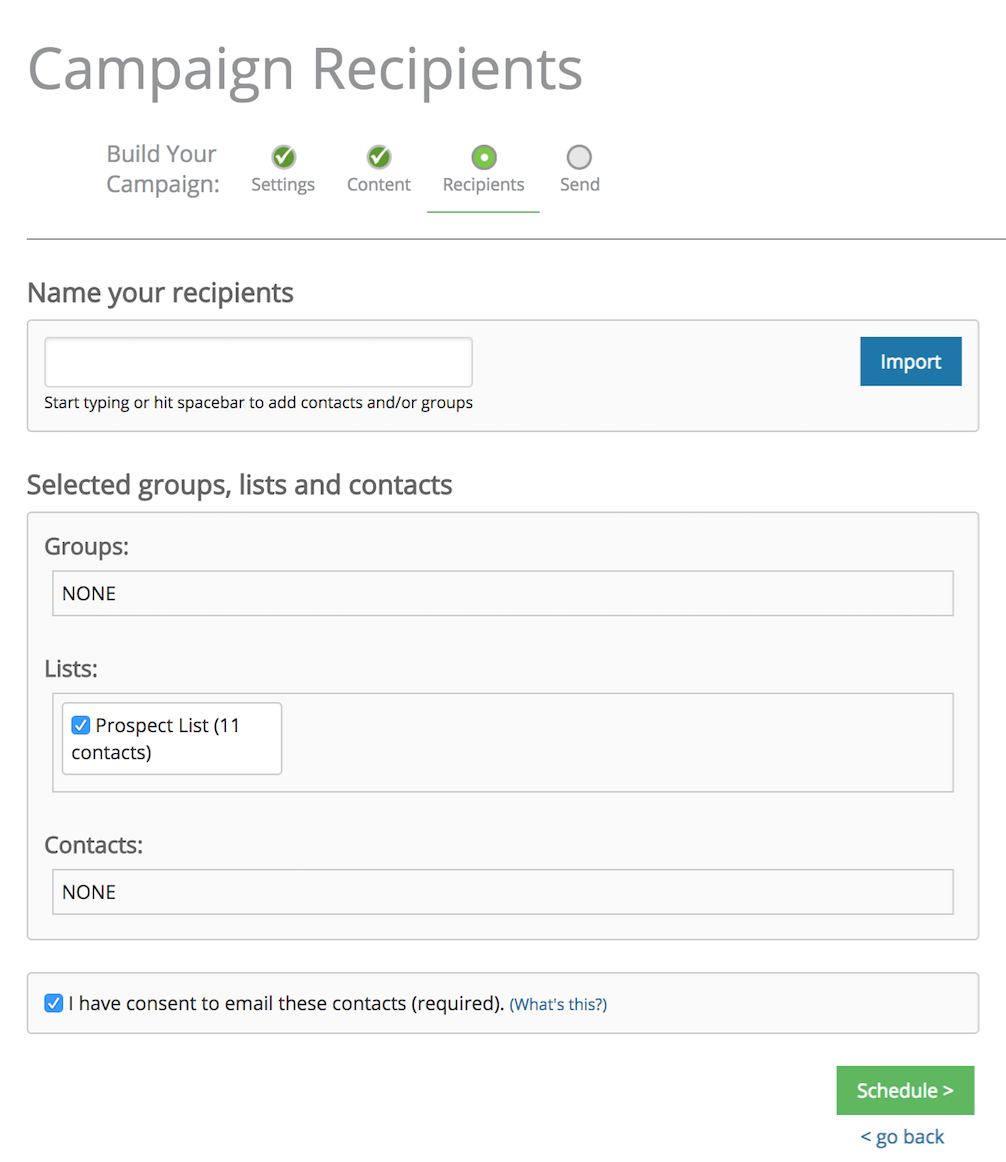
Email Campaign Recipients
When adding recipients, you can choose an individual contact or a contact group. Start typing the name of your contact or group in the “Name your recipients” field. Then click the name to select it. You can also import a list of recipients.
Campaign Recipient Limits
You will have a limit on the account for campaign recipients to protect email recipients from spammers. You can contact us to verify that you have permission to email your recipients and request an increase of your campaign limit.
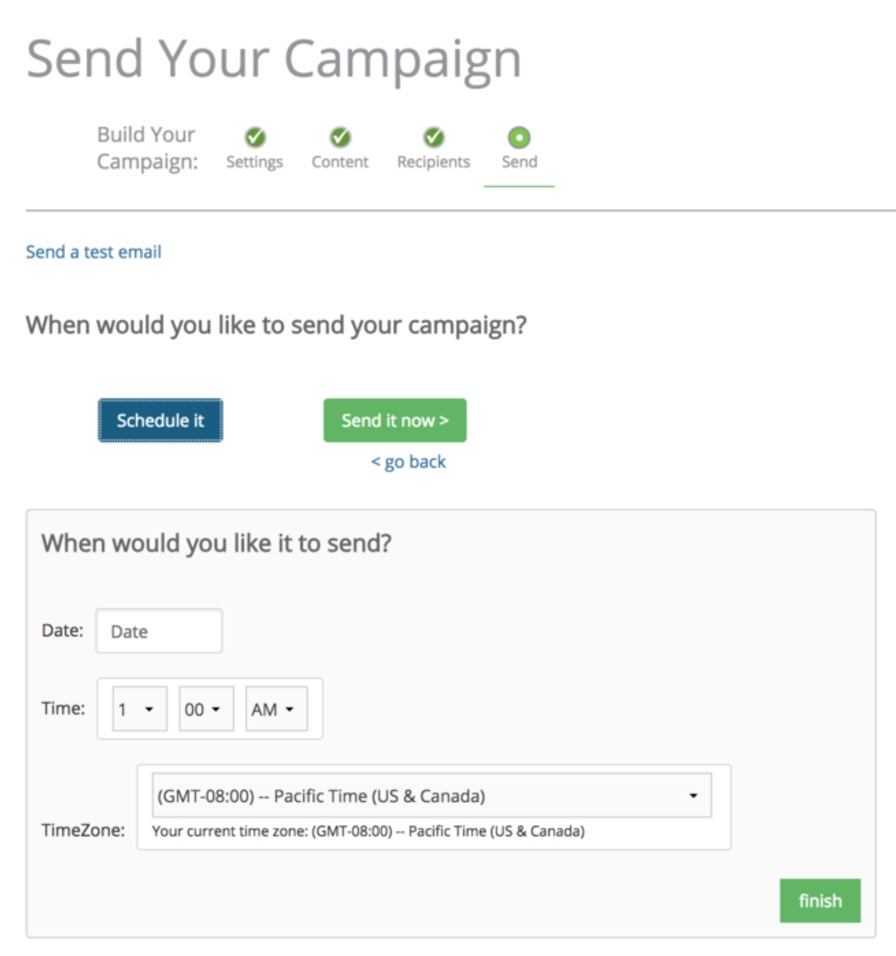
Schedule Email Campaign
Now it’s time to schedule your campaign. You can either send it immediately by clicking “Send it now,” or you can set a date and time for sending by clicking “Schedule it.”
Once sent, you will see your email campaign in your Sent list of your Email Campaigns page. From here, you can view details, such as how many recipients opened the campaign, how many clicked the button within the campaign, or how many bounced. You can also copy the campaign to send again.
Automatic Emails
Automatic emails are emails that are sent to donors who have created an online donation using your Aplos online donation form. These emails include your Online Donation Receipt (One Time) email, Online Donation Receipt (Recurring) email, and Donation Failure email. All text at the top of these emails is required and therefore cannot be edited. However, you can add text and images below. Click “Start a new section.” Then enter in the desired text, images, button, line, or space.
Once you’re done editing, click “Save & Exit.” All donors from that point on will receive the updated donation email.
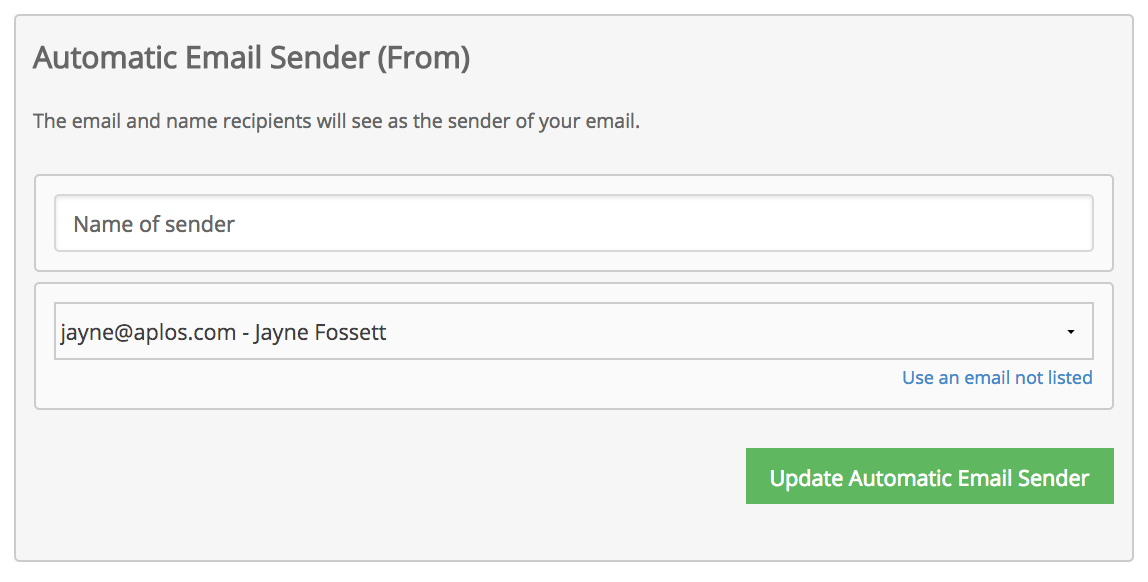
You can also update the name your automatic emails come from. If you use an email that is not already listed, you will need to go through the process of verifying the email address.
Lastly, you can view your automatic email history to see which emails were sent to donors. You can view or resend these emails as needed.
You’re now on your way to better communication with your donors! If you have any questions, our Support Team is here to help.