Vendors can be invited by an organization to receive digital payments through Bill Pay. Vendors can enter their bank information and ensure payments are sent to their preferred bank account. When a vendor is invited, they will receive an email that notes the organization name that invited them and why they were invited. The email will also have a link to direct them to set up or connect their My Aplos portal. In their My Aplos portal, they can manage their payment methods and view the status of their invoices.
My Aplos – My Invoices
When the vendor accepts the invitation, they will be taken to their My Invoices tab within their My Aplos portal. From this tab, a vendor will see two subtabs: Invoices and Banking Configuration.
Invoices
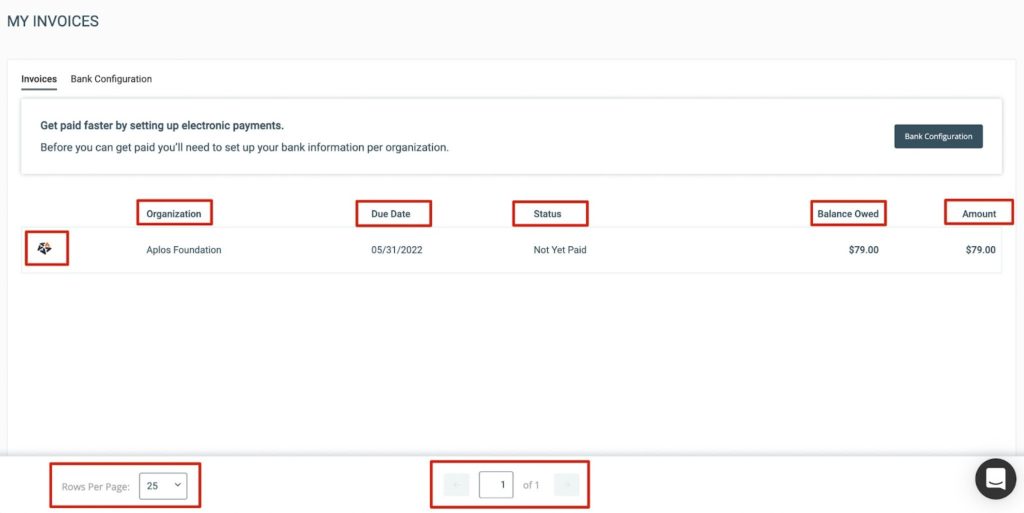
Under Invoices, vendors can view a list of their invoices that organizations have entered as bills. View the breakdown below on navigating the Invoice screen.
- Organization Logo & Name: This is the organization that entered a payable for this vendor.
- Due Date: This is the due date of the invoice.
- Status:
- Not Yet Paid
- Paid – Check
- Paid – Electronically
- Balance Owed: This is the remaining amount.
- Amount: This is the total amount if the invoice.
Vendors can also adjust the rows per page and jump to a specific page if necessary.
Banking Configuration
From the Banking Configuration tab, vendors can securely enter their preferred payment method for each organization. Vendors can select Electronically or Check. Electronic payments will require banking information from the vendor.
Adding An Electronic Payment Method
To add the preferred payment method for a specific organization, click the pencil icon on the same row. This will prompt a sidebar to select the electronic payment method. Next, click “+ Add Bank Info” to enter bank information. All fields are required. Once the information is entered, click “Add Bank” to save your information.
- Name*: This is the name of the bank.
- Routing Number*: The routing number is exactly 9 digits.
- Bank Account*: The bank account number is between 6 to 17 digits.
- Re-enter Bank Account* (validation): This number must match the first bank account.
Once the payment information is saved, the vendor will be ready to receive electronic payments from the organization.
Adding A Check Payment Method
By default, check payment will be set unless it is changed so the vendor can receive electronic payments. To update to check payments, click the pencil icon on the same row of the organization. This will prompt a sidebar to select the check payment method. Once selected, the preferred payment method will be updated and the organization will not be able to send payments electronically.
*NOTE: If a vendor has banking information in their My Aplos portal and selects Check as the preferred method, the banking information is retained.
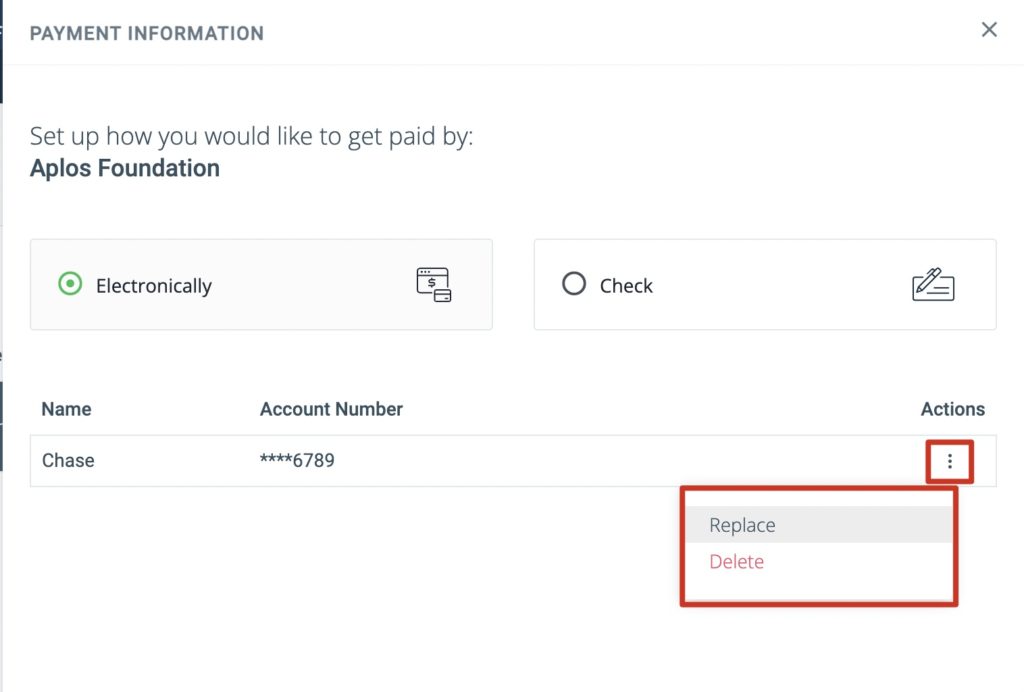
Replacing And Deleting Payment Methods
A vendor can replace or delete their banking information in their My Aplos portal. Click the pencil icon on the same row as the organization. This will prompt a sidebar to appear. Click “Electronically” to view bank information. Next, click the Actions menu and select “Replace” or “Delete.” Selecting “Replace” will allow the vendor to enter new banking information to save and remove the current bank account. Selecting “Delete” will delete the banking information and revert the preferred payment method to Check.