Looking to streamline the process of entering your transactions? You can link your bank in Aplos to pull in a list of your most recent transactions using Bank Integration. Below is an overview of the process.
Connect Your Bank To Import Transactions
The first step is to search for your financial institution.
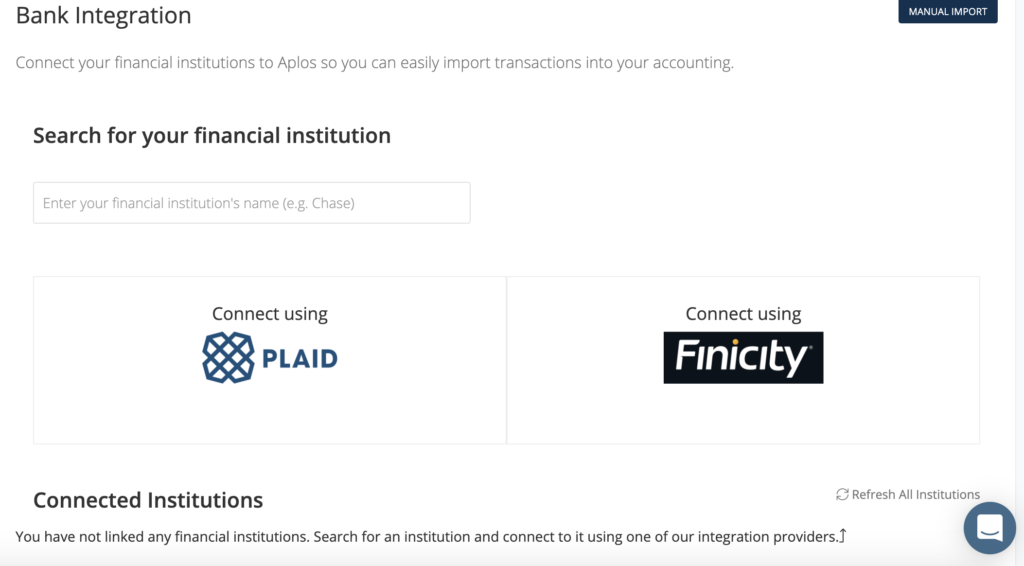
When searching for your institution, you will notice two bank integration providers are offered. You can either search globally by typing in the name of your institution, or you can click on one of the providers to search for it individually. If you search globally, type the name of your institution within the search field. Then choose the provider you’d like to continue with. You’ll notice in the example below that the institution being searched for is Chase Bank.
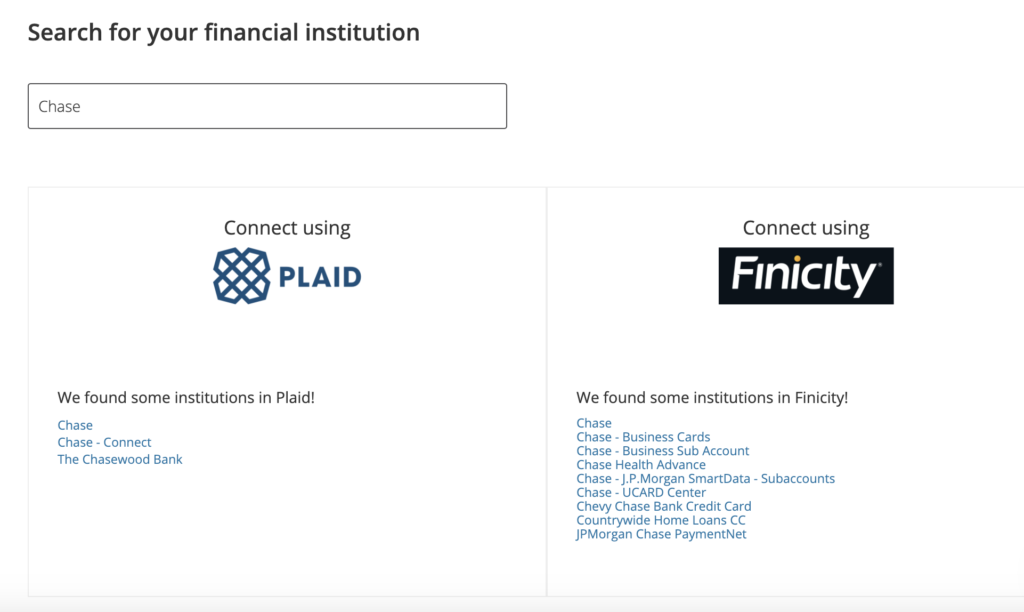
View the results for your institution, and choose the appropriate option from one of the two providers. Depending on which provider you continue with, the login process will be a bit different.
Connecting With Plaid
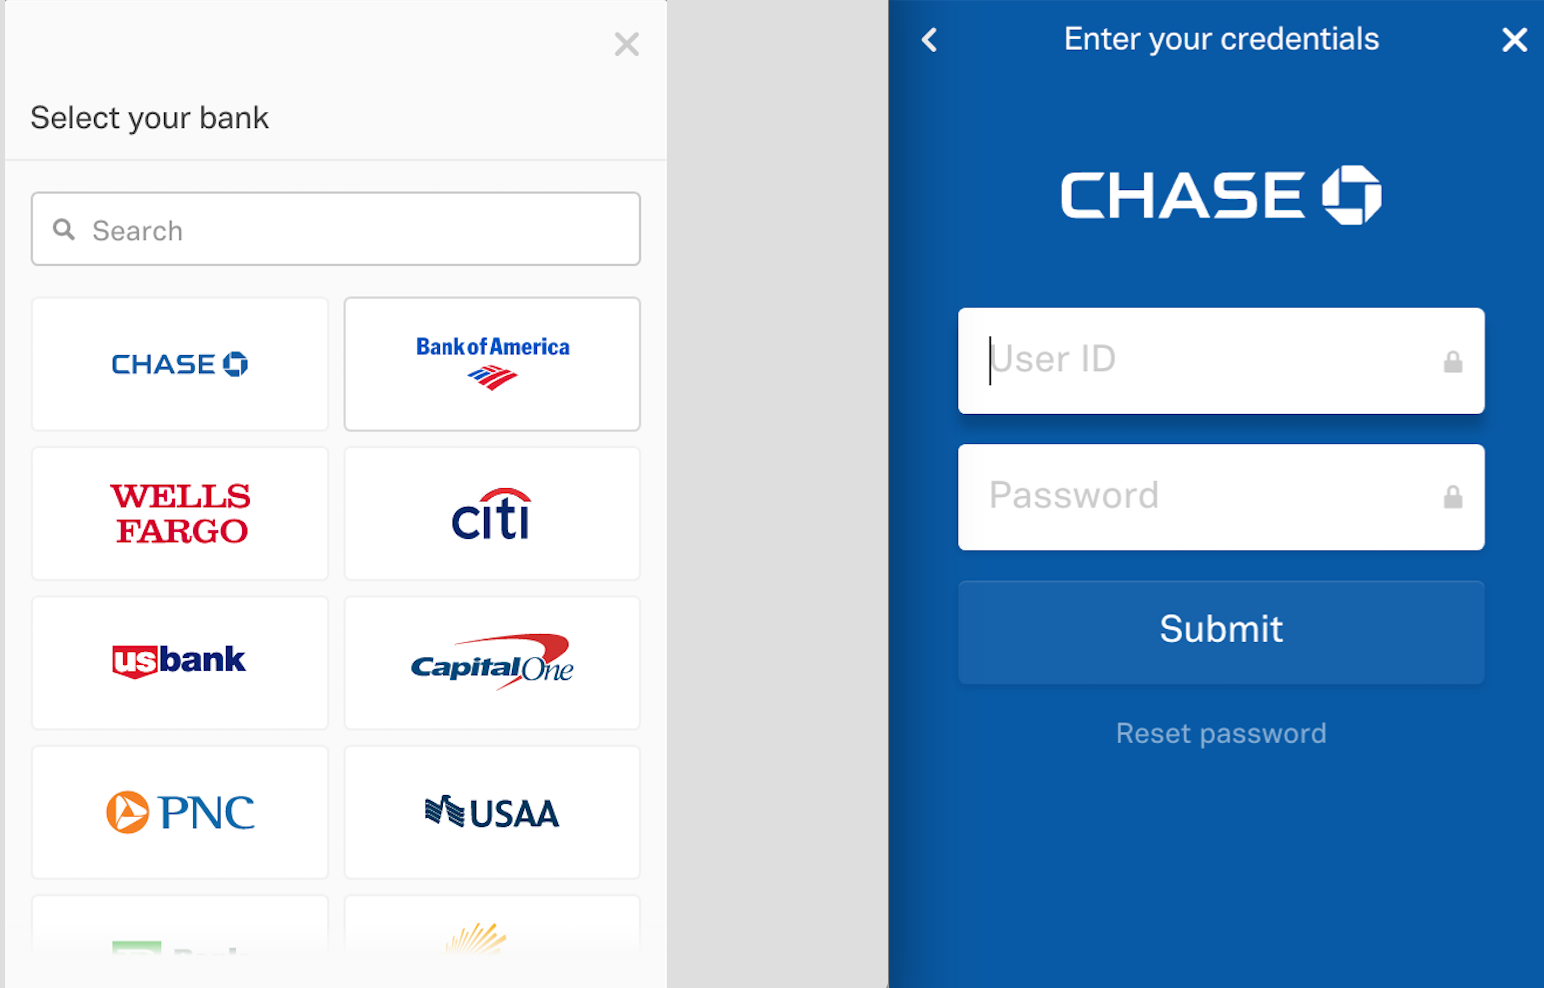
If you move forward connecting with Plaid, click on the institution name that you’d like to integrate with. This will open a new window to continue with your login process. Click on the institution you are attempting to integrate with, or search for it by typing the name of the institution within the search field. Once you’ve clicked on your bank, continue by entering the login credentials requested.
After you have entered your user credentials correctly, you will receive a success message and will need to click “Continue” to move to the next step.
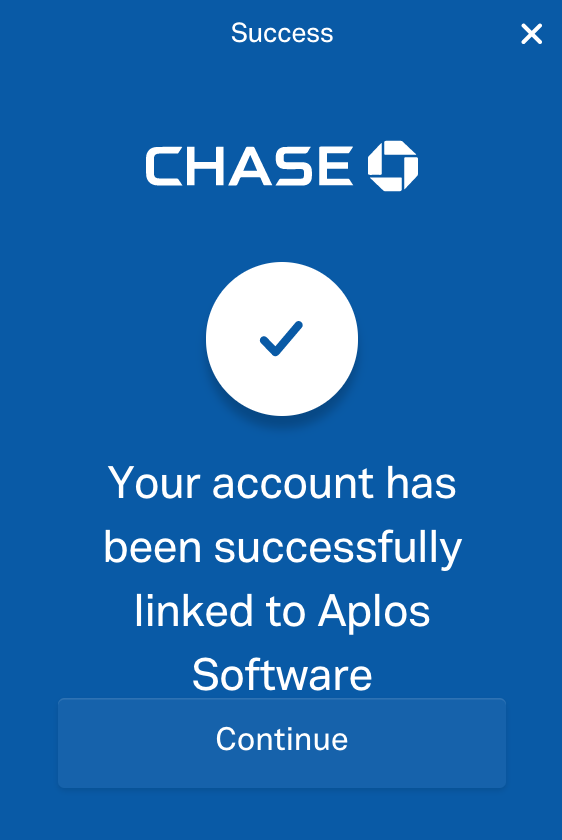
You will now see your institution shown on the list of Connected Institutions.

Connecting With Finicity
If you move forward connecting with Finicity, click on the institution name that you’d like to integrate with. Once you locate the financial institution, be sure to check the URL listed to confirm that you are attempting to link to the correct option. Then click the Login button.

You will be prompted to enter your online banking login credentials to link your account to bank integration.
Reauthorizing Or Reconnecting To Your Bank
For security purposes, you may need to periodically reauthorize your bank to retrieve your transactions. The system will send you a notification if this is needed. If you have difficulty connecting to your bank, you may need to log in directly to your bank to clear a prompt or message first. Once you have successfully logged in, connect to your bank again in Aplos.
Importing Transactions From Bank
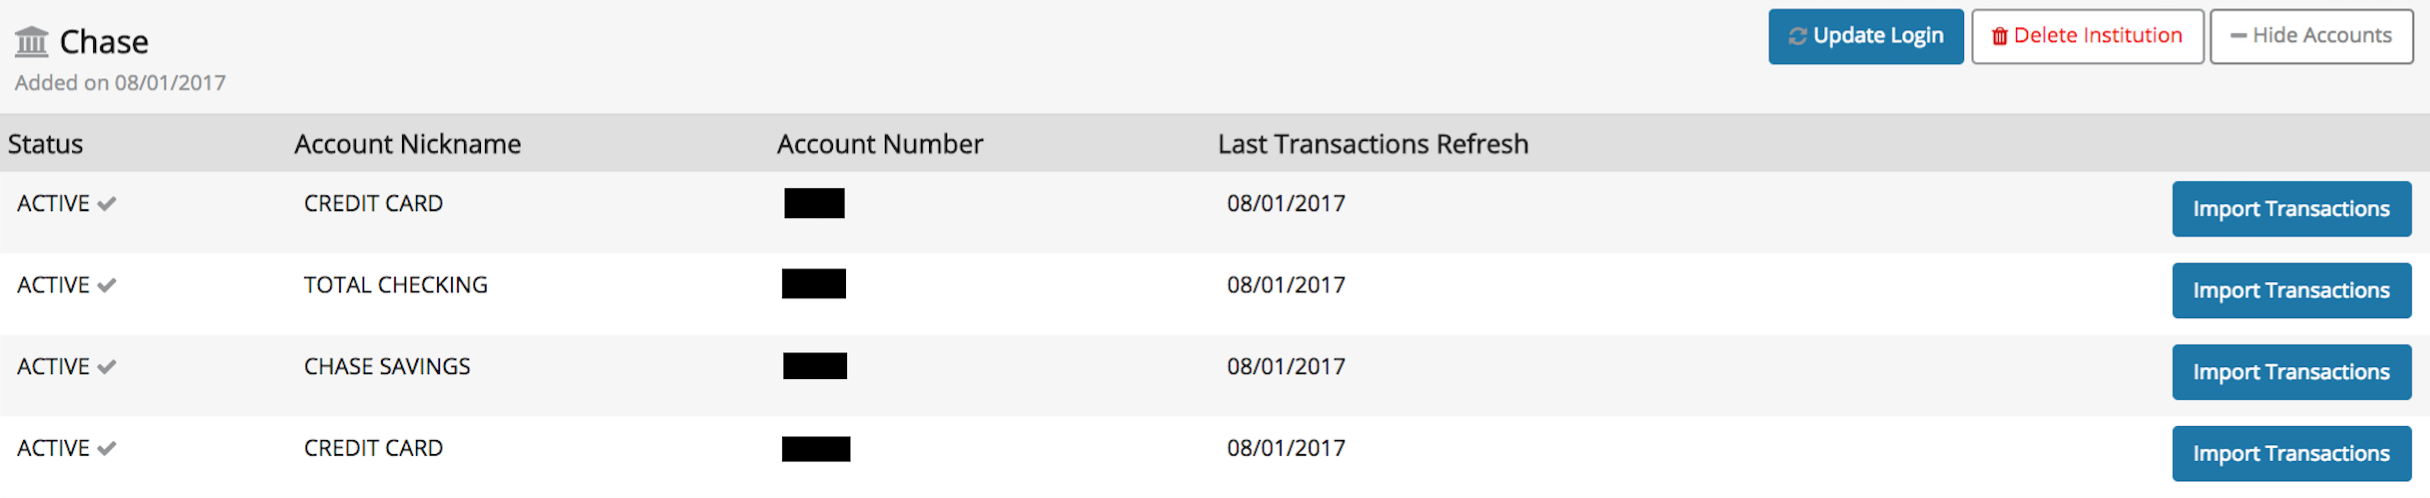
Once you have successfully linked to your institution, you’ll see it listed under Connected Institutions. Click “Show Accounts” to view the retrieved accounts from your institution. Click “Import Transactions” to continue the steps to download transactions from your institution.
Retrieve Transactions
Be sure to choose the target account register. This is the register your transactions will be imported into. You’ll see in the example below that the target account register is 1000 – General Checking. This means any imported transactions will save within that asset account.
Click “Retrieve Bank Transactions” to download a list of transactions from your financial institution.

Assign Accounts And Funds To Import Transactions
You will then have a list of transactions you will need to chose an account and fund for so you can import these to your accounting.
Splitting Transactions: If you need to split a transaction, you will see a plus (+) icon on the right of the transaction. Click this to add as many splits as you need.
Preventing Duplicates: You can also click the magnifying glass icon to search for any transactions you’ve already recorded in your accounting. A red alert to the left of the transaction indicates that transaction may be a potential duplicate. Click on the alert to see more information for the potential duplicate.
Single Or Batch Import: Once you have chosen an account and fund for each transaction, you can either click “Import” on each transaction or click the Select All box on the top left of the header. Then click the Import Selected button.
Hide Transactions: You can also hide any transactions you do not need to import. This will move these to a hidden page, where you can access them by searching for hidden transactions.
If You Don’t Find Your Bank In Bank Integration
If your bank is not supported by our provider, or if you need to bring in any past transactions, you can import a file of transactions. See more about that process in our Transaction Import Guide.