Donation widgets allow people to donate directly from your page through a popup window that appears after clicking the donate button. This gives your donors a quick way to give straight from your website
Here is a video walkthrough on how to create a donation widget. A written version of the video is included below.
Creating a Donation Widget
To start you will want to go to the Online Donations Forms. Navigate to the Online Donations tab in the Donations section, and then click Online Donation Forms. From here you’ll be able to create a donation widget by clicking the green plus (+) button and then the New Donation Widget button.

The lefthand side will be information for the widget that you will fill out, and the righthand side will show a preview of what the donation window will look like once completed.
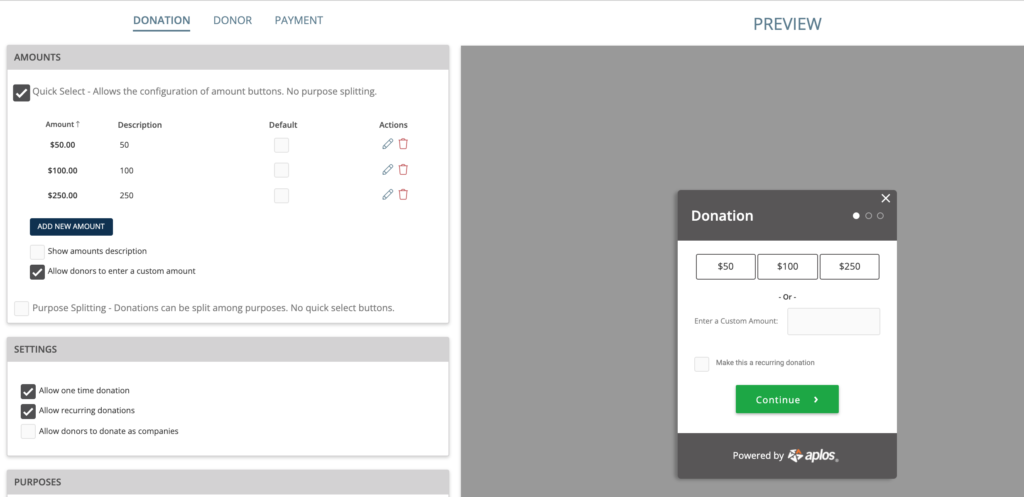
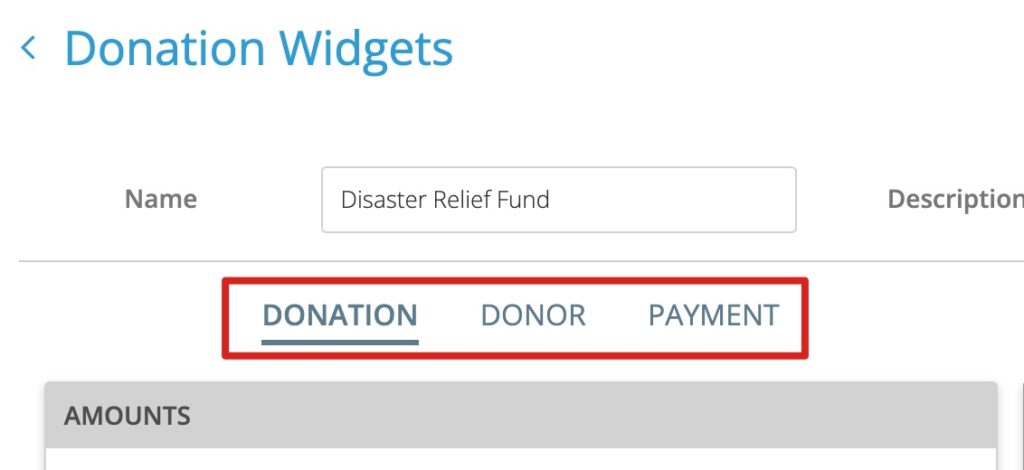
Choose a name for your widget to get started. (the field at the top of the left-hand side), and add a brief description. This part won’t be visible to donors, but will be the widget name that appears in your Online Forms page in Aplos. Below the name are three tabs labeled Donation, Donor, and Payment. You can start with the Donation tab.
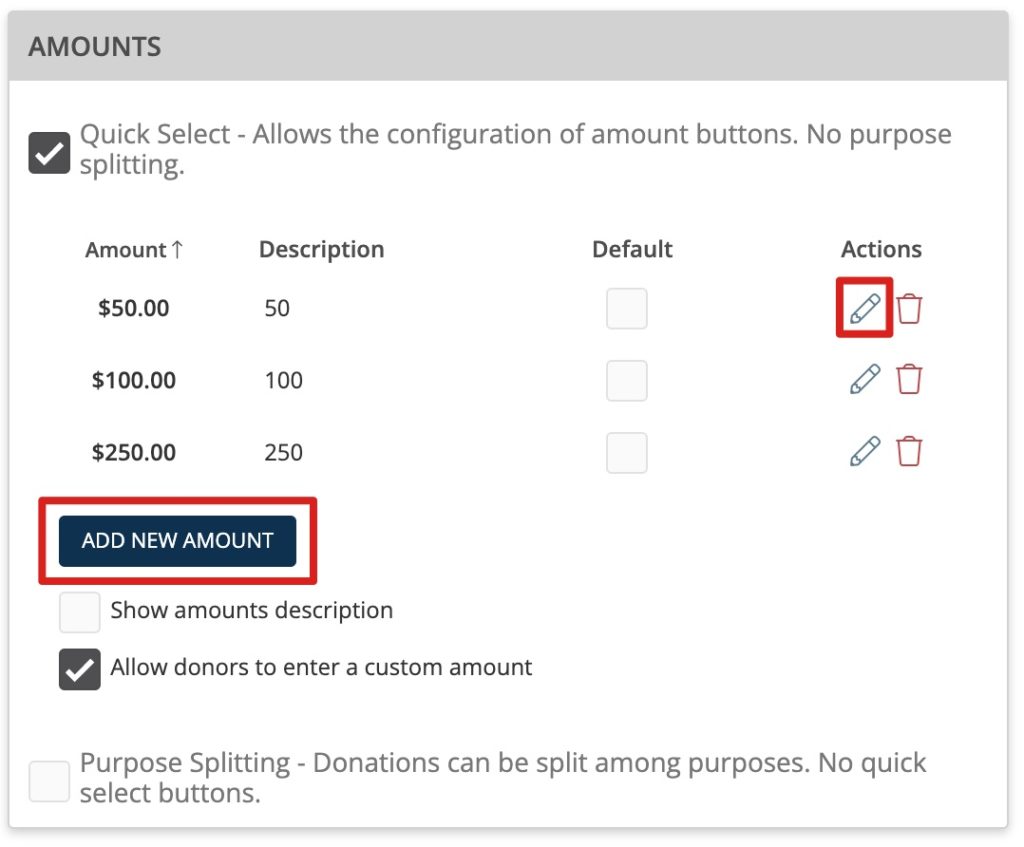
Donation Amounts Setup
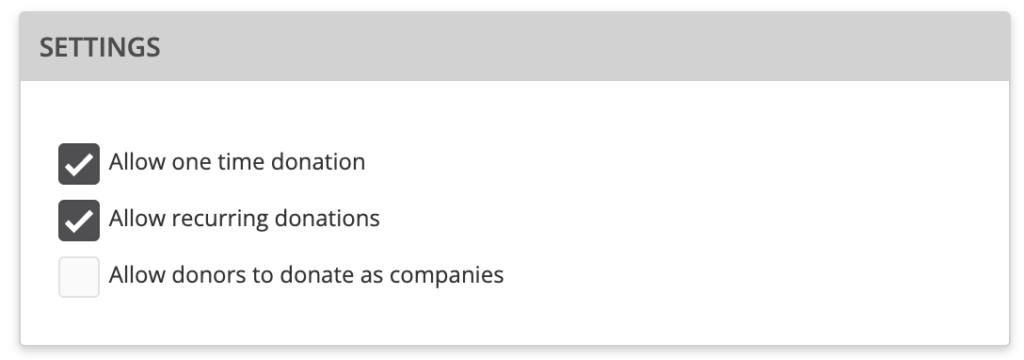
Here you can provide your own donation amounts for your donors to give. The ‘Default’ checkboxes will let you choose which amount will be the default option. You can also edit the existing amounts given; simply click the pencil icon beside the red trashcan (which removes amounts) for any option you wish to change. You’ll also be able to add additional amounts if you would like more than three. After you choose which amounts to provide you can move to additional options below. You have the ability to include descriptions of each donation amount, if you’d like donors to create custom amounts, and allow for one-time donations, or recurring donations.
Selecting Purposes
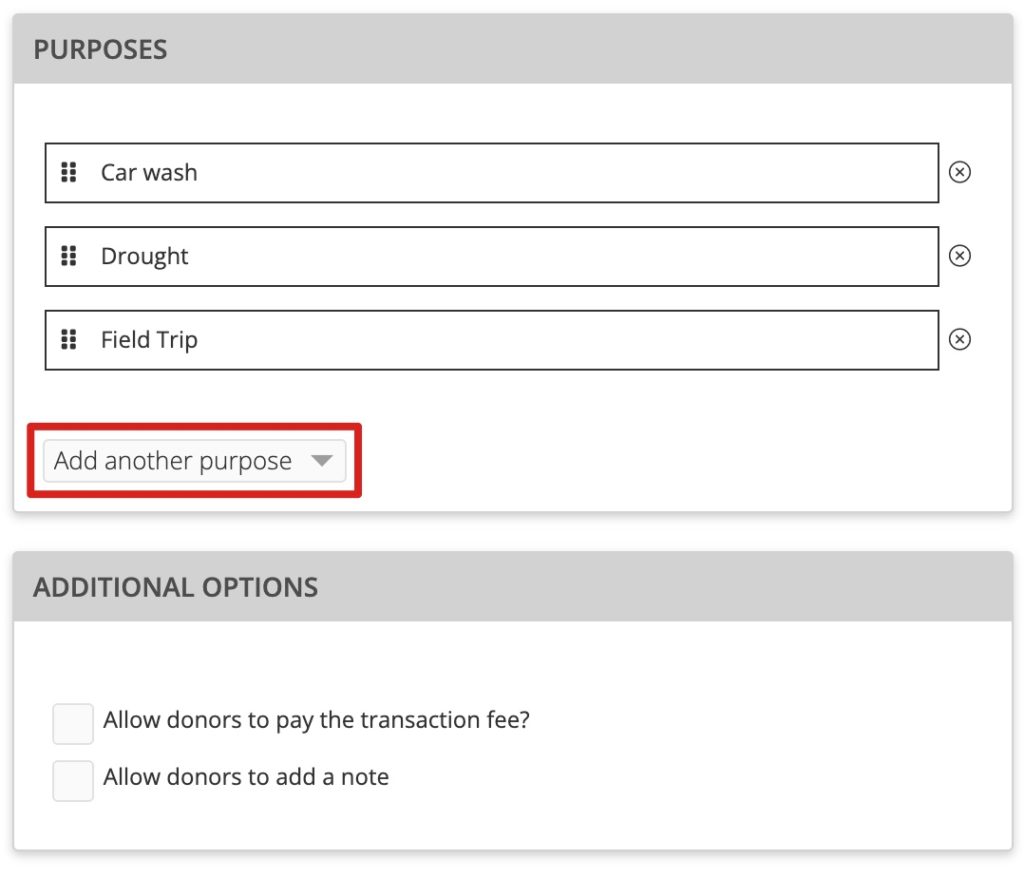
If you would like the option for donors to donate to a specific purpose, then you can add and remove purposes too. Having at least one purpose is required, and all donations will default to this one purpose. Below the Purposes box are additional options to include in the widget. You can enable the option for donors to be able to pay for the transaction fee associated with online donations, or you can let donors have the option to leave a customizable note along with their donation. If you haven’t set up your purposes yet, you will want to check out this resource to help get you started: How to Use Purposes in Aplos.
Selecting Required Donor Information
The Donor tab relates to customizing what information you wish to collect about your donors. This will require them to fill out certain boxes before finalizing their donation, whether that be their first name, last name, email, etc.
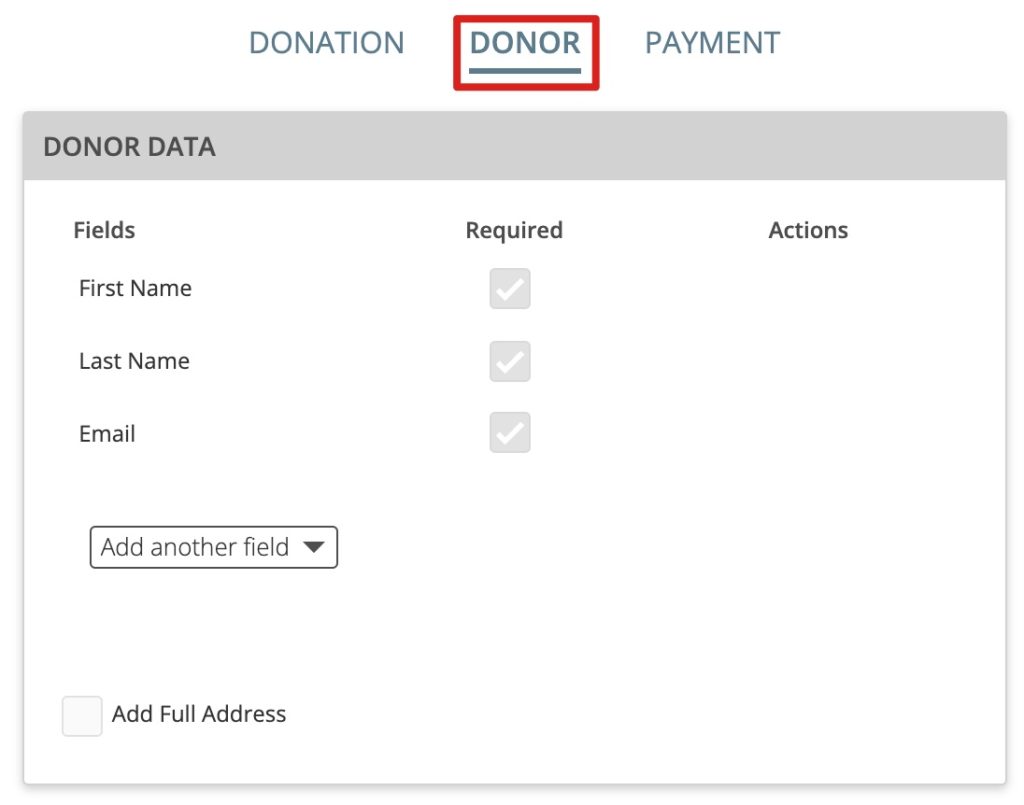
The three options mentioned are the minimum required and cannot be deleted. You can also add other fields for them to fill out like your own custom fields, which can be left optional by keeping the ‘Required’ checkbox blank. Click the red trashcan to delete additional fields you have added. You will see an option to ‘Add Full Address’ at the bottom, which will give donors the ability to include their address on the donation.
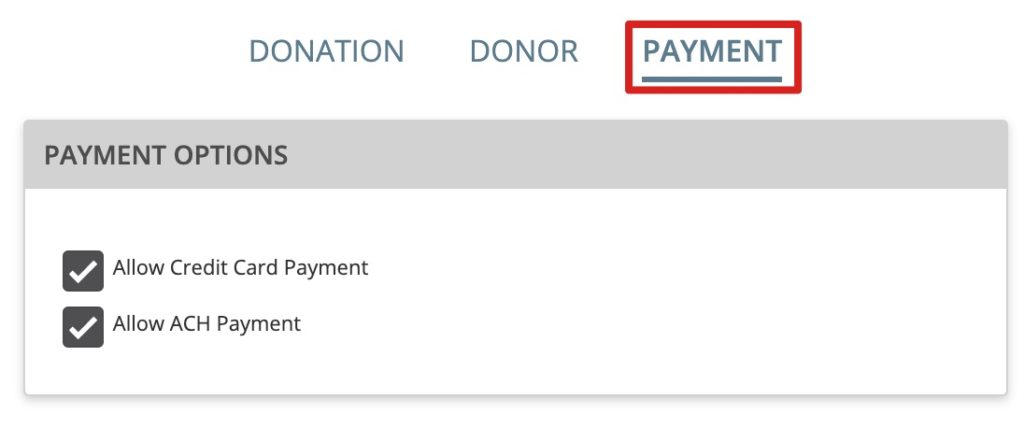
The last tab called ‘Payment’ allows you to choose which payment options you would like donors to use when donating. They can either donate by credit card or by ACH. You can choose to have one or both of these available as options. You will want to set up your merchant account before activating your donation widget. To learn how to set up your merchant account, check out our AplosPay Setup Guide.
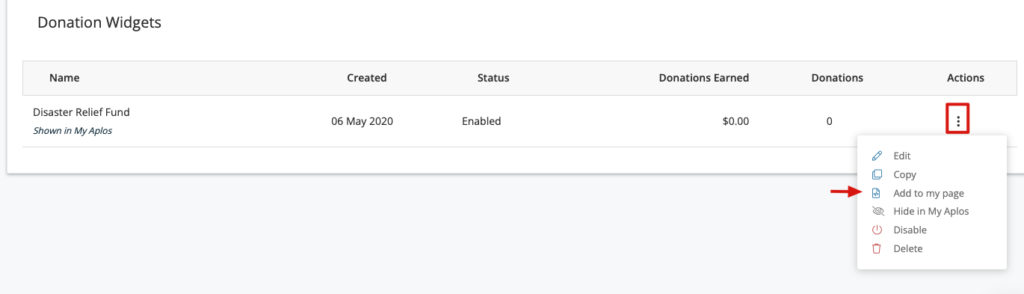
Afterward, click the ‘Save’ button on the top right-hand side above the preview window to save your work. Any saved widgets will appear under the ‘Donation Widgets’ list. You can always make changes to your widgets by clicking on the Actions icon on the far right side of the widget. The Actions icon will also let you add the widget to your website page, disable the widget, or delete it entirely.
Adding a Donation Widget to Donor’s My Aplos Portal
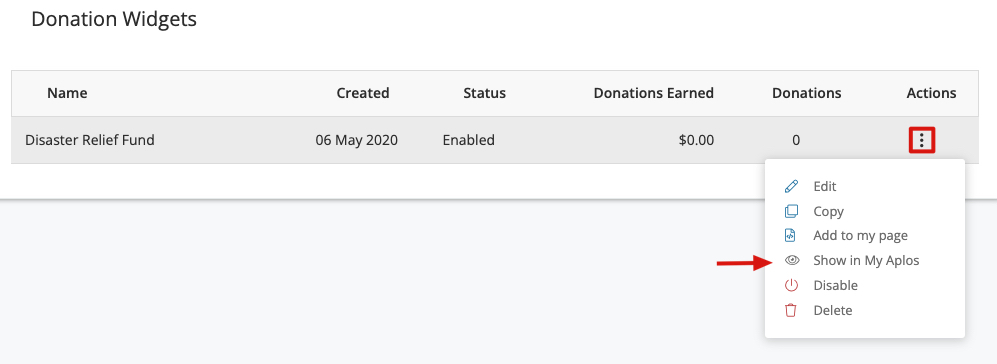
Donors who have given to your organization before can donate again directly in their My Aplos Portal. To accomplish this your organization will need to provide a donation widget to be displayed in their My Aplos. This will allow donors to quickly give again to your organization. To display your widget in My Aplos, locate the Donation Widgets list at the bottom of the Online Donation Form page. Pick one of the widgets you have already created and click the Actions symbol on the far right side. From here, click Show in My Aplos. This will provide the donor with a tool to easily access the widget and give. You can always disable this function by following the same action and clicking Hide in My Aplos.
Adding a Donation Widget to Your Website
Once you are on the Online Donations Forms page. Locate the Donation Widgets list at the bottom of the page. Pick one of the widgets you have already created and click the Actions symbol on the far right side. From here, click Add to My Page.
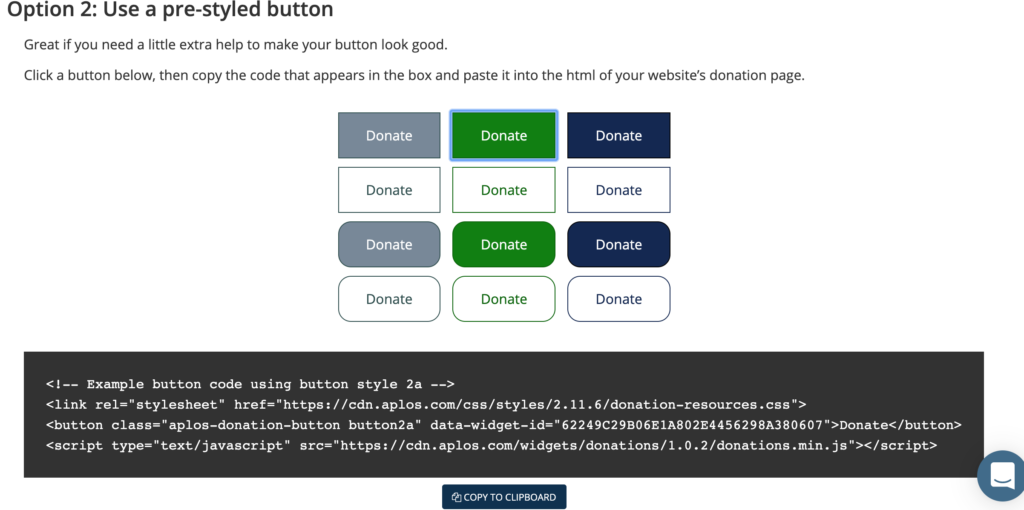
The following page will provide you with two options regarding donation buttons; the first option will visually replicate the look of existing buttons on your website. The second option will provide you with buttons designed by Aplos. If you would like to use one of Aplos’s buttons, simply click on a button you like, and a code for that button will be generated in the field below. Click on the Copy to Clipboard button below the field.
Return to the page you wish to add the button to. Make sure you’re in the page edit tool.
Website Builders
Aplos
Available in:
- All Plans
To set your donation widget on your Aplos website, you’ll first want to view and edit the page you wish to add the widget. Next, locate and select a content block on your site that will hold your widget. Once selected, an “+” button will appear below. Click the plus sign “+” and a drop-down menu will appear. Click More and then select the HTML, JS, CSS code block. Finally, on the code block, click Settings and paste the donation widget code. Then click OK.
WordPress
Available in:
- Business Plan
- eCommerce Plan
In WordPress, there are two ways to view your edit page once in the edit tool. These are tabs labeled Visual and Text on the top right corner of the edit field. Normally, you would make edits through the default Visual version, but copying and pasting the button code into Visual won’t work, so you will have to go into the Text tab. This tab will display what is written in the article along with the HTML code for the page. This may look confusing if you’re unaccustomed to seeing HTML code, but simply search for the place on the page where you want the button, then use the paste tool to paste the button code you already copied.
Once you update or publish the page, the button will appear in your article. Click on it to see the widget popup that will ask for donations.
Squarespace
Available in:
- Business Plan
- Commerce Plan
In Squarespace, when editing your page you will want to add your donation widget using the Code Block tool. This is found in the Content Block Menu on the top right corner of the page you are editing. Select the Code Block and place it on your page. From there, copy and paste the widget code into the block and select Apply. Once you publish the page, the button will appear on your page. For more information on Code Blocks, check out Squarespace’s resources on Code Blocks.
Weebly
Available in:
- All Plans
In Weebly, to add a donation widget to your page you will want to edit the page you wish to place the widget on. From there, select the content blocks menu and drag an Embed Code block to where you would like it on the page. Click on the block and select the Edit Custom HTML option. Paste the copied code into the block and save. For more information on Embed Code Blocks, check out Weebly’s Embed Code guide.
Wix
- Not Available