Contact Configuration
If you have collected data for your contacts, but don’t have that field available within Aplos, you can utilize the contact configuration tool to create Custom Fields to track that information. Below is the process of creating a custom field and recording data in that field, as well as other benefits of using Custom Fields.
Creating A Custom Field
Find the screen for Contact Custom Fields by going to the People section in Aplos, and then click on the Contact Configuration tab. You’ll notice tabs for built-in field types, each with their own contact fields. For custom fields, locate and select the Custom Field tab..
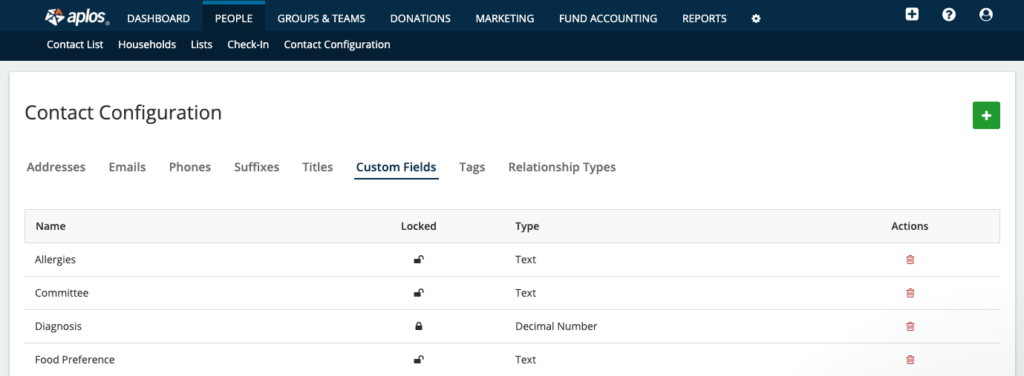
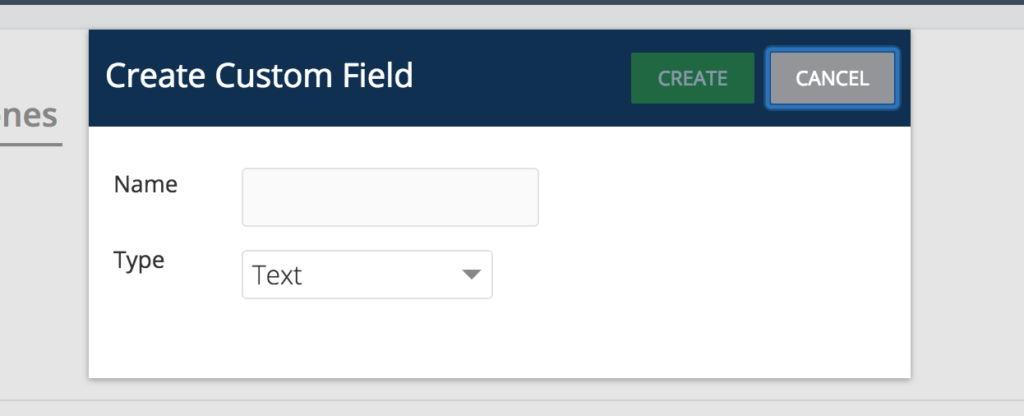
From this page, you can create information fields that are not included in Aplos. This will allow you to track information about your contacts, such as allergies,membership ID, t-shirt size, etc. To create a new custom field, click the green plus (+) button. Name the custom field and choose the type of field you want to use.
Custom Field Types
Available field types for custom fields are text, decimal number, whole number, date, or dropdown list.
Date Fields
For custom fields that are date types, we recommend utilizing the Dates tab to track and manage any custom dates that you create. This will help organize your field types by category. To begin, select the Dates tab and click the green plus (+) button. Name the custom date field and click “Create.”
Tags
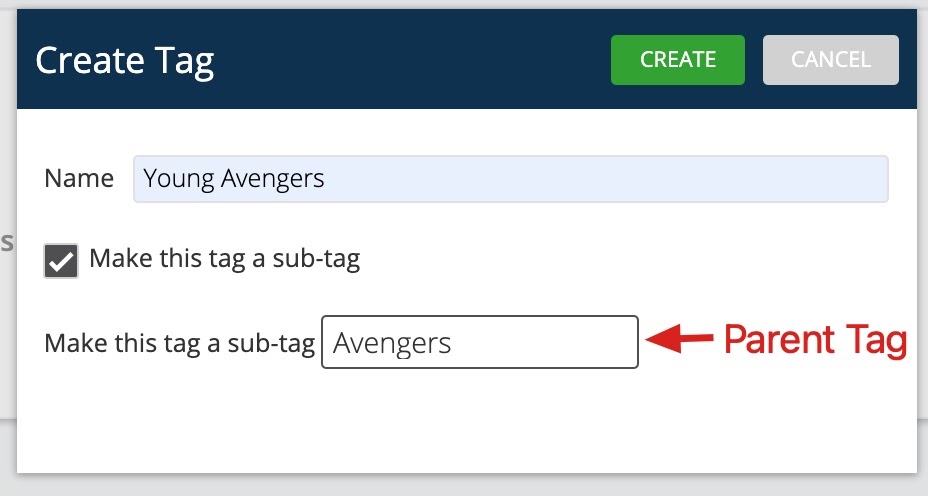
Contact tags are labels you create to help organize your contacts. You can track additional details for contacts within your database. Tags are completely customizable, and you can create your own tag structure that applys a parent/child relationship between tags. For example, you can add a tag to track information such as children within a certain school grade or those who have attended a particular event for your organization. To begin, select the Tags tab and click the green plus (+) button. Name the tag field and click “Create.” If you would like to make it a sub-tag, check the sub-tag box and select a tag to become the parent tag. You can use contact tags with our Check-In tool to manage contacts and events.
For more information about Tags and Check-In, view our Check-In resource.
Relationship Types
In Aplos, you can track relationships between contacts and even assign contacts in households. This allows you to connect contacts together and build a stronger contact database. Aplos provides built-in relationship fields. However, you can create additional fields for further field management. To begin, select the Relationship Types tab and click the green plus (+) button. Name the custom Relationship field and click “Create.” The new custom fields will be available to choose from when building households or when editing relationships between contacts.
For more information about households, check out the Household Guide resource.
Adding A Custom Field To A Contact
Once you create your custom field, you’ll be able to add it to one of your contacts. Access the contact that you’d like to add your custom field(s) to from your Contact List. Click “People” in the navigation menu and select “Contact List.” Search for the contact and select the contact you want. From here, you can edit your contact from a couple of places. From the Details tab, you can click Edit Information, or from the Actions dropdown menu under the contact’s name, you can click “Edit this Contact.”
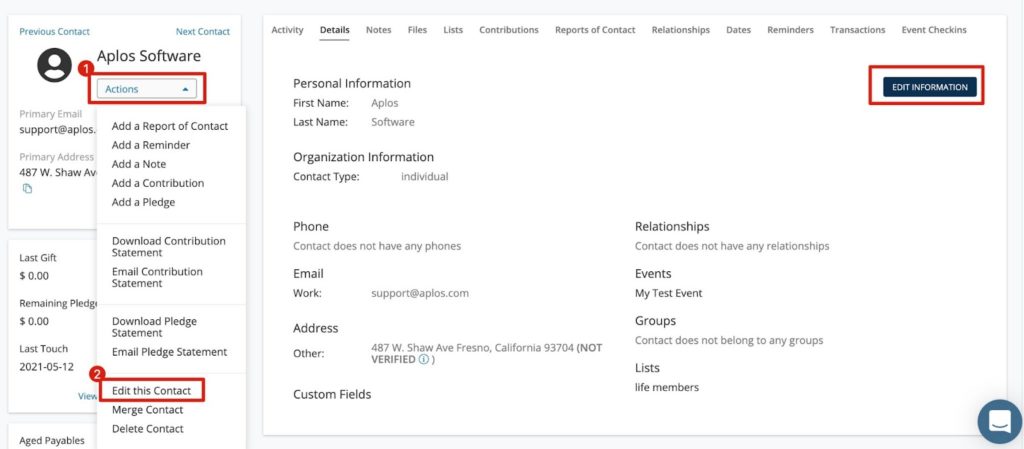
Scroll down to the Custom Fields section on this page, and you’ll see a list of all available Custom Fields where you can add the information to a contact and save it.

To update a custom field in bulk, check out our resource on Importing and Updating contacts.
Adding A Date Field To A Contact
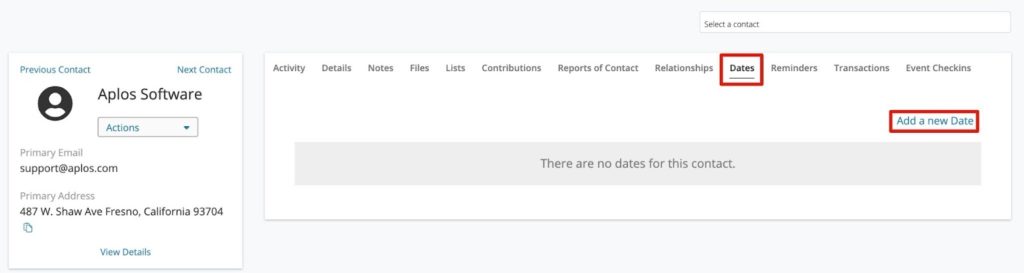
Once you create your date field, you’ll be able to add it to your contacts. Similar to Custom Fields, access the contact you’d like to add date field(s) to from your Contact List. From here, click the Dates tab and select “Add a new Date.”
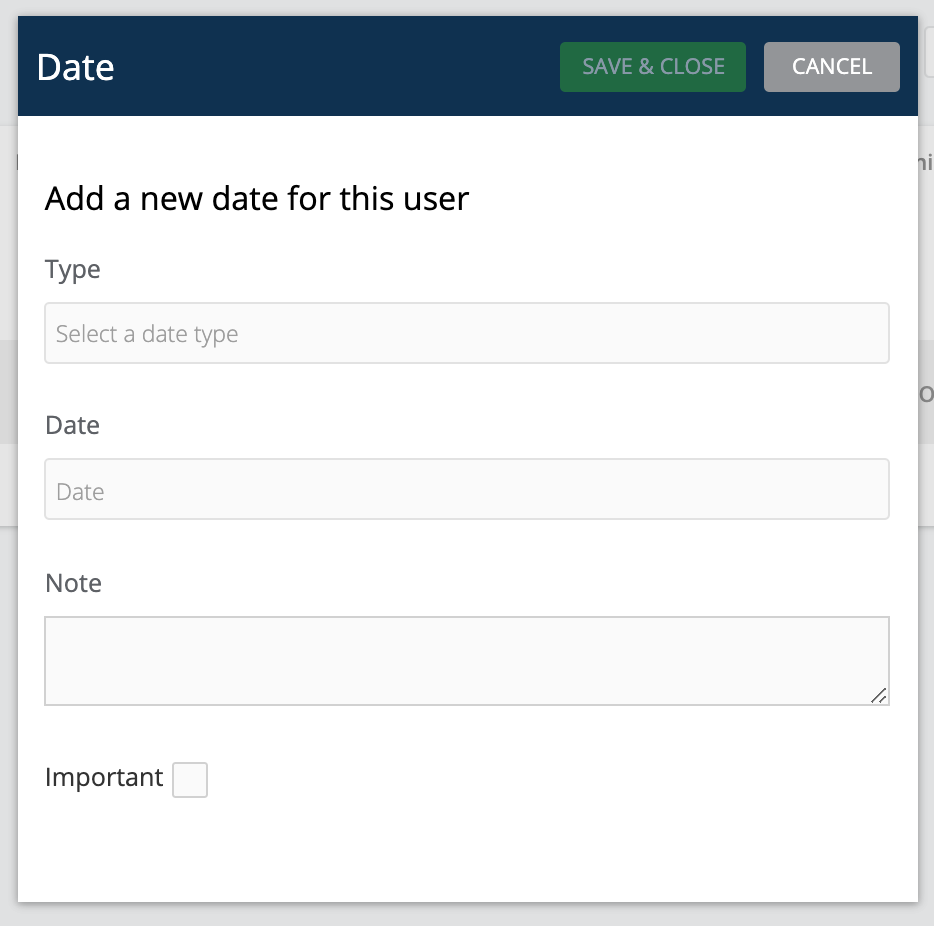
Select your Date Type, and then enter the date and any associated notes. You can also check the box to specify that the date is important to that specific contact. Then click “Save & Close.”
View your contact dates in a single location with the Date Report. Customize this report by contact categories, custom fields, and lists and date types to help gain insight into contact data to better cultivate relationships. Get started building your Date Report.
Adding Tags To A Contact
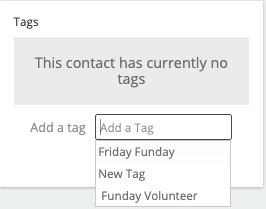
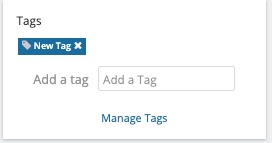
When viewing the details for your contact, you’ll see an area on the left-hand side of the screen where you can apply and manage these tags. From here, you will want to select which tag you would like to apply to the contact. You can also add a new tag. Once applied, this tag will be listed under the available Tags in this section.
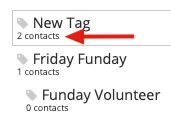
You can also keep track of how many contacts have a certain tag applied from the main Contact Tags screen.
Other Uses For Custom Fields
An additional benefit to Custom Fields is that you can make the fields available on an Aplos online donation form. This way, if you need to collect more information for a contact other than the default information provided, you can add a Custom Field to your form to collect this information. This will be added to the contact once the donation is submitted. For more information on creating an online donation form, check out this article on Accepting Online Donations in Aplos.
Each of the field types are available to use as a parameter in the Smart List Designer tool. Create lists of contacts based on field data and other characteristics. Other tools that use lists in Aplos include:
Sending an email campaign to a list