With the Groups & Teams tool, you can create and manage groups of people within Aplos. The groups can be committees in your organization, your board of directors, a group of volunteers, etc. Not only can you keep track of group members and communicate with them, you can also set tasks, plan events, share documents, and much more.
Below are steps to create a group and add members.
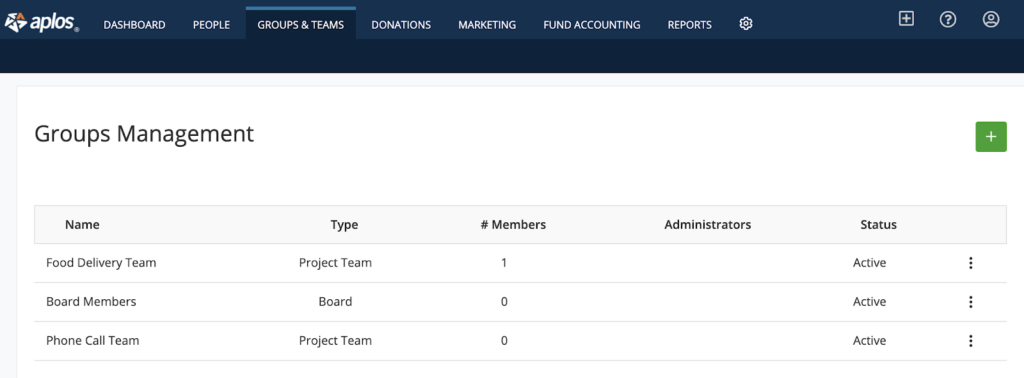
Creating A Group
You can create a group by going to the Groups & Teams tab. From there, click the green plus (+) icon to create a new group.
The Create Group window will pop up.
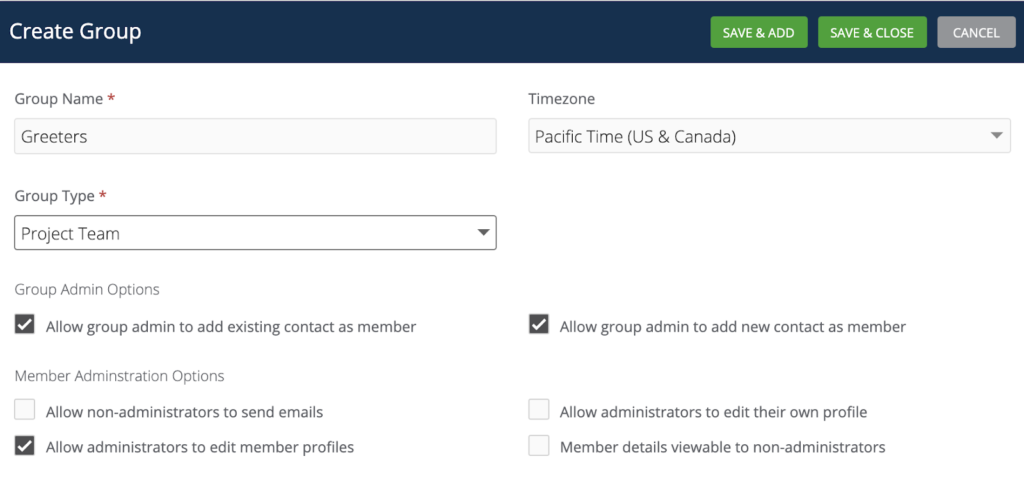
Give your group a name. Then select the power settings for the admins of your group. Members of your group don’t have to be users in your account. Giving someone the admin role in a group will not give them access to your Aplos account.
Click “Save & Add” to close the pop-up window. Any groups you added will appear on the page. Then click the dots on the far right to manage your groups.

You can manage members, change the group settings, or make a group inactive. Let’s look at the Member List .
Adding Members
When you first create a group, there won’t be any members in it. You can add members by clicking the green plus (+) icon on the right side of the page. Doing that will bring up the Add Members window.
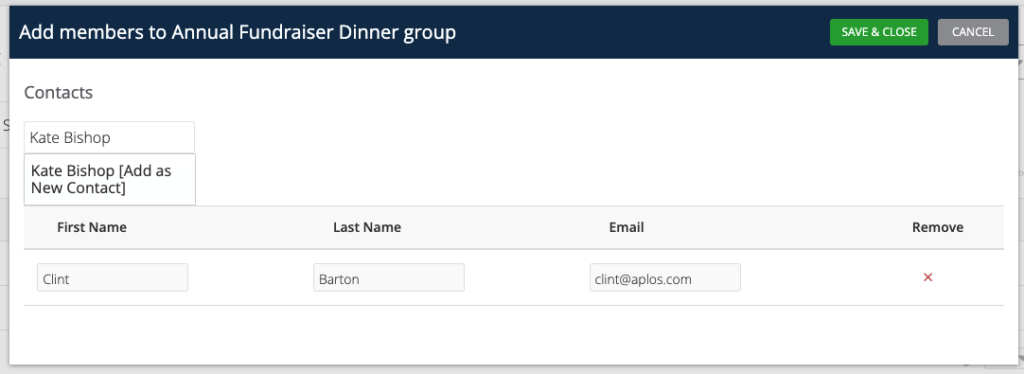
Add members to the group by typing their name into the “Select contact” field. If they are an existing contact in your account, the system will fill in their information automatically. If you are adding a member who is not a contact in your account, select “Add as New Contact” and enter their email in the Email field. This new person will also be saved as a contact in your Aplos account. Ensure that all contacts being added to your group have a valid email address. This will allow members to receive invitations to access their Groups & Teams portal.
Groups & Teams Member Roles
Once you’ve added your members, you can give them their roles in the group.
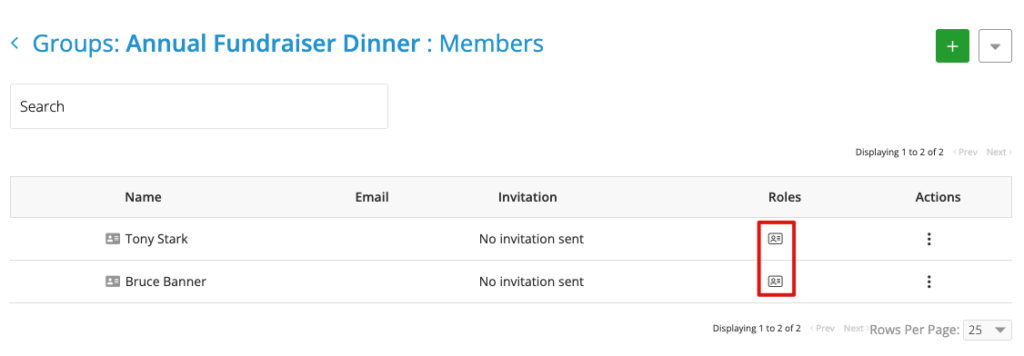
Click the icon under the Roles column to bring up the Roles pop-up window.
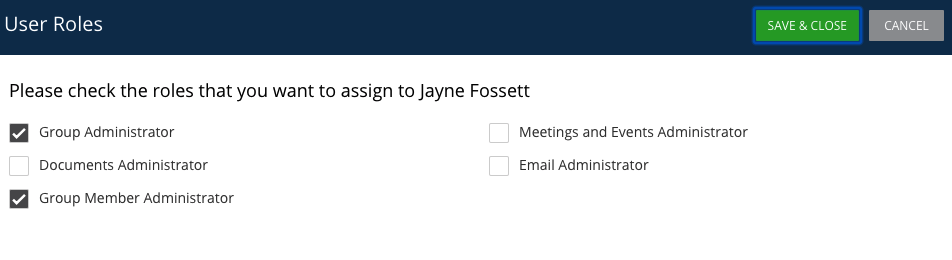
Each of the roles have different permissions, and you are able to apply multiple roles for each member. Below is an explanation of each role.
Standard Member: View all group members and their contact information, including phone, email, address, and birthday. Someone with this role also has the ability to email members of the group, upload files, and view existing meetings and events.
Group Administrator: Access all group settings and functions, including assigning member admin roles.
Group Member Administrator: Someone with this role has the ability to manage members within the group, including adding members, editing member details, and deleting members.
Documents Administrator: Someone with this role has the ability to manage documents for the group, including the options to add, edit, and delete documents.
Email Administrator: Someone with this role has the ability to manage email/distribution lists for the group, including adding, editing, and deleting lists.
Meetings and Events Administrator: Someone with this role has the ability to add, edit, and delete any meetings and their related details.
Inviting Members
Once you’ve given members their appropriate roles, you will need to invite them to the group. This will send people an email with a link they can click to access the group. You can invite them one by one by clicking on the Actions button next to their name, or you can click “Invite All” on the top right.

The email will also prompt people to create an Aplos account if they do not already have one. If they have a donor account already, this is the same account. They will be able to access their group and their donations from the same login. If they are an Aplos user on your account or on another account, they can toggle between their account and their groups.
How To Log In To A Group Portal
Members Accessing The Group Portal
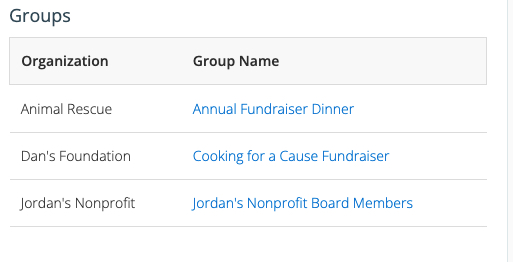
Once an invitation is sent to the member, the person will receive an email invitation in their inbox. This will provide a link for them to accept your invitation and create an account. Once completed, they can access the group in their My Aplos Portal Dashboard by selecting the Group name.
How To Switch Between Groups
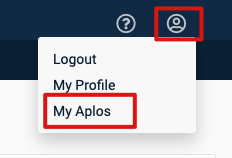
If a member has multiple groups, they can switch between groups while they are within a group by selecting the profile icon on the top right of the screen and selecting “My Aplos.” This will take them to their My Aplos Dashboard where they can select the appropriate group.
Aplos Administrator Accessing The Group Portal
If an Aplos Administrator needs access to a specific group without being a member, they can select the group in the Groups & Teams tab. Once the group is located, select the group name. This will provide the Administrator access to the group as a Group Administrator.
Learn more about what to do once people are in a group.
You can also view this recorded overview: