If Bill Pay is enabled in your subscription, bills can be created or edited to have an approval workflow assigned to the bill. This adds a layer of security by sending bills to users for electronic approval. It also makes it simple to monitor the status of approvals to keep payments on schedule and ensure a separation of duties with multiple approvers before a payment is made.
When a bill is created, it will land in the Pending Bills tab. The approval workflow will start the notification process to notify the corresponding approvers and start the approval cycle.
My Approvals
Navigating My Approvals
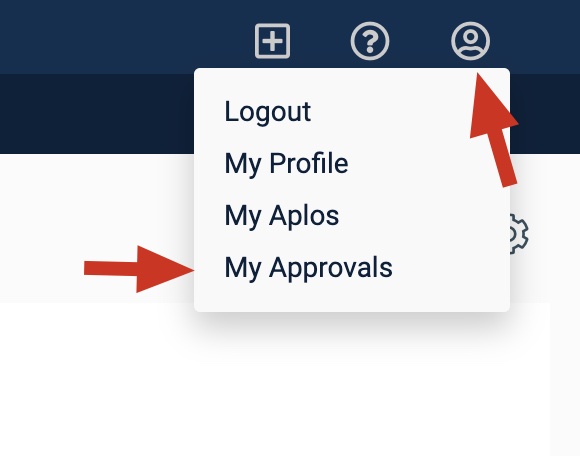
When a user is an approver in an approval workflow, the list of bills they need to take action on or have previously taken action on will be displayed on the My Approvals tab. The My Approvals tab can be accessed from the user menu or by accessing Accounts Payable and selecting “My Approvals.”
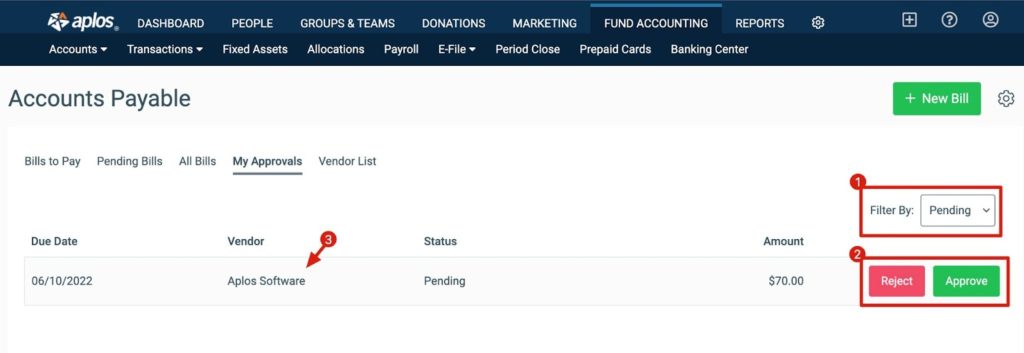
The following information about a bill will be displayed:
- Filters: My Approvals can be filtered by the approval status and “All.”
- Due Date: This is the due date of the bill.
- Vendor: This is the company name or first and last name based on contact type.
- Approver’s Status
- Pending: This bill is awaiting approval or rejection by the current user (default).
- Approved: This bill was approved by the current user and the approval has not been cleared.
- Rejected: This bill was rejected by the current user and the rejection has not been cleared.
- Amount: This is the total amount of the bill.
Approving And Rejecting A Bill
A user can approve or reject a bill from the My Approval page when viewing it from the following areas:
- List of Bills
- Details View
- Bill Details
- Bill History
- Vendor History
Approve Bills
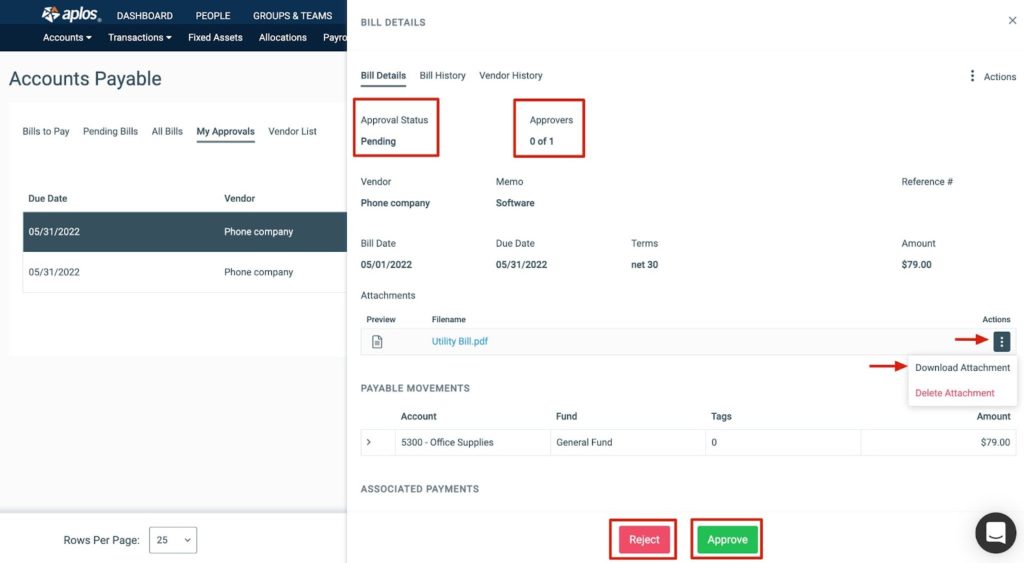
To approve a bill, select the bill to approve, review the details, and click “Approve.” This will prompt a comment box to leave necessary information about the bill. If there is a second level of approval, the second level of approvers will be sent a notification email once the first level of approval is completed.
Once the approval workflow is fully complete, the bill will be ready to be paid in the Bills to Pay tab. An approved notification email will be sent to the creator of the bill as well as the last editor of the bill, if applicable.
Rejecting Bills
To reject a bill, select the bill to reject, review the details, and click “Reject.” This will prompt a comment box to leave necessary information about the bill. The bill will then go back to the Pending Bills tab with a status of “Needs Update.” A rejection will clear any previous approvals and the bill will be required to be updated to reinitiate the approval workflow. A rejection notification email will be sent to the creator of the bill as well as the last editor of the bill, if applicable.
A comment (maximum of 1000 characters) is required for rejection but optional for approval. When one is provided, the comment is displayed in the bill history.
Bill Details
To get a detailed view of a bill, click on the vendor’s name. From there, you can view details and any attachments associated with the bill. To download an attachment, click on the Actions menu and select “Download Attachment.”
Bill History
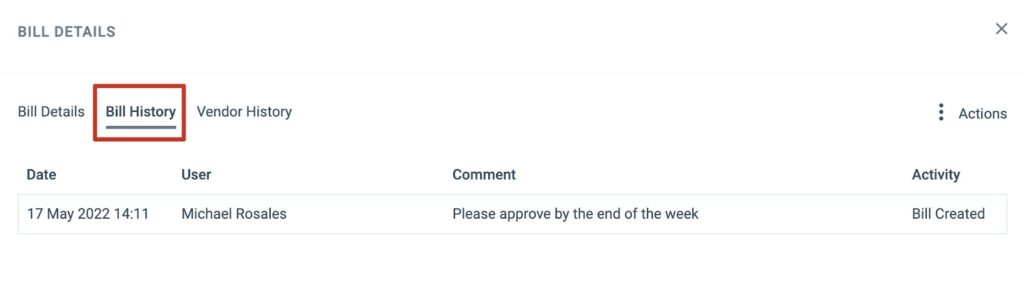
To view the history of the bill and any comments associated with it, click the Bill History tab near the top of the screen. This contains information about the approval process and bill editing. Actions are shown from newest to oldest. When workflows are changed, the information is retained in the bill history for auditing purposes.
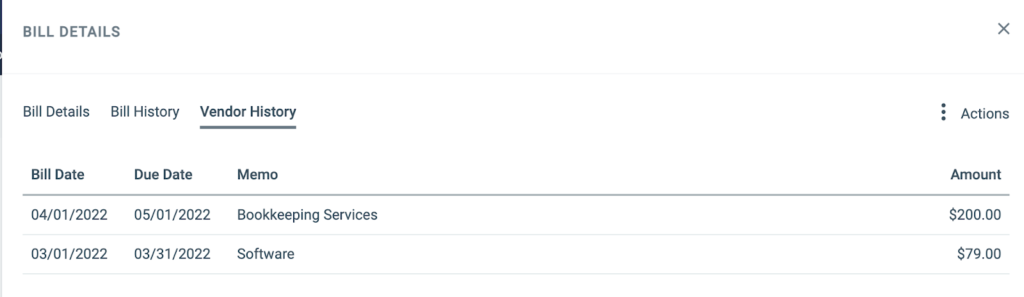
Vendor History
When creating, editing, or viewing a bill, the vendor’s bill history will display the five most recent bills (by bill date). The following is included:
- Bill Date
- Due Date
- Memo: Internal bill memo
- Amount: Total amount of the bill