How to Set up the Banking Center and Manage Your Stripe Account
With Aplos, your organization can securely process and send ACH payments to pay your bills online within Aplos. These payments are processed by our trusted partner, Stripe. To begin, ensure Bill Pay is enabled for your account. Next, you will apply for your Stripe account. This will create a Stripe account where you can configure your payment processing preferences and connect to your bank account.
*NOTE: Your organization must have a bank based in the U.S.
Below you will find instructions to make sure you are all set up and ready to process payments. Feel free to contact our award-winning Support team if you have any questions.
*NOTE: Only Administrators can access the Banking Center.
How to Create a Stripe Account
Create a Stripe User Account
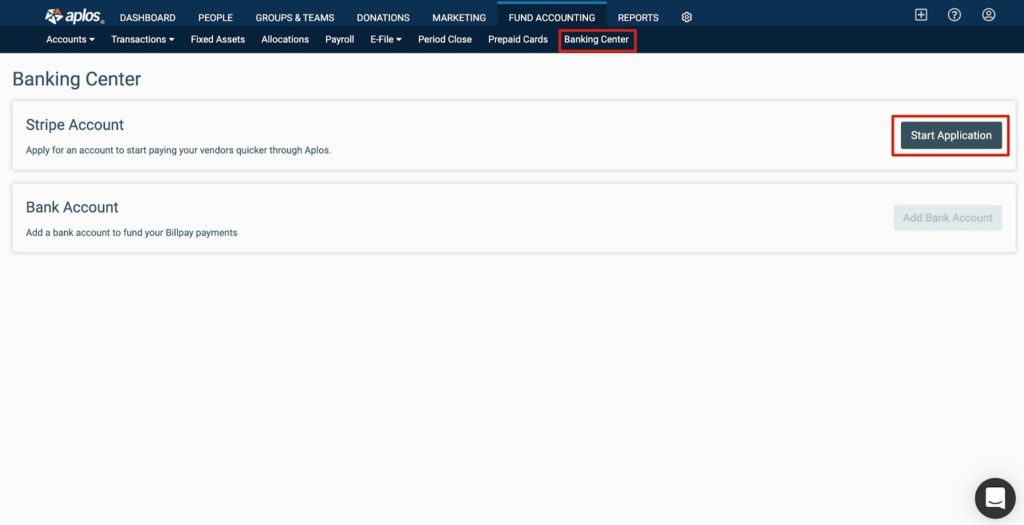
Your Stripe account can be created from the Banking Center page. You can locate the Banking Center by clicking the Fund Accounting tab and selecting Banking Center. Once on the dashboard, click “Start Application” to get started.
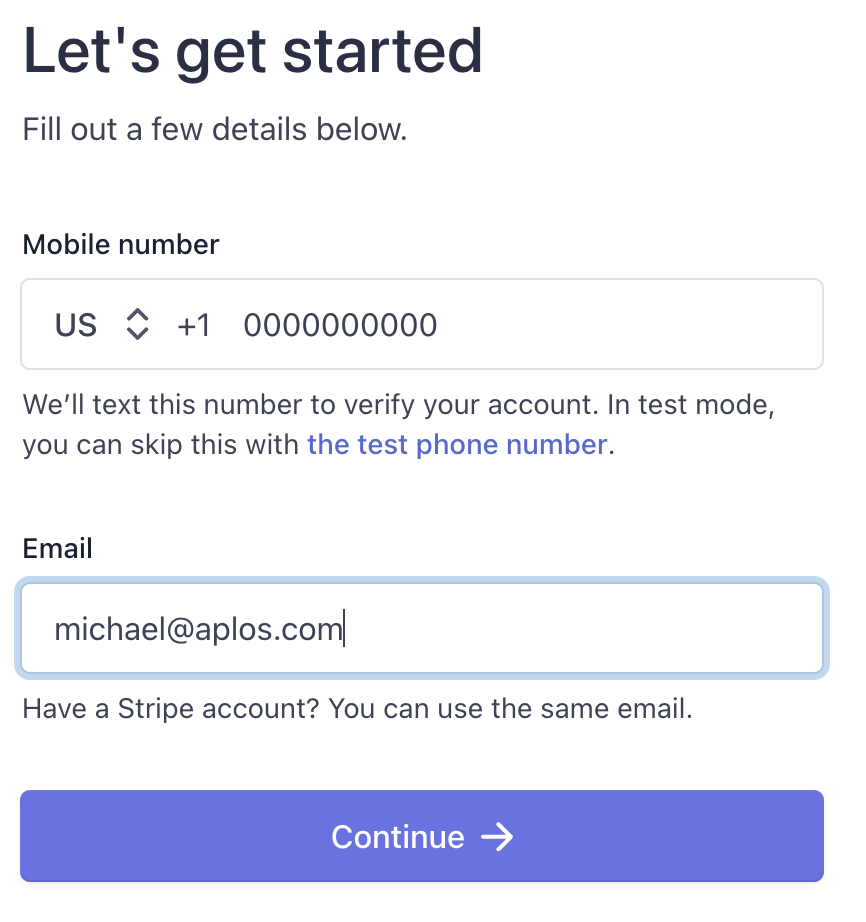
This will prompt the Stripe account creation process. Provide the primary merchant information that will be used to create the Stripe account. Enter a mobile number and email, and then click “Continue.” Stripe will send a 6-digit verification code to the mobile number to verify the number.
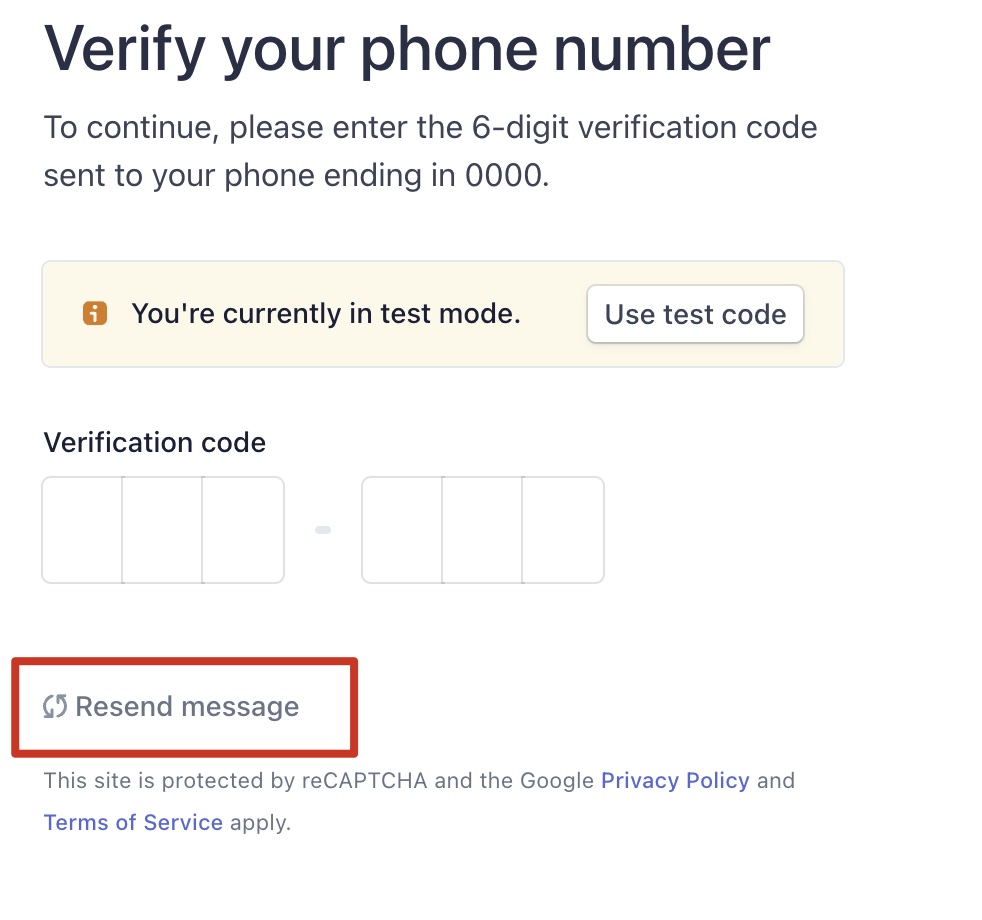
I Didn’t Receive a Verification Text From Stripe
If you do not receive a text, we recommend clicking “Resend message” on the bottom of the screen to resend the verification text. If you still do not receive a text, contact us.
How to Set up Your Stripe Account
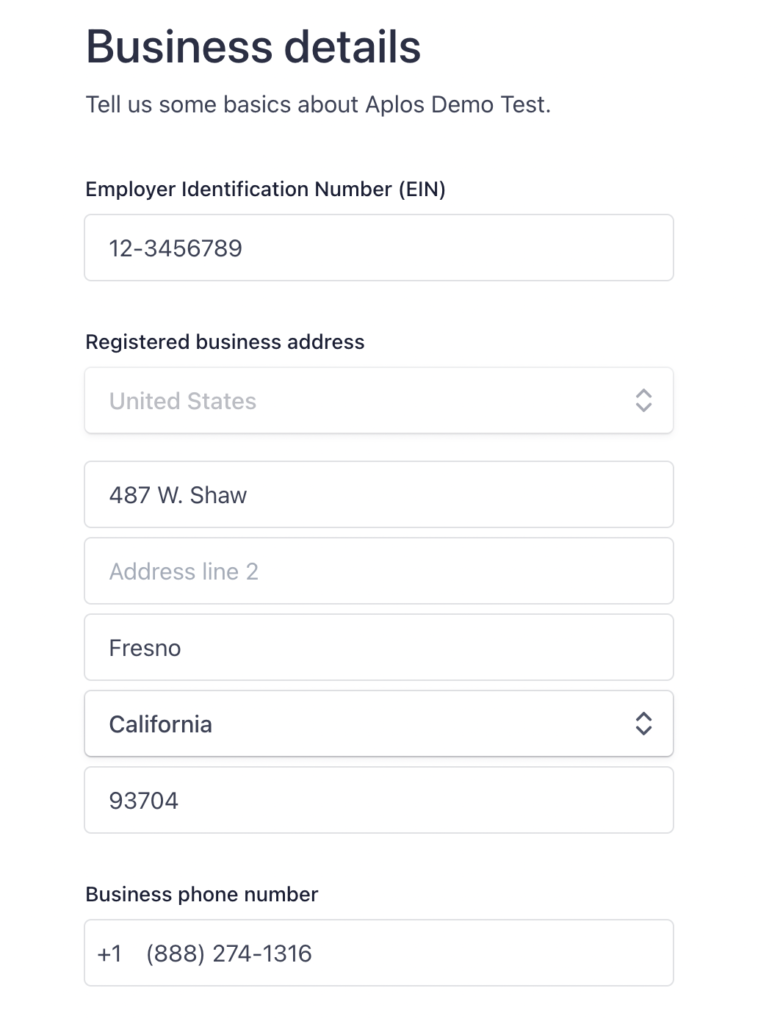
Once you enter the verification code, follow the setup wizard in Stripe to complete your profile. In this secure portal, you will confirm your organization’s information and your information to verify your identity and reduce fraud. This information includes:
- EIN
- Name of your organization
- Organization’s address
- Social Security Number
- Ownership
- ID verification
Why does Stripe need my social security number?
Stripe verifies the identity of each user of the Stripe service to manage risk and comply with anti-money-laundering laws. If you are acting on behalf of an entity with an EIN, Stripe requires your SSN so Stripe can verify who you are and know that you are authorized to act on behalf of the entity.
Connecting Your Bank Account
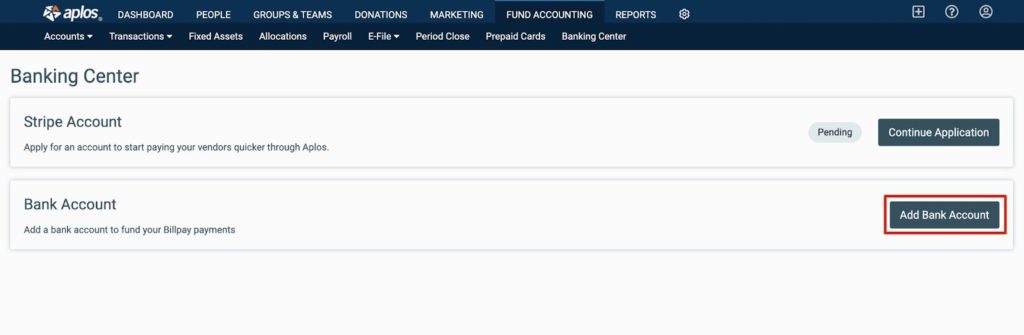
Next, you will link your preferred bank account to fund your Bill Pay payments. To connect your bank account, go to the Banking Center page and click “Add Bank Account.”
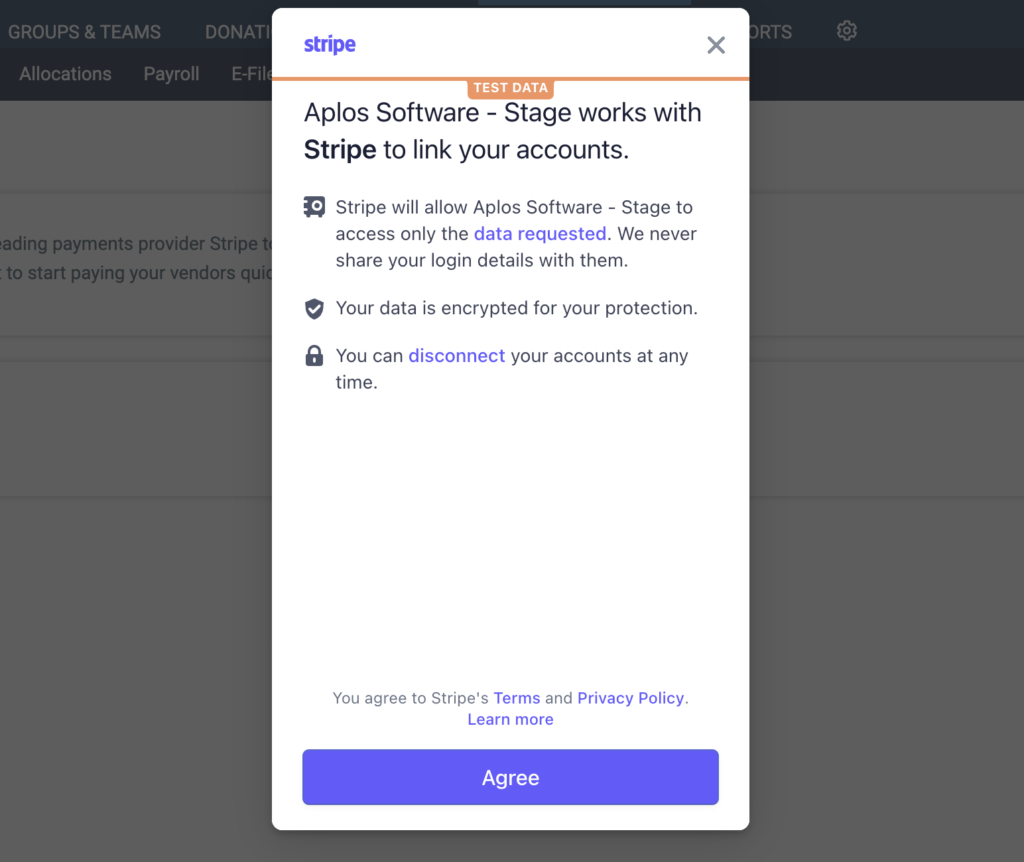
This will begin the Stripe process to link your bank account. From there, you will log in with your bank credentials and select the account you wish to link to Aplos.
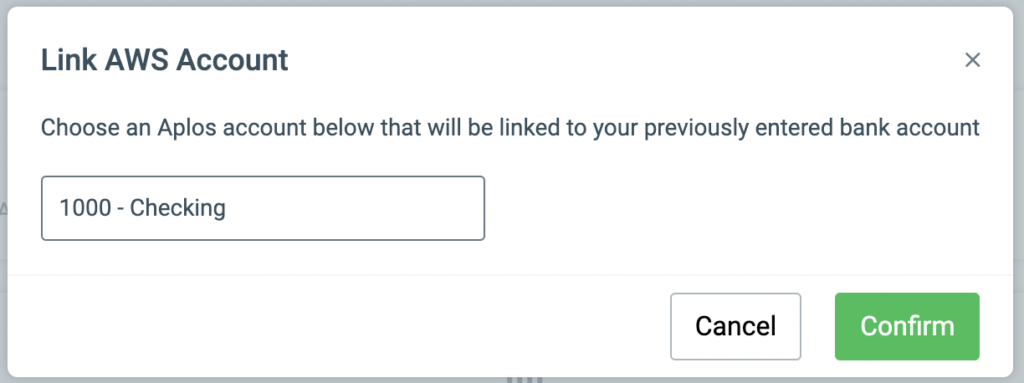
Once you link your bank account, you will be prompted to select the Asset account you wish to link your bank account to. This is for accounting purposes to accurately record an electronic payment from Bill Pay. Once selected, click “Confirm.”
*NOTE: You can revisit the Banking Center and link your bank account to an asset account at a later time.
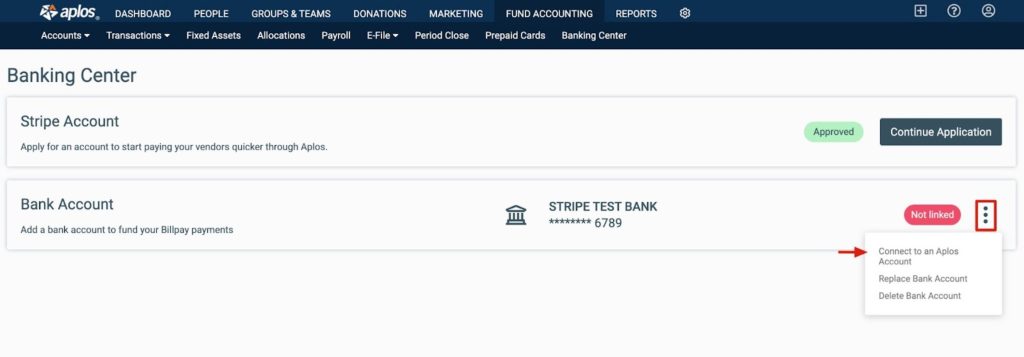
If you need to link your bank account to an asset account at a later time, you can do so within the Banking Center. Click the Action menu and select “Connect to an Aplos Account.” Choose the preferred asset account and select “Confirm.”
Application Actions & Statuses
Actions
When applying for a Stripe account, you can choose to save your place in the onboarding and complete the information at a later date. You will see different actions in the Banking Center depending on where you are in the Stripe creation process. Below are the different variations:
- Start Application – This is available if you have not yet started creating your Stripe account.
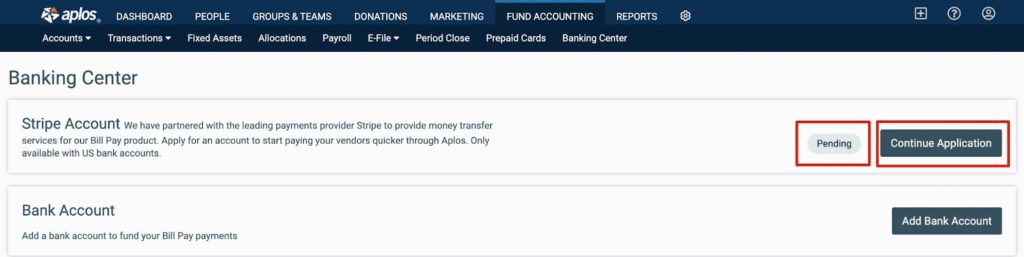
- Continue Application – This is available at any point after the application is started.
- Update Application – This is available if Stripe requests more information. You will want to review the application to ensure that your Stripe Account is in good standing.
Statuses
Once you have started the application process, you will notice that a status will appear in the Banking Center next to your application. This will provide you with information regarding your application. Below are the available statuses:
- Pending – The organization has started the Stripe application but has not completed it yet.
- In Review – The organization has completed the Stripe application and the application is being reviewed.
- Denied – The organization has been rejected by Aplos or Stripe.
- Approved – The organization has been approved by Aplos and Stripe. It can now begin to send electronic payments through Aplos.
*NOTE: When approved, a new Stripe treasury asset account will automatically be generated to your Chart of Accounts. The organization cannot delete the new asset account.
Managing Accounts
If you wish to update the bank account used for payments or the asset account used for recording transactions, you can do so within the Banking Center.
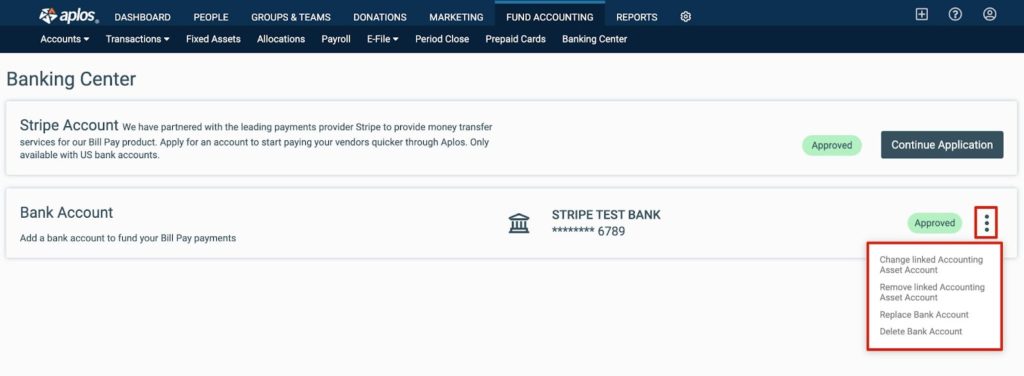
By clicking the Actions menu, there will be a dropdown of actions that are available to you, including:
- Change linked Accounting Asset Account – This removes the link to the existing linked asset account and links to the new preferred asset account.
- Remove linked Accounting Asset Account – This removes the link to the existing linked asset account.
- Replace Bank Account – This removes the link to the existing linked bank account and links to a new preferred bank account in Stripe.
- Delete Bank Account – This removes the link to the existing linked bank account in Stripe.
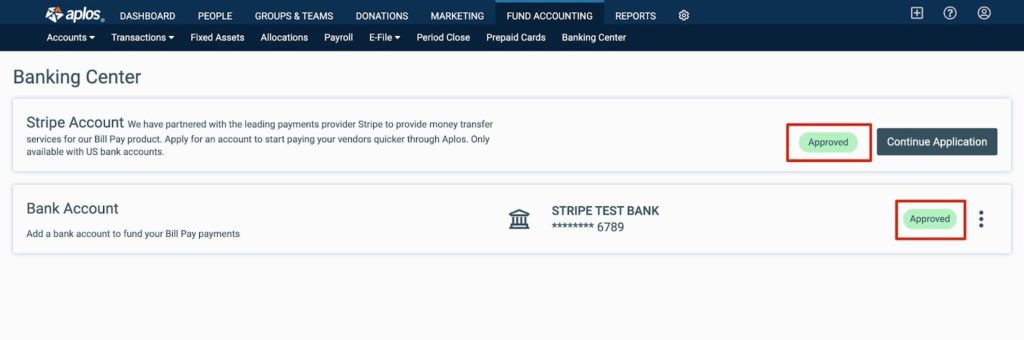
Completion of Banking Center
To ensure the organization is set to start sending bill payments electronically, review the Banking Center screen and verify that the statuses for both the Stripe account and bank account are approved. This will ensure that the organization has successfully set up the Banking Center. If you need any assistance, contact our Support team.