The contact database in Aplos allows you to keep contact information for your vendors, donors, and supporters. Any payee or donor you enter into Aplos will automatically be saved in your contact database.
How To Create A New Contact
There are several ways a contact can be added in the software. The information that is populated will vary depending on the form of contact creation, including:
- Manual creation of a contact
- Accounting register entry
- Contribution entry
- Online payment processing for an online donation or event registration
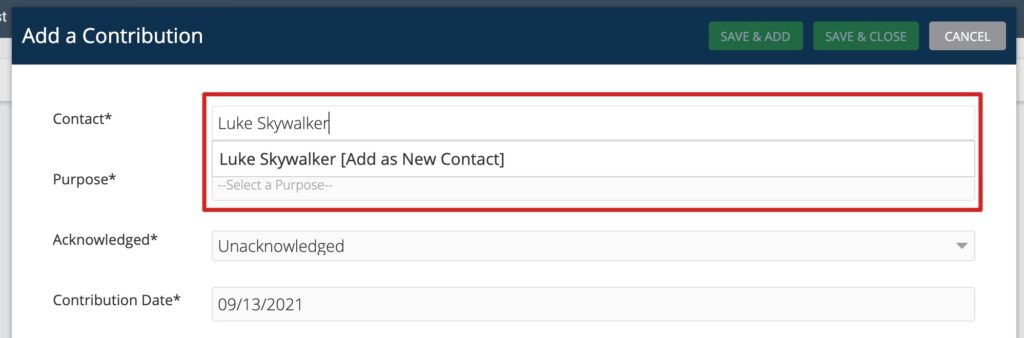
The accounting register entry and contribution entry allow you to quickly create a contact as you input transactions or donations in Aplos. When adding an entry, begin typing the name of the contact and Aplos will search the contact database. If the contact cannot be found, you will be asked if you would like to add it as a new contact. Click the dropdown below and Aplos will save the contact to your database.
Any new contact who completes an online donation or online event registration will automatically be created and stored in your contact database. You can update contact information once the contact is created.
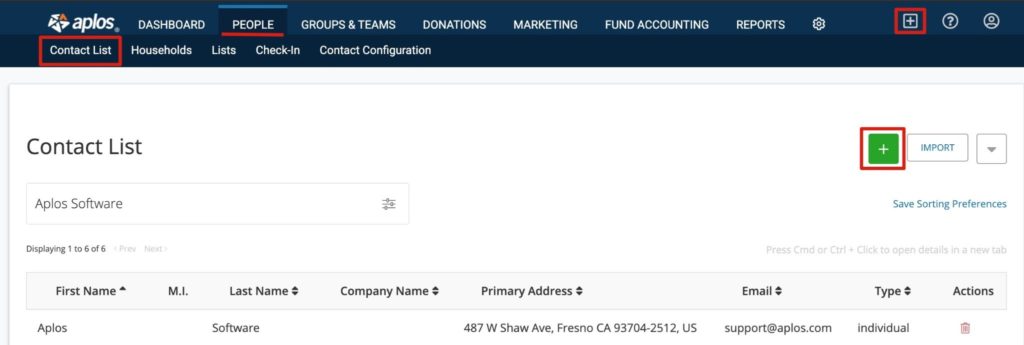
Manually Creating A Contact
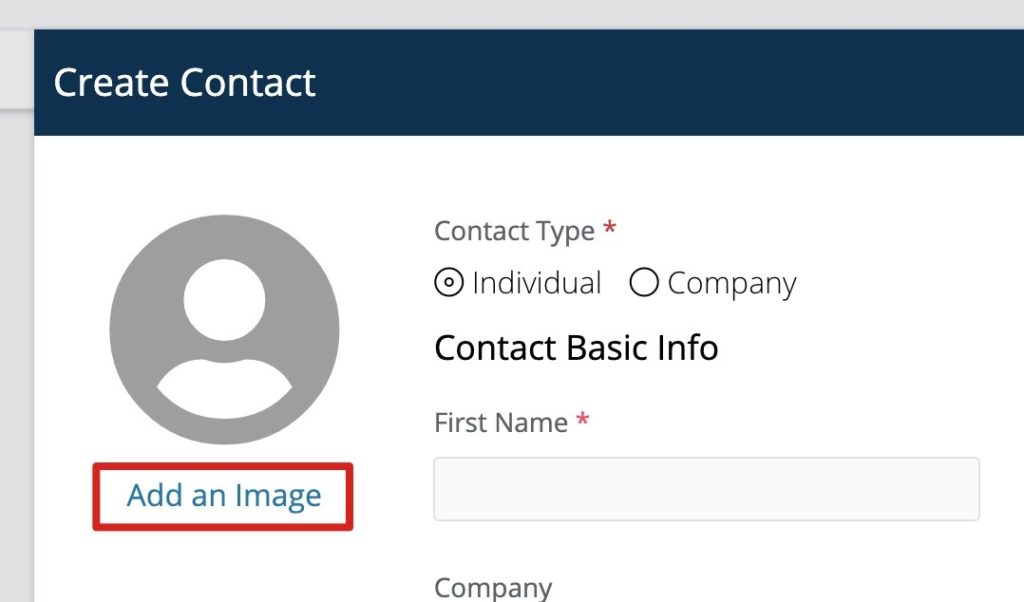
To create an individual or company contact, go to the Contact List page. From there, click on the green plus (+) icon, or select “Add Contact” from the dropdown at the top right of the navigation bar.
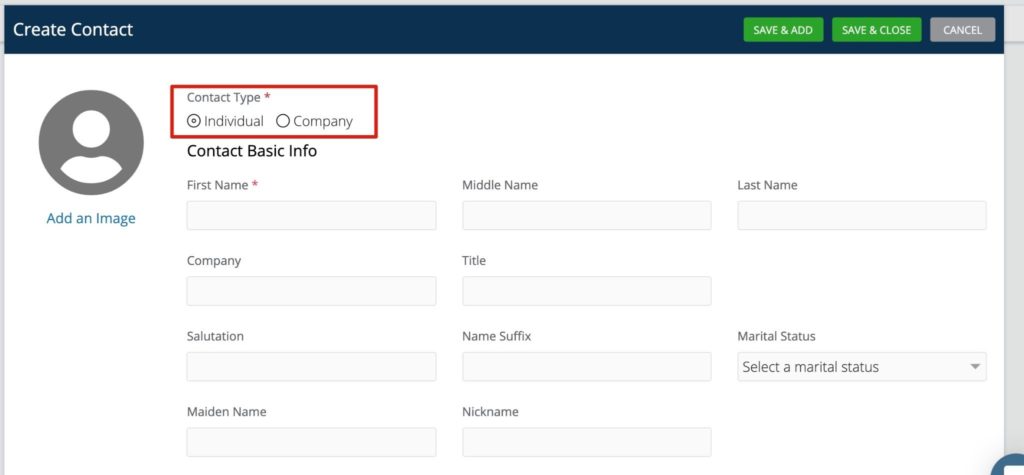
Individual Or Company Contact
You have the option to create an individual contact or a company contact. Once you select the type of contact you want to create, the required fields will be marked with an asterisk.
First Name (required if it is an individual contact)
Middle Name
Last Name
Company (required if it is a company contact)
Title
Salutation
Name Suffix (Jr., Sr., etc.)
Marital Status
Maiden Name
Nickname
Gender
Tax ID (1099 Reporting)
Org Type
Communication Fields
Below are fields that are included in email campaigns, letters, and mailing labels.
- First Name
- Middle Name
- Last Name
- Company
- Title
- Salutation
- Name Suffix (Jr., Sr., etc.)
Add An Image
If you would like to add an image to the contact, you can upload an image file from your computer or use an image from your Filebox. When creating your contact, click “Add an Image.”
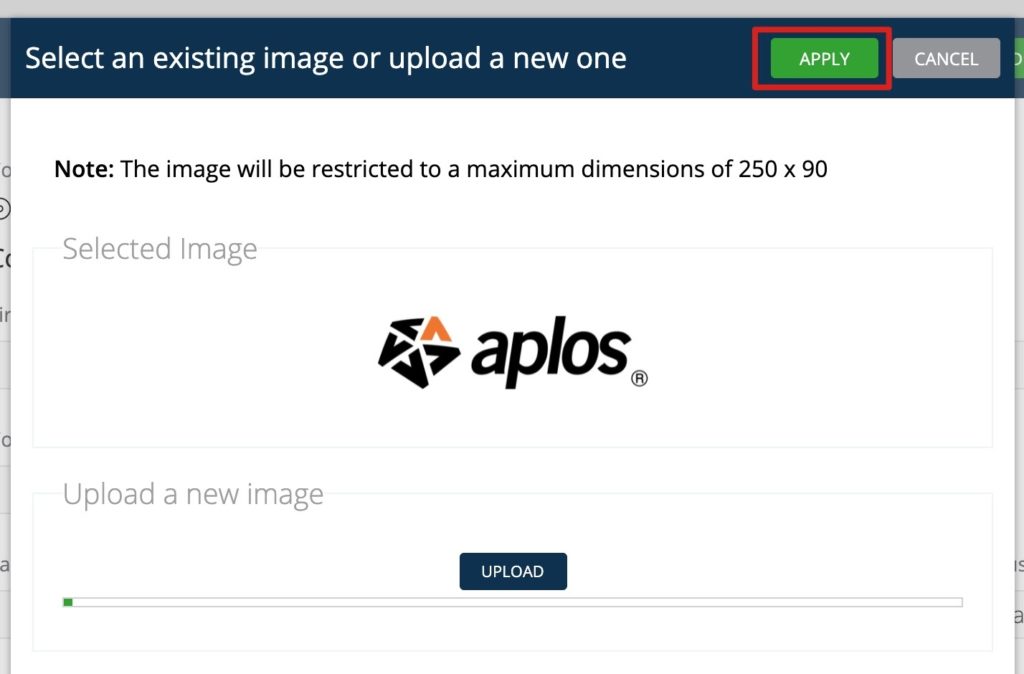
This will prompt you to either upload an image from your computer or select an existing image. Once chosen, select “Apply.”
Donation Contacts And Accounting Contacts
In Aplos, you can assign contacts as accounting and/or donation contacts. Accounting contacts are typically people tied to transactions in the accounting side of Aplos. Donation contacts may be people you’ve recorded contributions for on the donation side of the software. It is possible to have contacts located in both areas. For example, you may have a staff member on the payroll who also donates to your organization.

Assigning your contacts as accounting contacts and/or donation contacts will allow you to segment your contacts in Smart Lists and on Contact reports.
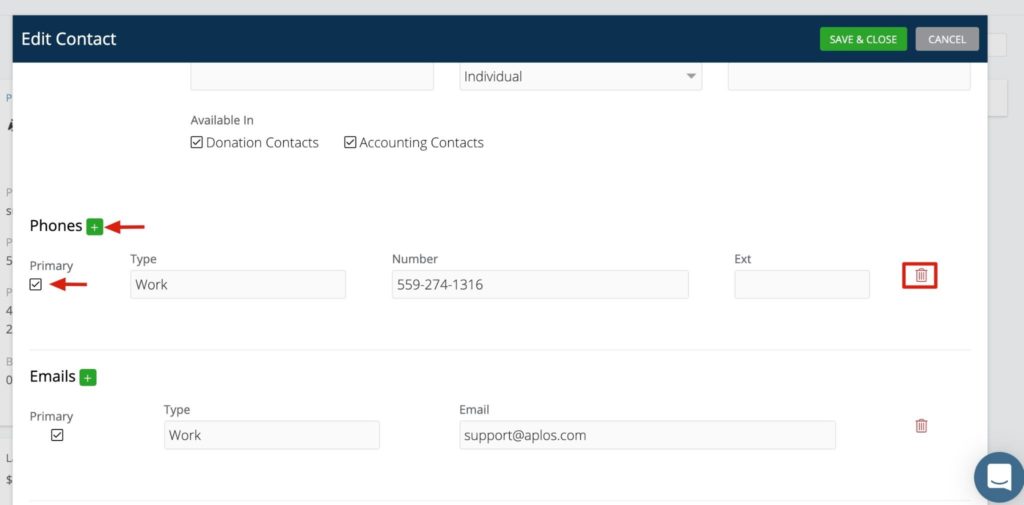
Contact Phone, Email, And Address
You can enter information to track the contact’s phone number, email, mailing address, and other personal data.
Click the green plus (+) icon, choose a type, and enter the corresponding information.
Check the Primary box if the data is the primary information for the contact. This will ensure that the correct contact information is used in the communications tools.
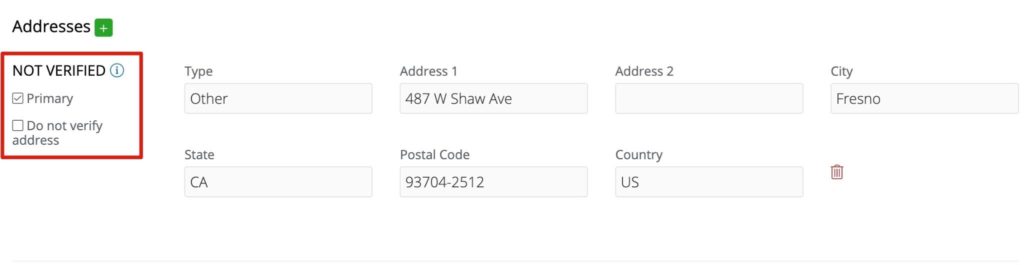
For the mailing address, you’ll notice there is a checkbox labeled “Do not verify address” below the Primary checkbox. This is used in the Address Verification tool that checks addresses with the USPS database and standardizes the addresses. If you have included Address Verification in your subscription, you can check “Do not verify address” and Aplos will not verify and update that address.
Events
In the Events section, you can track and manage the events your contact has attended. This is populated by registering for an event, signing in through check-in, or manual entry. You can add an event the contact has attended by clicking the green plus (+) icon and entering the name of the event. You will see a dropdown if the event is already created, or you can select “Add as New Event” if you wish to create a new event.

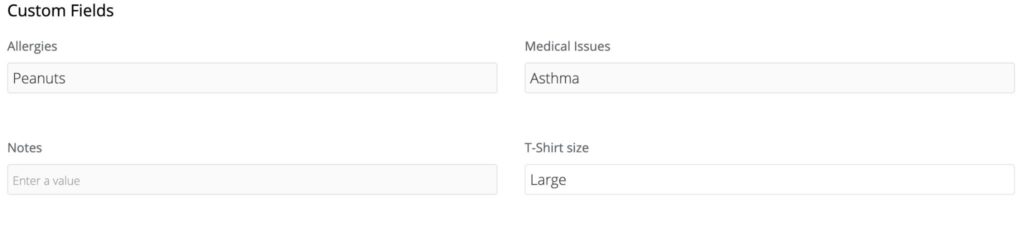
Contact Custom Fields
If you have collected data for your contacts, but don’t have that field available within Aplos, you can use the contact configuration tool to create custom fields to track that information. Once you have created your custom fields, you can add information in the fields.
Lists
In the Lists section, you can view static lists that you’ve created, and add or remove the contact from any associated lists. Check the list you wish to update.
If you need to create a list or Smart List and don’t know how, view our resource for creating lists.

Choose “Save & Add” to create another contact. “Save & Close” will take you back to the Contact List page.

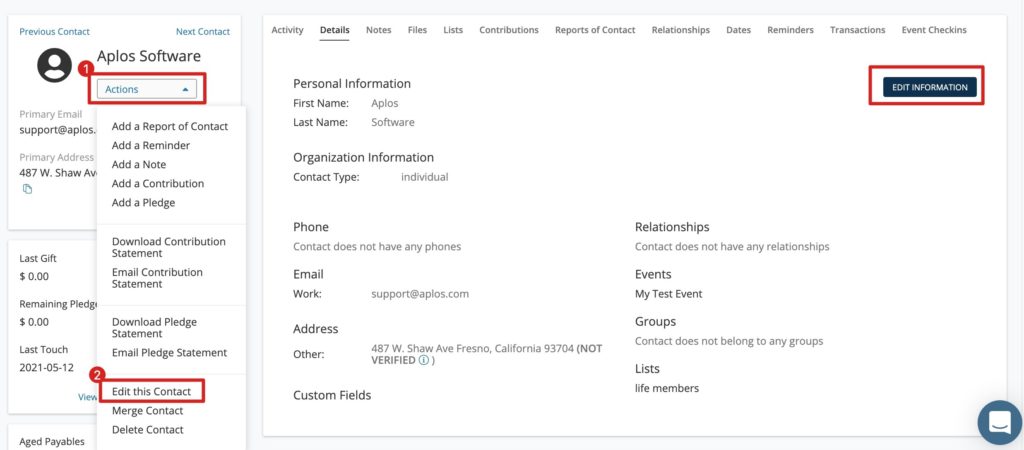
Edit Contact Information In Aplos
You can edit information and add additional details for each contact once it is created. You will also see enhanced tabs within each contact’s card where you can assign relationships between contacts, leave communication notes, or make general notes.
For more information on how to navigate the Contact Card, see the contact card guide.
You can edit contact information from the contact card. Click either the Actions option in the upper left-hand corner (beneath the contact’s name), or go to the Details tab on the contact card to find the option to edit your contact’s information. Once the information is updated, click “Save.”